This punched paper garland takes a bit of time, but the results are totally worth it!
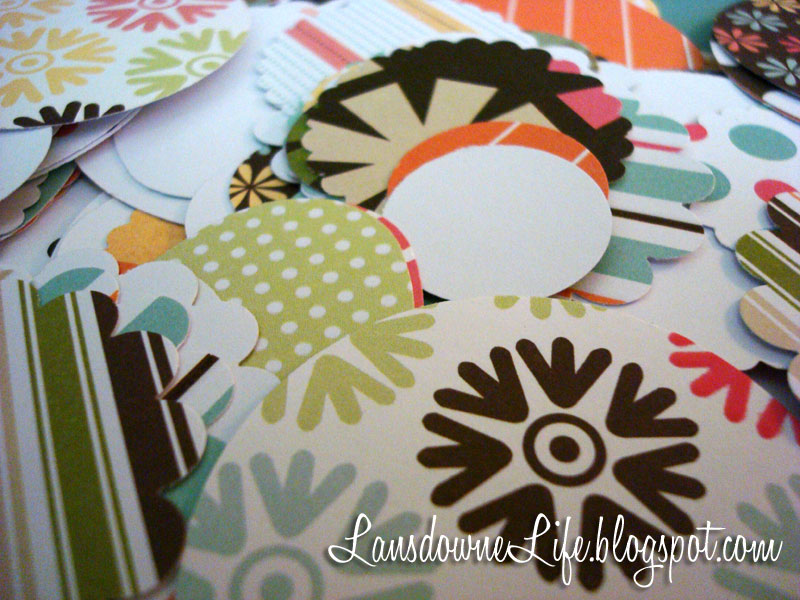
I used a variety of paper punches to get different sized cutouts. My largest punch was a 2″ circle and the smallest one was an oval that was about an inch wide. This is the time-consuming part of the project, but it’s mindless work.
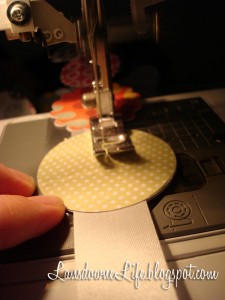
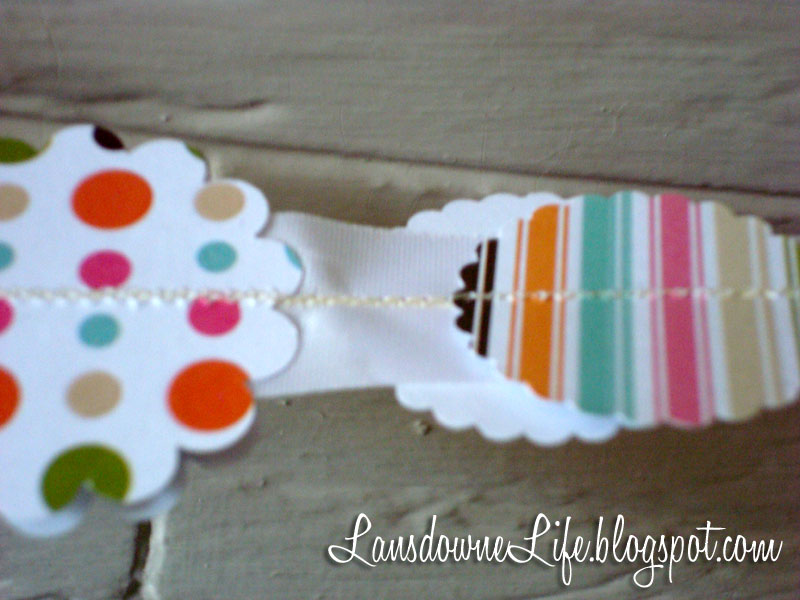
Now for the fun part. I wanted my garland to be double-sided, so I sandwiched ribbon between two papers of the same size. (I didn’t bother matching the patterns.) Then I sewed a straight stitch down the center, adding papers one by one.
I used some stiff 3/4″ acetate ribbon I had on hand, which made the whole thing fairly inflexible. I think using satin ribbon would make the garland more pliable and drape better. You could also use a narrower ribbon, but you’ll have to keep your stitching on center.
If the papers slide and don’t match exactly, match up the next piece and just keep going. This is a very homemade look that doesn’t have to be perfect. You won’t even notice a gap like this when it’s all done!
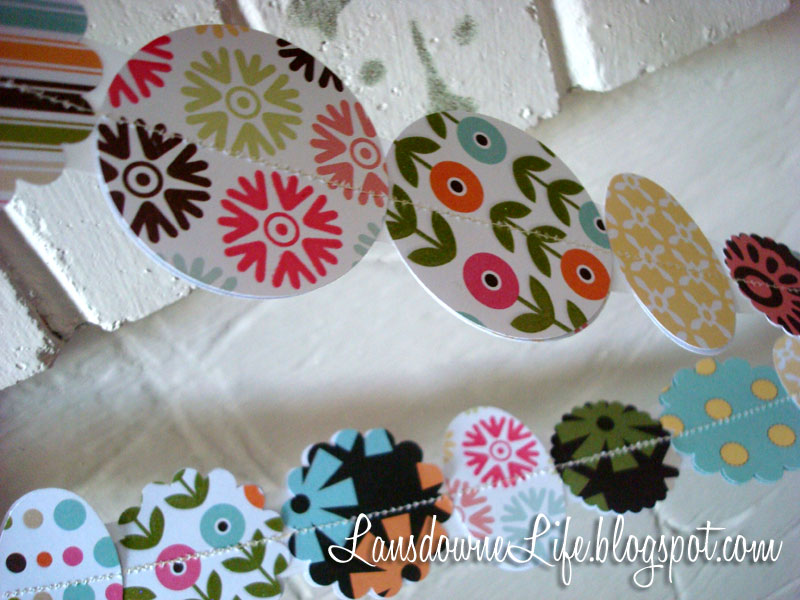
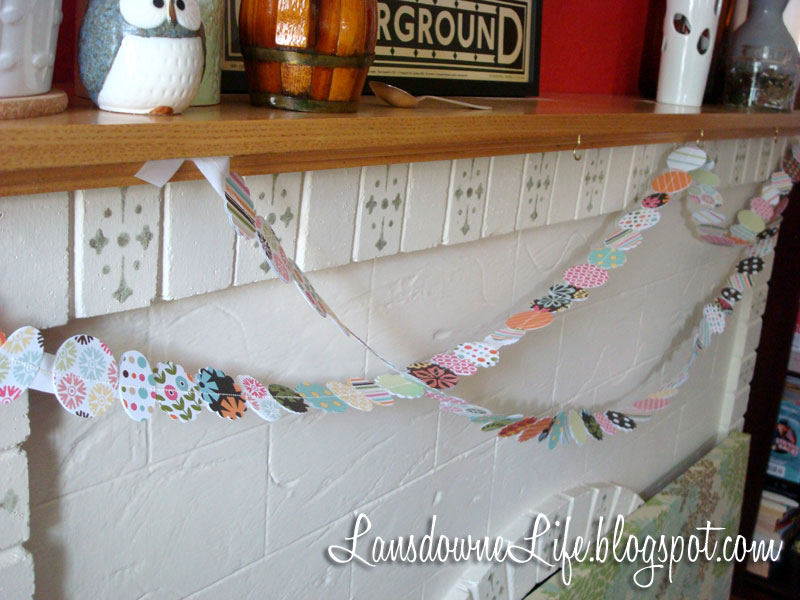
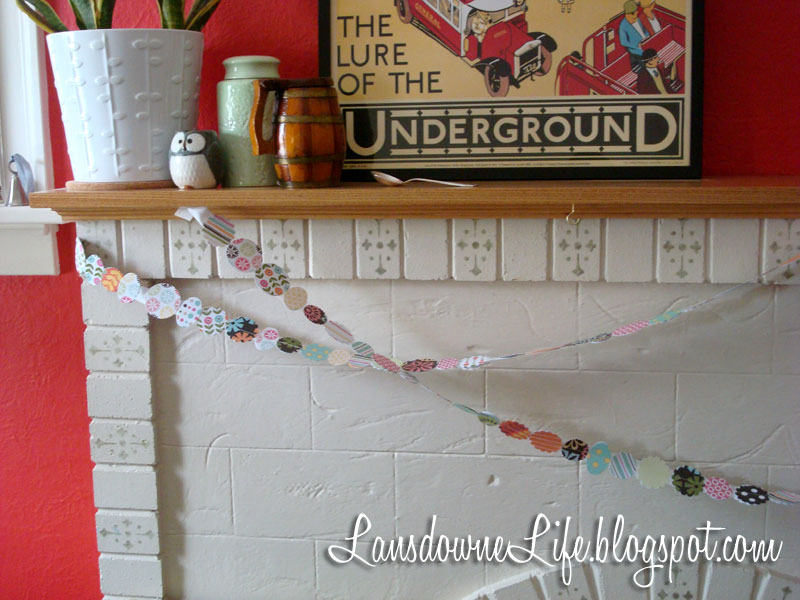


I love the way this looks, and it’s well-made so it should last you a while!
Thanks for linking up to the Mad Skills Party!