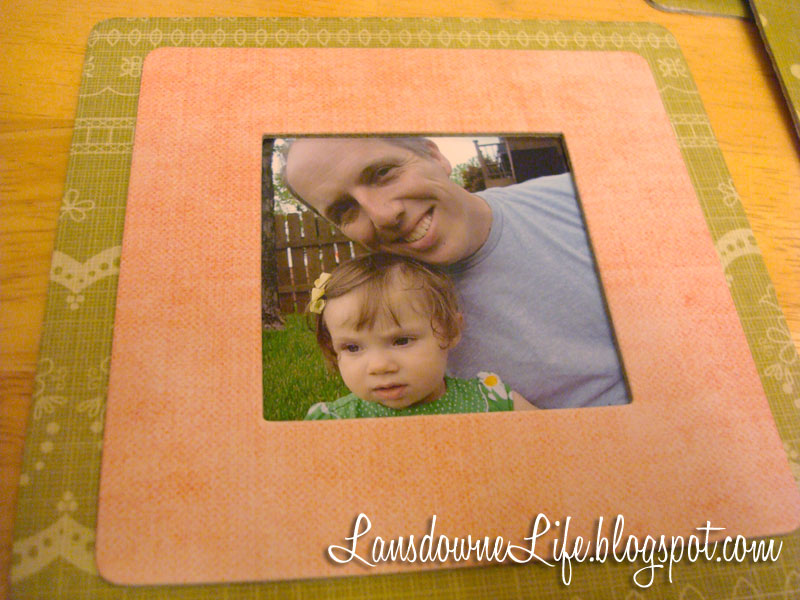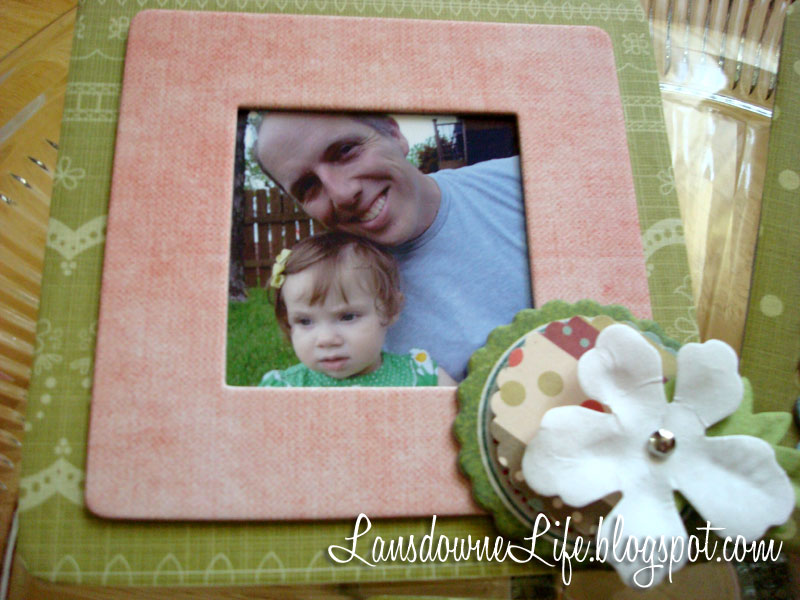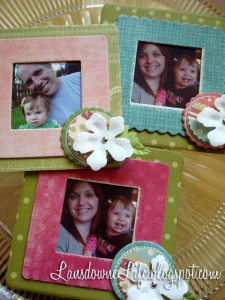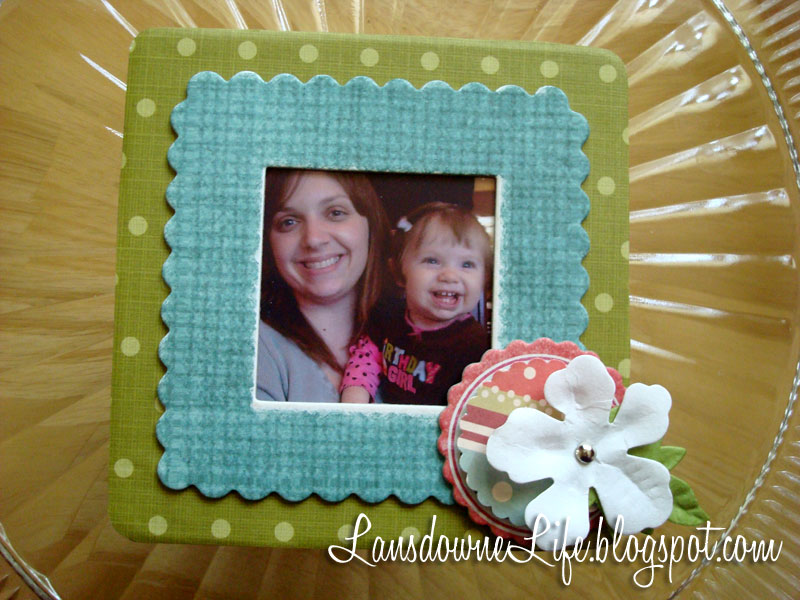
This is an easy and supercute Mothers’ Day magnet frame I made for my mama. And one for my grandma and Dan’s mama as well.
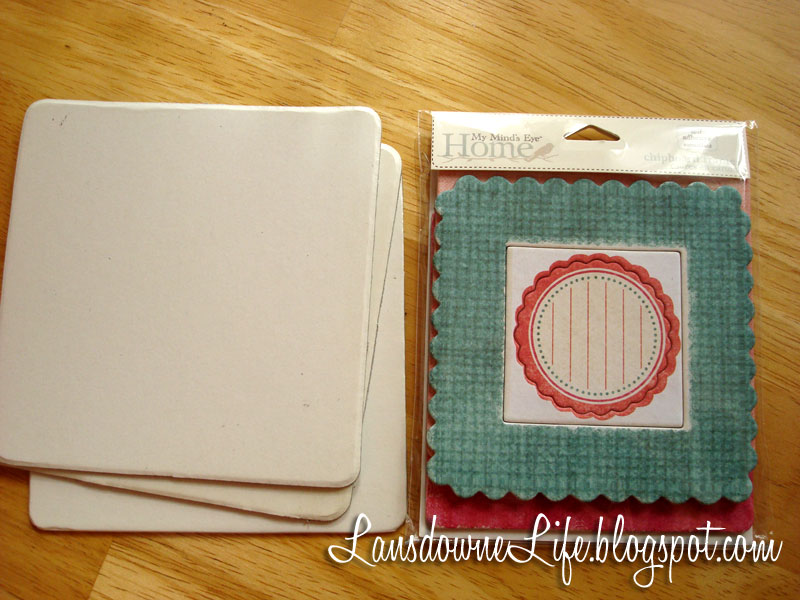
I picked up these chipboard scrapbooking frames at Michael’s. They came in a pack of three, and as soon as I saw them, I knew I wanted to make some sort of small Mother’s Day project with them. I was looking around for something to use as a backing to the frames, and I found the cardboard squares in my stash. They were the perfect size. Score one for my trash hoarding!
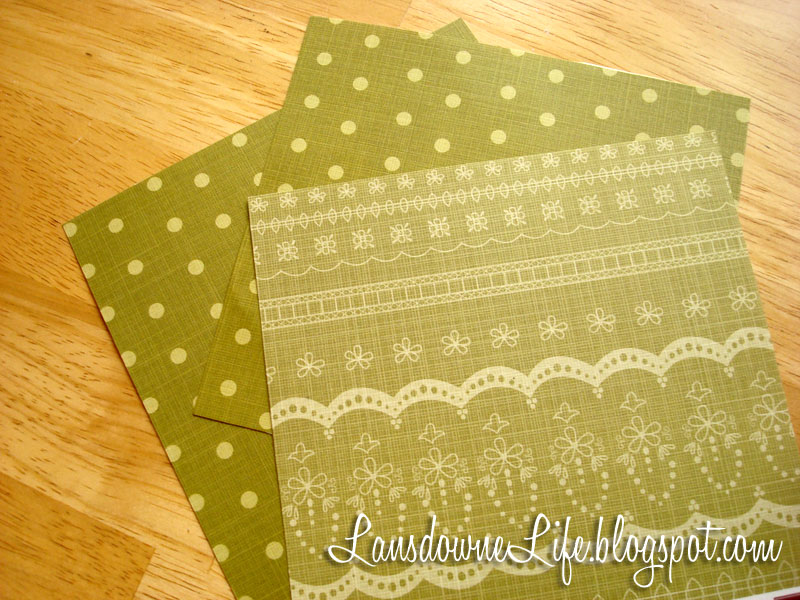
Then I went on the hunt for some scrapbook paper to cover the cardboard and I found pieces already cut to the perfect size. This project was basically making itself.
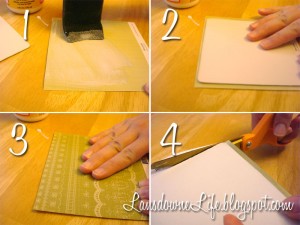
I covered the cardboard with the paper using some Mod Podge and trimmed to fit.
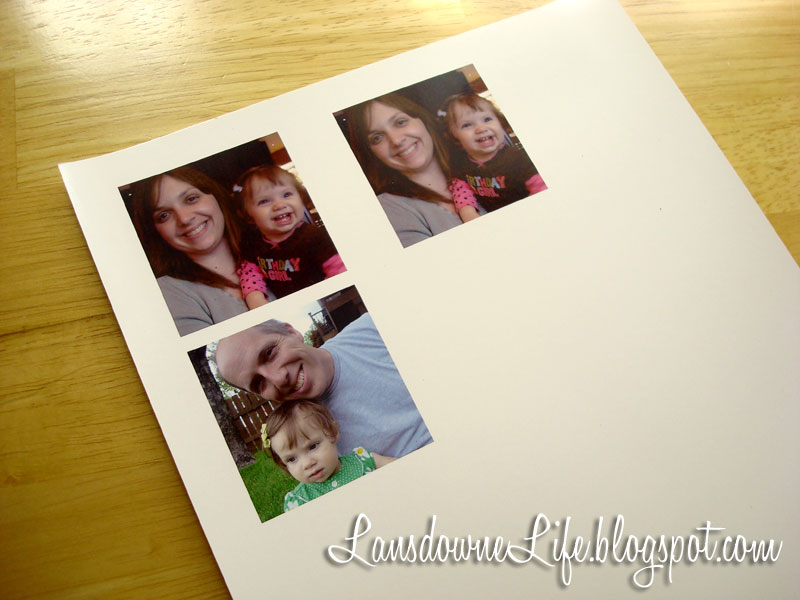
Then I printed out some recent photos, cropped and resized to fit in the frame openings.
I cut them out and used a glue stick to tack them down.
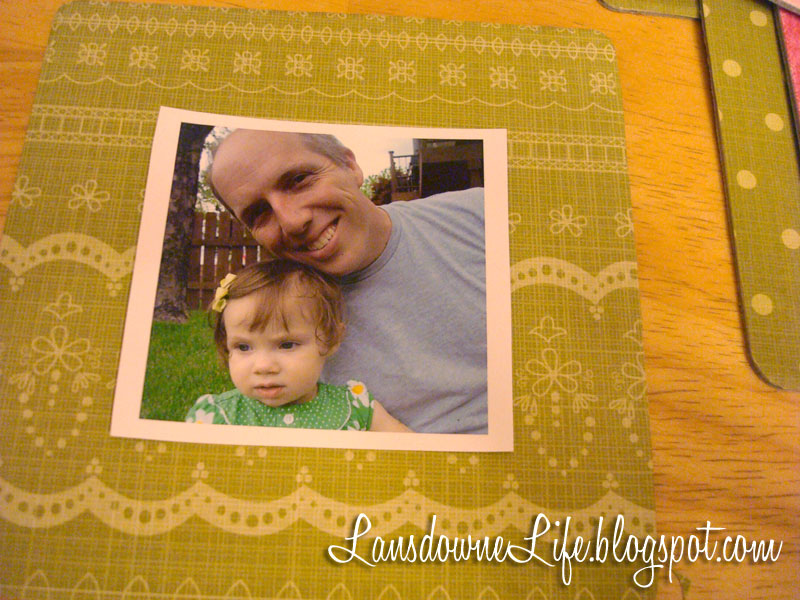
Next, I attached the chipboard frames. They had a sticker backing, so this was almost too easy.
See, the project was making itself, I tell you.
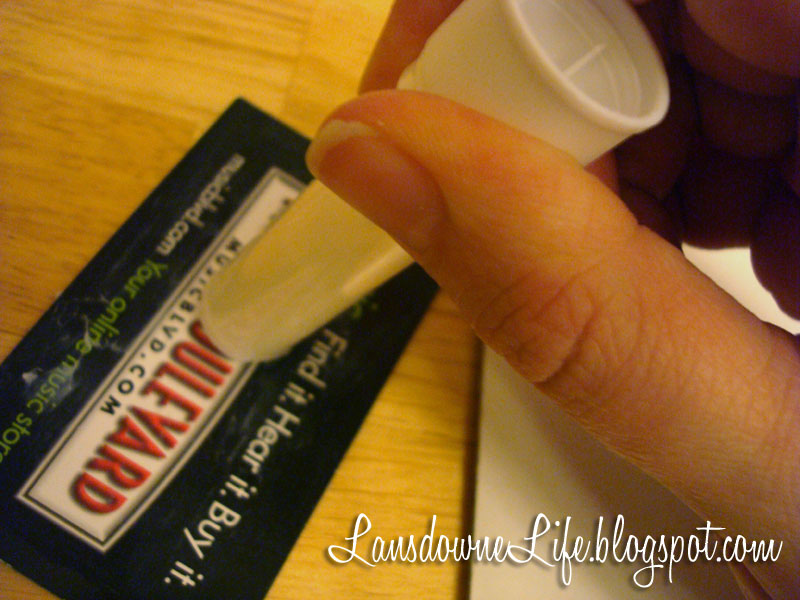
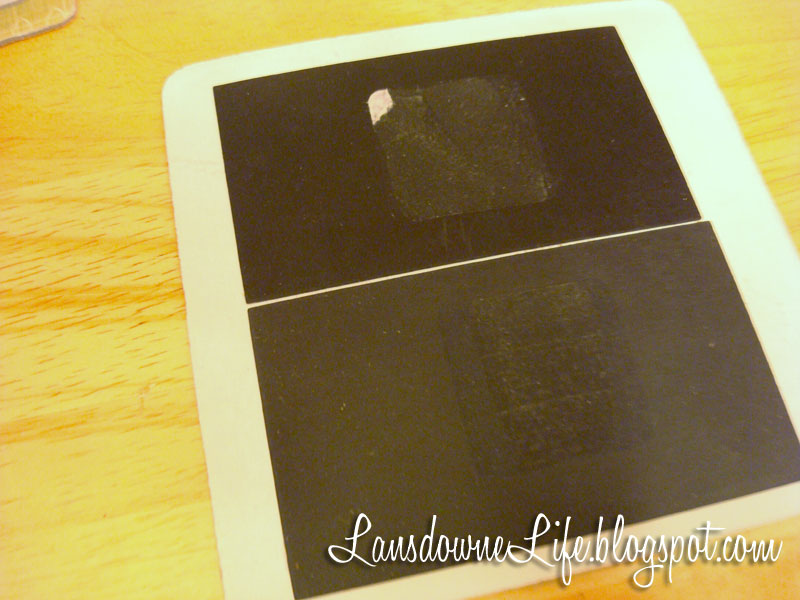
I used a glue stick to adhere some promotional magnets to the backside. The ones I used were from the freewheeling days of the dot com boom, which means I’ve been holding onto them for more than 10 years. Yikes!
I used two business-card size magnets for each frame because of their weight.
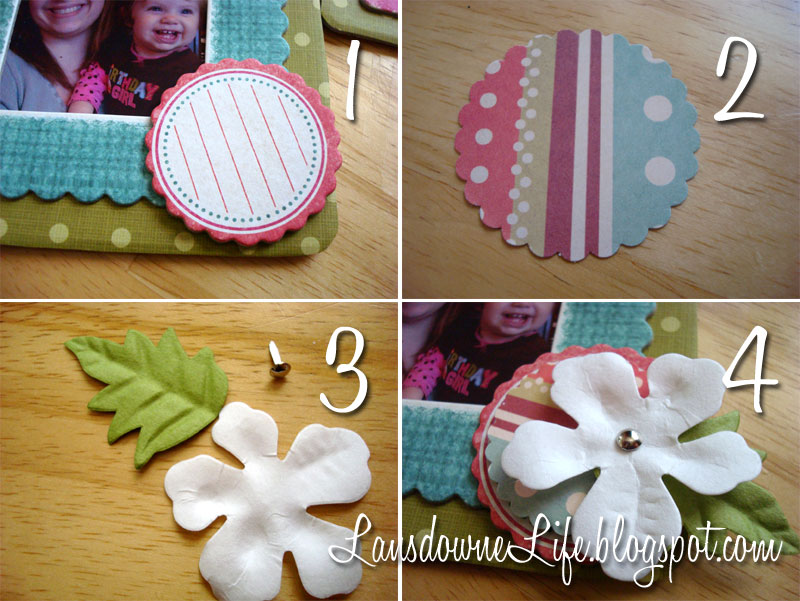
The chipboard frames came with little “accent badges.” (I just made that term up, but it works.) I wasn’t going to use the lines for “journaling” as suggested, so I layered a piece of punched scrapbook paper and a paper leaf and flower, all of which I had on hand.
(Actually, I almost bought a pack of paper flowers similar to the ones I used, but ended up putting them back. Then I came home and found some in a paper kit I already had. Love it when that happens.)
I think they turned out pretty cute! Lots of steps, but so easy and no hiccups. I can’t remember the last time I had a hiccup-free project!
This is about as cutesy as I get, so enjoy it while it lasts.
