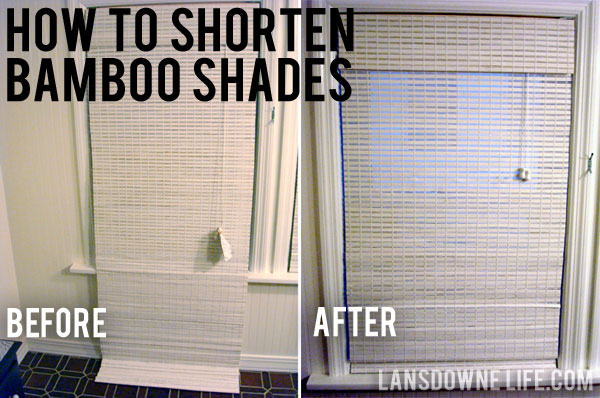
I purchased inexpensive woven bamboo roman shades for both our playroom and our upstairs bathroom windows. It was easy to find cheap shades in the width I needed (27 inches), but the standard length (63 inches) was way too long for my 44.5 inch windows. Just check it out.
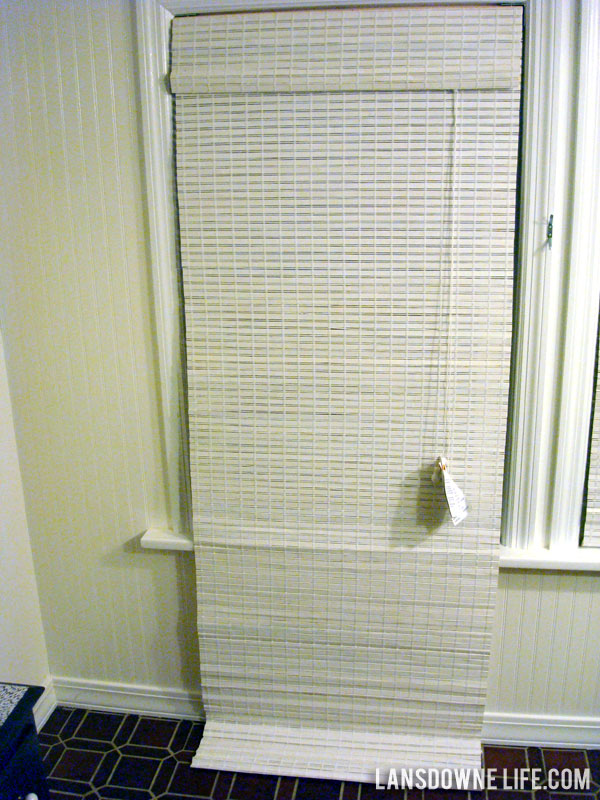
Yeah, that’s sloppy. Before I ordered them, I did some googling about how to shorten them, and found out it was possible, but didn’t find any good tutorials. After playing around, I’ve discovered that it’s not only possible to customize them, but simpler than you might think. It’s even easier and quicker than hemming curtains. There are a lot of steps, but don’t let that scare you!
My shades are what I would describe as woven “slat and dowel” shades, but this technique might work for other types as well.
————————————————————
First, figure out how long you want your shade to be. Don’t just measure the window; you’ll get better results if you actually mount the shade or hold it up to where it will be mounted.
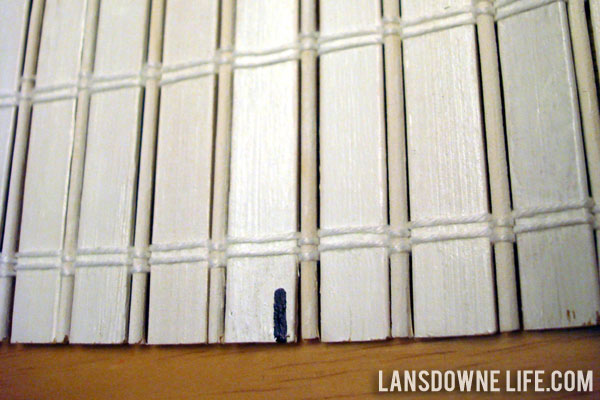
Make a mark on the backside of the shade where you want the bottom to be. I used a Sharpie so it would show up on the photos, but you could use a pencil instead. Remember, just like a pair of pants, it’s better to be a little long than too short.
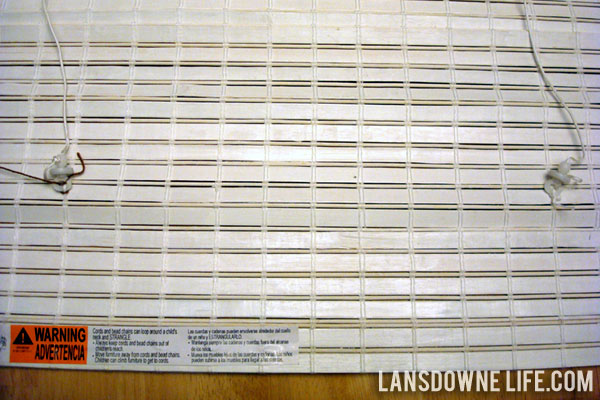
There are two strings along the back that control the raising and lowering of the shade. (Wider shades may have more of these vertical strings.)
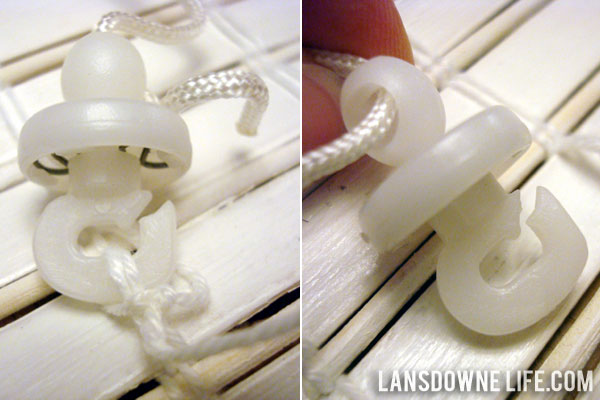
At the bottom of the strings are small hooks. The ones on my shades have a small slit in them that allows them to be unhooked. Unhook them carefully.
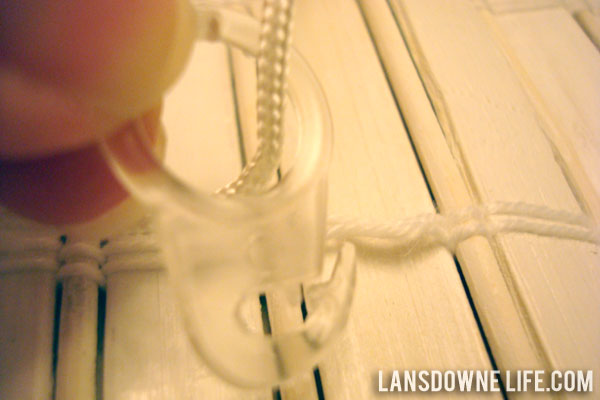
My shade also had a guide ring below the mark I made, so I unhooked that too and moved the strings out of the way.
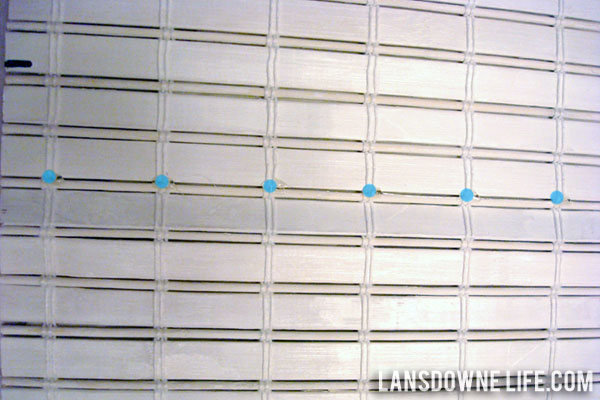
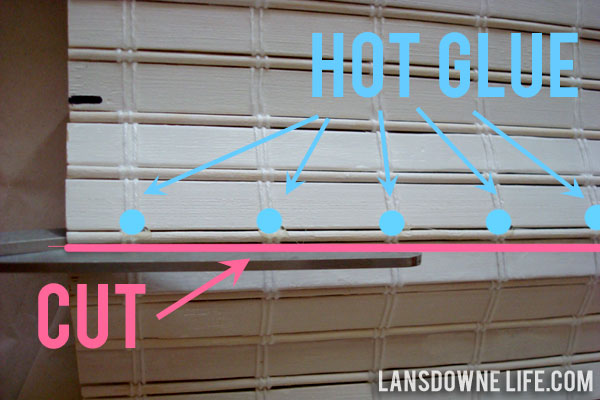
Now comes the fun part. To keep the shades from unraveling after being trimmed, the woven strings have to be tacked down. I used hot glue, but other glues or even duct tape might work just as well. I counted down a couple of slats below the bottom mark to allow enough material to hem them later.
I put a dab of hot glue at every string down the line and let harden for a minute or two. (The hot glue was hard to see in the photo above, so I marked each spot with a blue dot.) It’s important to be neat with the glue, but this will be on the back of the blinds and won’t be seen in the finished product.
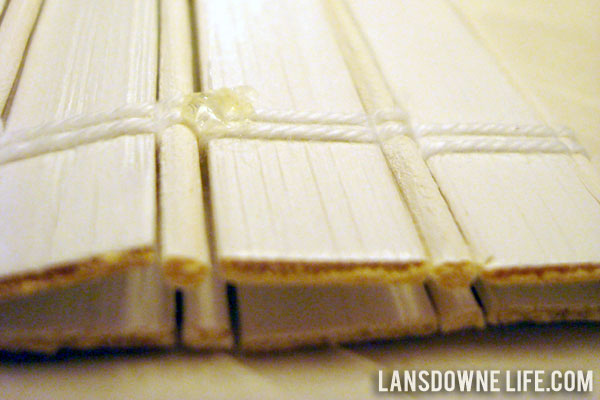
Then I folded up the bottom and glued the exact same spots on the reverse side.
Next I trimmed the strings below the dabs of hot glue. But before doing this, you might want to confirm the length of your blinds again because after you cut them, there’s no going back.
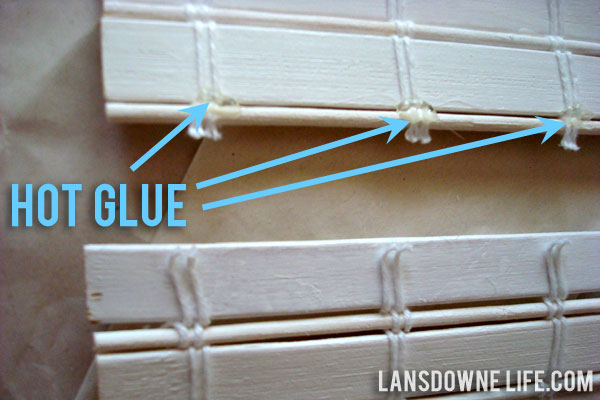
If you’re like me and want to save the part you cut off for another project, you may want to hot glue or tape down that edge too.
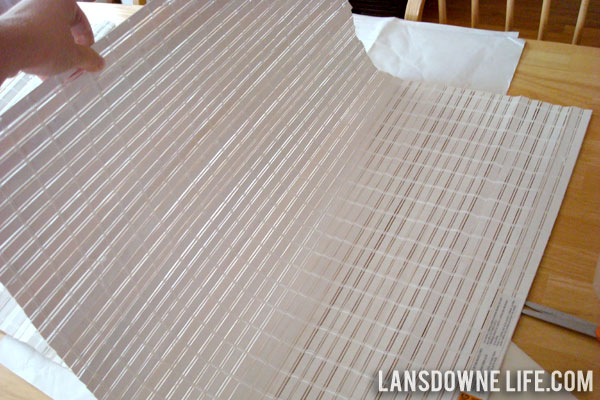
The part I cut off was pretty sizable, so I’ll have to think of something to do with that.
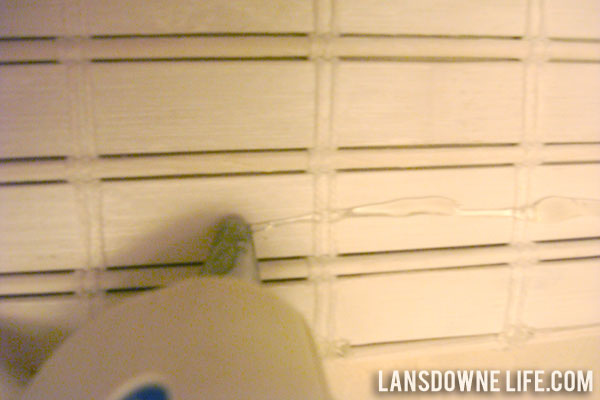
Now to hem up the bottom. I ran a line of glue down the entire second-to-last slat…
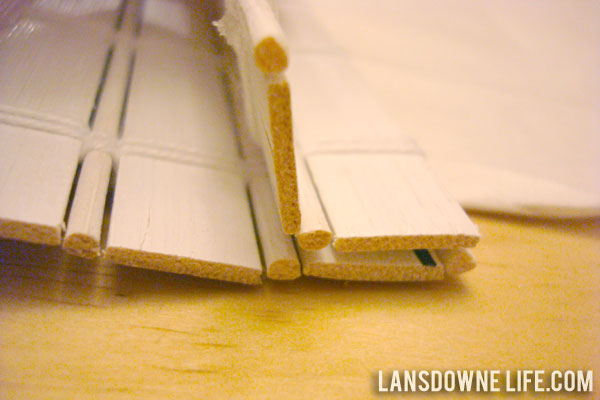
and folded it over. I modeled it after the original bottom of the shade, but there are many ways you could do this.
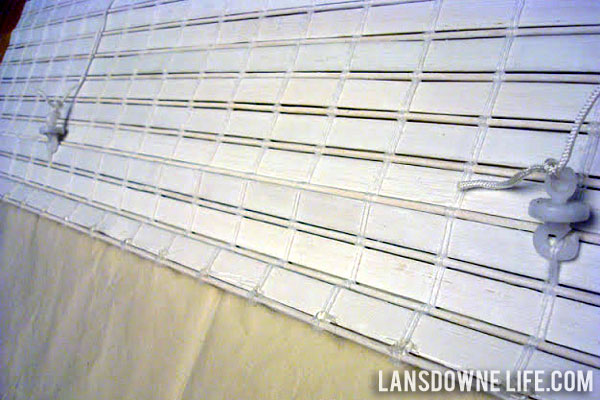
Now reconnect the hooks near the bottom of the shade. Make sure they are even with one another.
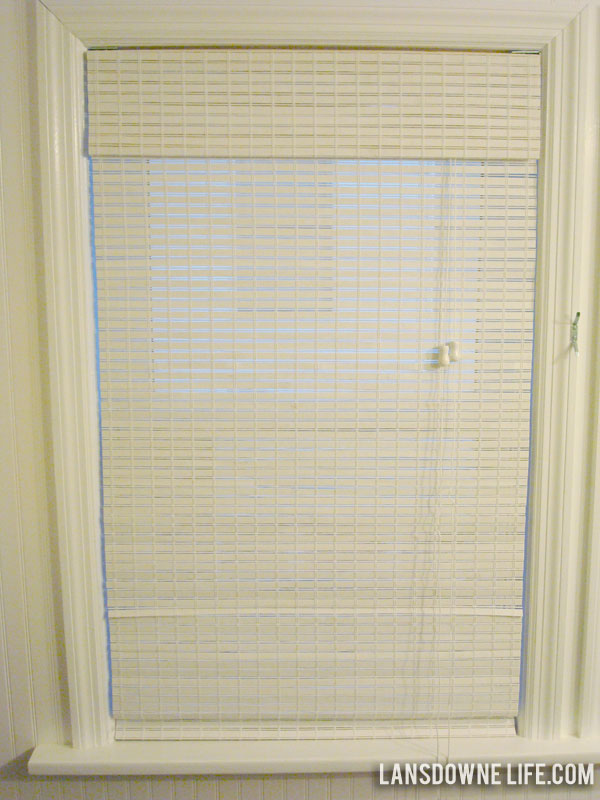
Mount the shade on the window and there’s only a couple of things left to do.
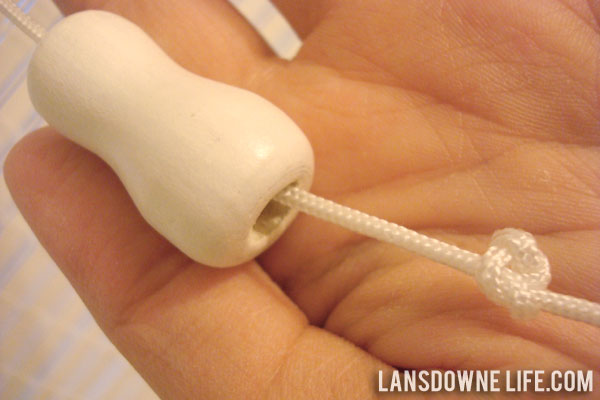
First, you can trim up the pull cords. Move up the knobs and tie a new knot.
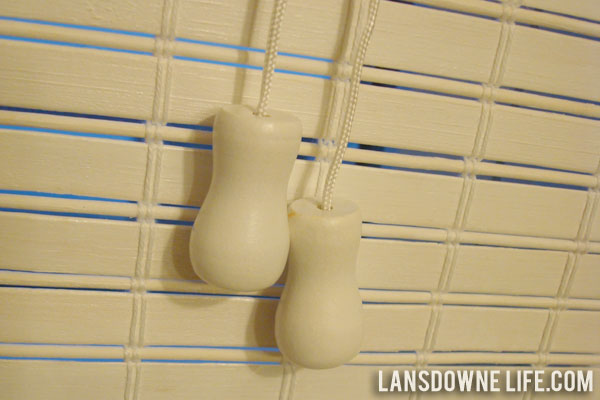
Then chop off the excess string.
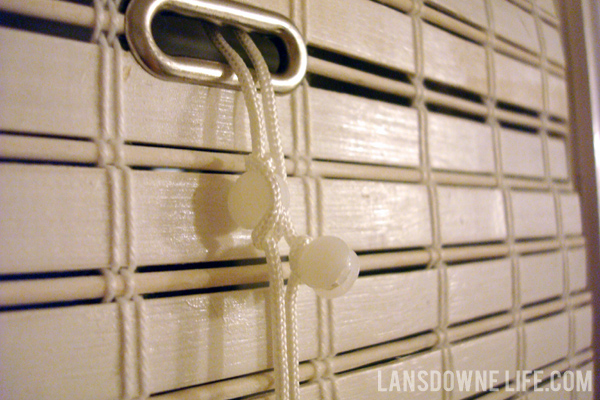
And one last thing. Don’t forget to re-position the cord safety stops. (This should be in the installation instructions.)

Done! Custom-size shades without the custom-size price!


Thank you for showing photos and explaining. Now am more confident to do this.
You’re welcome! There are a lot of steps involved, but it’s pretty easy really. Good luck!
Thanks for the tutorial. Did you purchase these shades white or paint them??
Hi Ryanne,
The shades were already white when I bought them. I got them from JC Penney for a pretty good price (around $25-30 each, I think).
I have almost exactly the same shade in my daughter’s room and it’s way too long. Can’t wait to give this a go. Thanks!
Good luck!
Thank you! We just bought bamboo shades for our family room but had decided we’d probably have to take them back because they are way too long for the windows – 72″ shades on 48″ windows! Now that I see that it’s possible to shorten them, we can keep them. Thanks for sharing your experience in such a clear, easy-to-follow way. The pictures are especially helpful. 🙂
You’re welcome! Glad the post helped!
Yay for this! Although, is there a reason not to cut further than you want, pull out the slats and tie the strings off at the end, rather than hot glue? Just curious if you thought about that but scrapped the idea for a specific reason. Thanks!
I never thought of that! I think it would work. Just make sure you leave yourself plenty of length to tie your knots. And you still may have to use glue or something if you want to “hem” up the bottom slats. Good idea!
Thanks for the clear, easy-to-follow tutorial! I’m deliberating shortening some bamboo roman shades and was skeptical until I found your post. Thanks so much!!
You’re welcome! Like I said above, it’s not hard, there are just a lot of steps. Good luck!
Erin – thank you so much for your tutorial, it’s exactly what I’ve been looking for. My daughter was married last month, so I’m redecorating your bedroom for her my son-in-law when they come to visit. From one crafter to another – I love your blog!
You’re welcome! Hope the tutorial is helpful!
Thank you so much for this post!! You gave me the courage to shorten bamboo roman shades. :0 I cut the pull strings, attached them to the last ring I wanted to keep, cut the blinds to length + 2″, folded over and hot glued them. Viola!! Custom roman shades at a Lowes sales price. :)) The beauty of these shades is that Lowes will custom trim the width and your post gave me the ideas I needed to trim the ridiculous length. They look fabulous and very custom at a super low cost. I’m thrilled!
That’s great, Adriana! Window treatments can be so expensive. So glad the tutorial worked for you!