You might have noticed from last week’s Photo A Day post that we recently visited some friends in Florida.
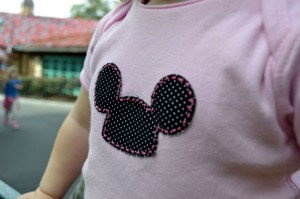
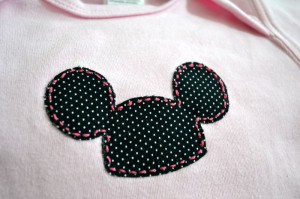
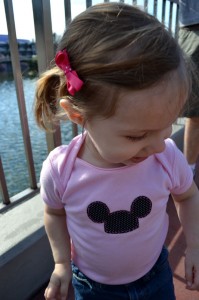
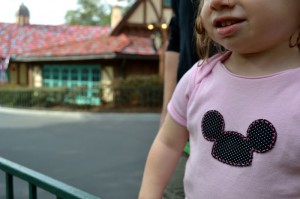
In the weeks preceding our multi-day car trip, I was not concerned with how to keep a toddler occupied in the car or fed properly while on the road, but with finishing this Mickey ears shirt in time. Sometimes my priorities are a little jumbled. No matter. It got done, and it turned out supercute.
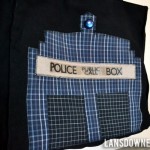
I’ve gotten a couple of questions about doing simple fabric appliqué, so below is a quickie tutorial for all those curious.
You’ll need a fusible webbing product (I use one called Wonder Under made by Pellon), a piece of cotton fabric, an iron, a sharp fabric scissors and a shirt (or something else to appliqué on). Make sure you pre-wash your fabric and your garment.
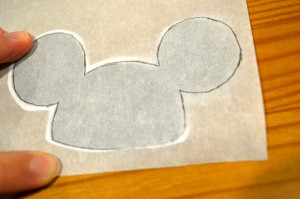
I printed out my shape on regular printer paper and traced it onto the paper side of the webbing. This is going to be the backside of the appliqué, so if the shape is not symmetrical or if you are doing letters or numbers, you will need to trace a mirror image of your shape.
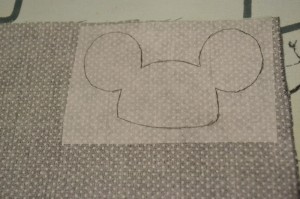
Next, iron the webbing onto the backside of the fabric, rough side down following the package instructions.
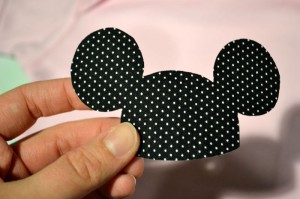
Then cut out the shape with a sharp fabric scissors, and iron it onto the shirt according to package instructions. I got this plain pink onesie at Hobby Lobby for $4.
The Wonder Under I use says the edges can be left as-is or sewn. The edges will fray a little with washings without sewing them, but I don’t think it looks terrible. For this shirt, I hand stitched some embrodiery floss around the perimiter of the mouse ears, but it’s purely decorative.



Hi Erin! Thanks for stopping by LaLaLand and for the compliment.
I love this applique idea! My DH and I went to Disney World for our honeymoon (we refer to it as the Disneymoon) and have our own pair of bride and groom mouse ears. Such a cute idea.