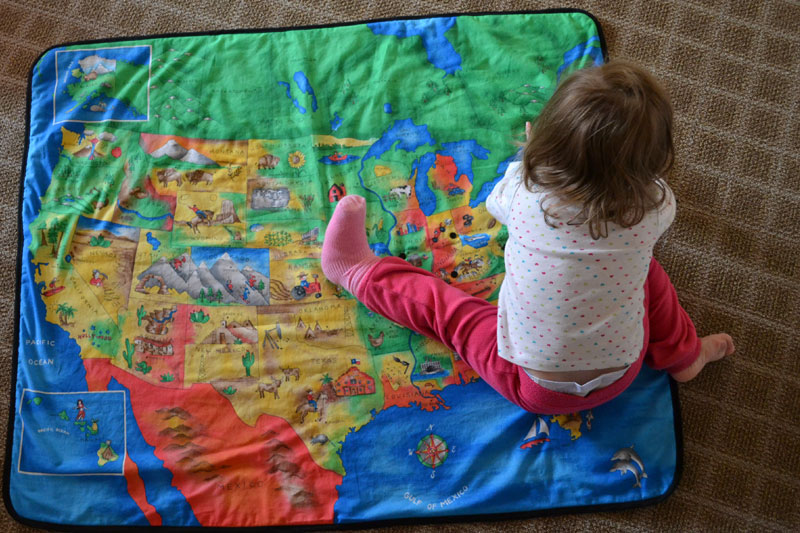
It’s been a month since we got back from vacation, but I still have travel on the brain. I’ve been wanting to make Elise a USA map blanket for a while, but kept putting it off because it seemed difficult and daunting to this beginner-level sewer. It wasn’t! It was easy and it probably only took a couple of hours, uninterrupted.
I stole this idea from my friend Jodi, who has so many good ideas, she really should have her own craft blog.
I followed a simple baby blanket tutorial at Prudent Baby, but my dimensions were slightly larger (final size approximately 34.5″x 42.5″) because of the size of the map panel.
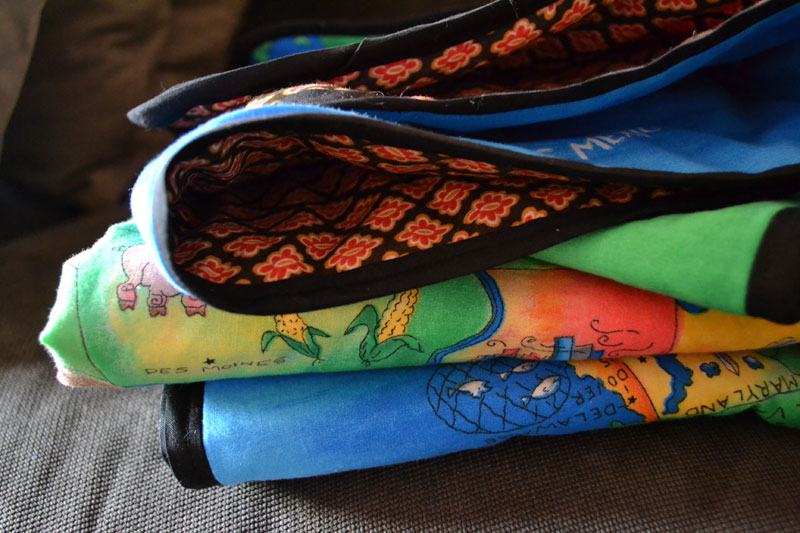
The hardest part of the whole project was getting all three layers (fabric-batting-fabric) sandwiched together without any bubbles or wrinkles. There is probably a trick to this of which I am unaware. Any advice would be appreciated!
I had never worked with bias tape before, so this bias-tape tutorial (also at Prudent Baby) was helpful.
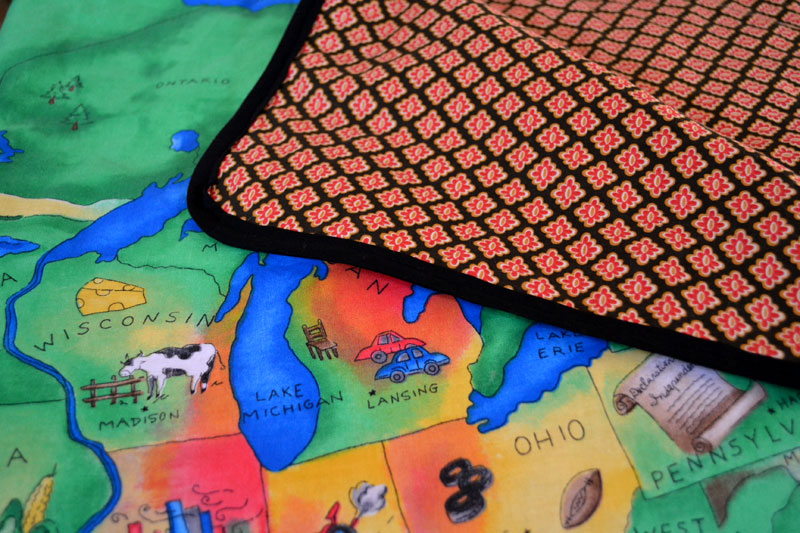
I had to search for a backing fabric that would balance the bold graphics and intense colors of the map. I wanted something fun and youthful, without being too kiddish (the map is kiddish enough), and I think I found it in this pink and gold fancy diamond pattern.
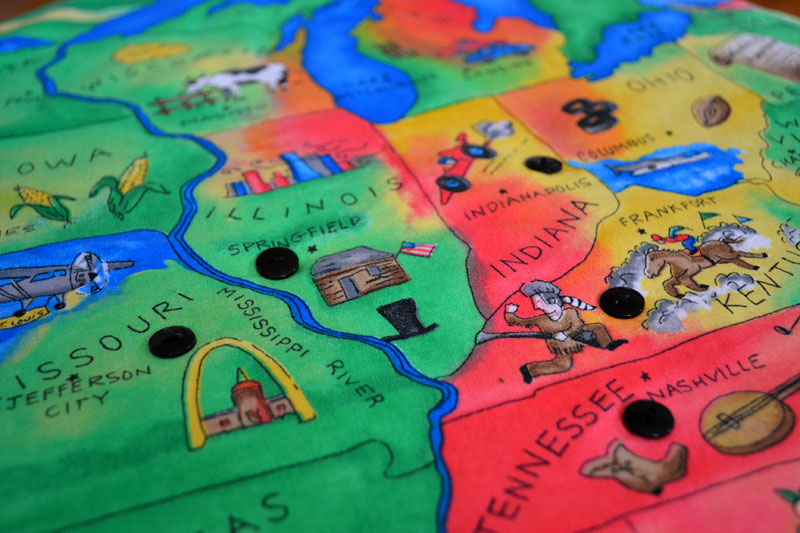
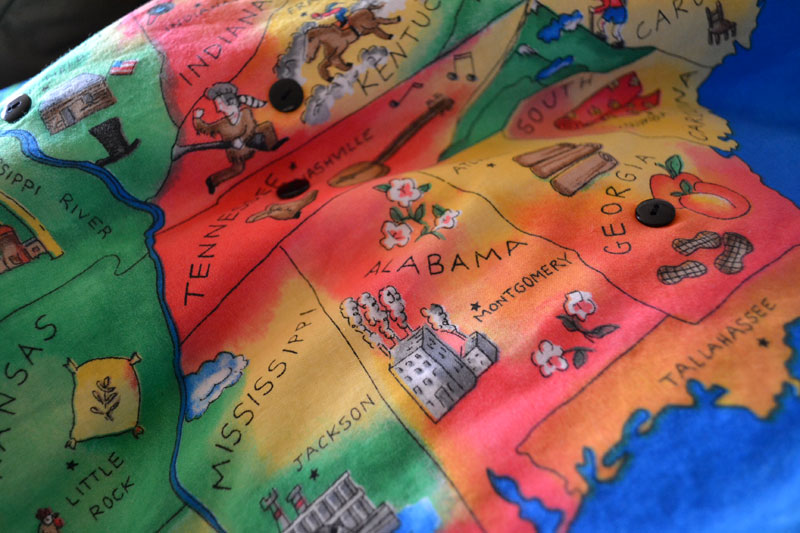
After all was done, I sewed a button onto each of the states Elise has already visited (also Jodi’s idea), so we can remember her travels. Obviously she’s a bit young for geography, but it’s such an awesome learning opportunity to have around when she is ready.
The map also has some of the Canadian provinces on it, so maybe she will learn something her momma never did. (And maybe momma can can learn them along with her!)
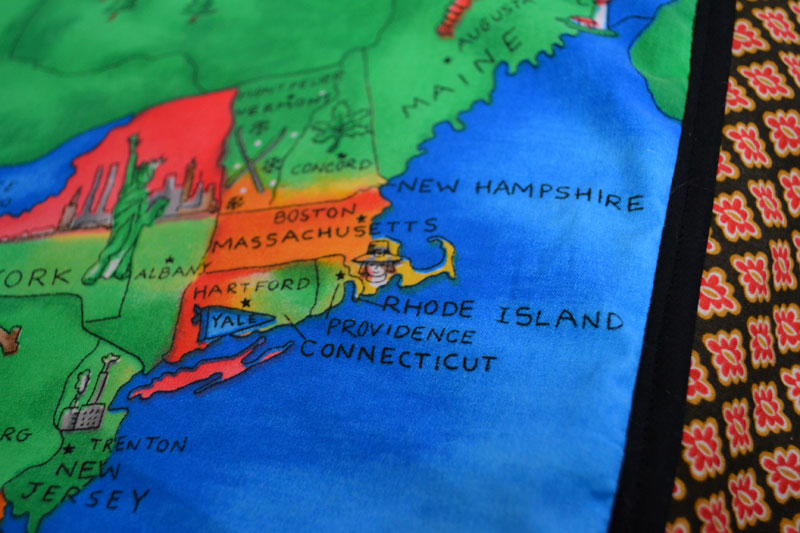
I am especially proud that I didn’t cut off any of the state names. Rhode Island and New Hampshire were perilously close to the edge of the fabric and I was so afraid they were going get lopped off. Seams were ripped out and resewn (as is tradition with most of my sewing projects), but it all worked out in the end.
And now I will share with you two areas that could have been improved.
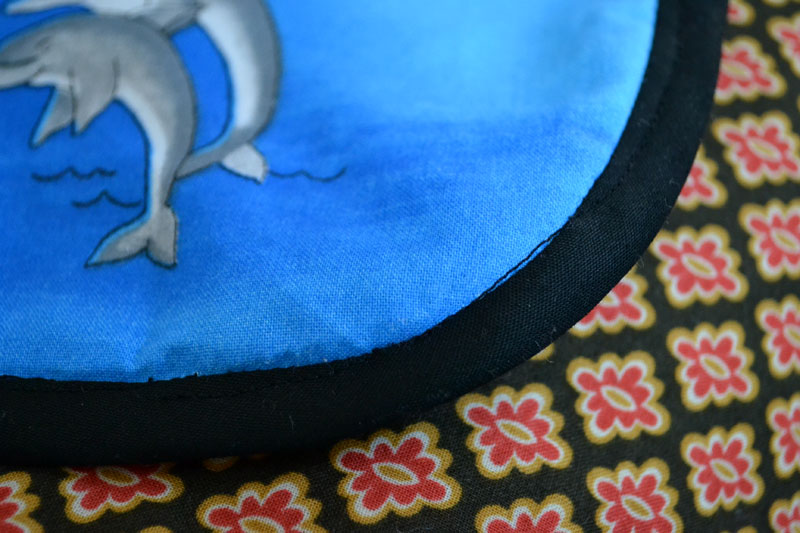
1.) Three out of four of my corners look like this, where I didn’t exactly keep my stitching on the front of the bias tape. Clearly I need more practice sewing curves.
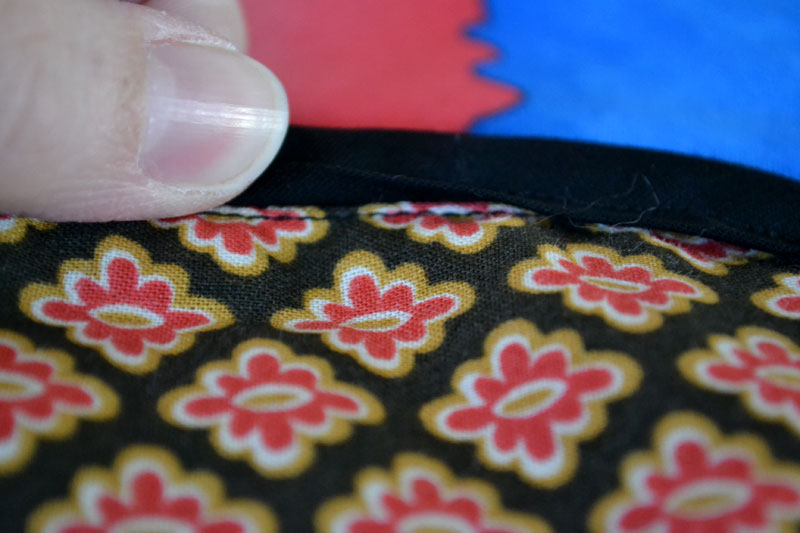
2.) When you lift up the edge of the bias tape on the back, you can see the basting stitch. Maybe that’s normal. Because it’s hidden, it doesn’t bother me so much.
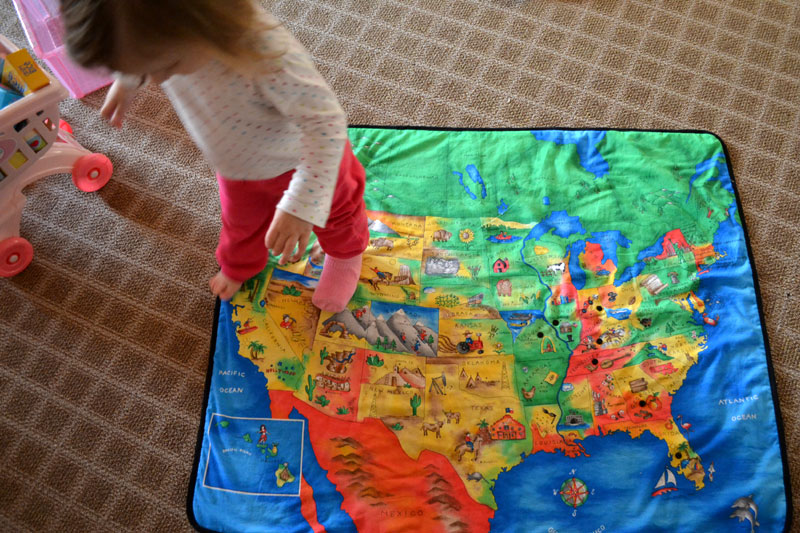
p.s. The map panel is by Fabric Traditions and the graphic diamond print is Madagascar by Dena Designs for Fabric Traditions. Both are in-stock at Jo-Ann Fabric.


erin – here is what i do when i quilt to baste the layers together: 1- tape the top of the bottom fabric to a large table, 2- layer the batting and top fabric, 3- smooth out any wrinkles, starting from the center 4- start in the middle and sew the layers together with a giant basting stitch (a couple of inches long and a few inches apart) with a curved needle, working my way to the edges and smoothing out as i go (i don’t put knots in or anything). some people do this step with curved safety pins. then you can yank out the stitches when you’re ready to do the binding. woo!
or when then binding is done if you’re not quilting the layers together.
Interesting. I guess the curved needed/pins are just to make it easier when working on something flat?
My layers kept clinging to each other in the wrong way, which was my major problem. After all was smooth and pinned, I did a machine basting around the edges. After that I was fine. It was just up until that point. The final blanket is quite smooth.
I am not sure I will be becoming a quilter anytime soon, but I think this blanket would have looked so cute with the borders of the states quilted.
yeah, with the curved needle, you can easily baste the layers together while the fabric stays pretty darn flat. you could always go back and quilt around the states – it could be an ongoing project – all you need is a needle, threat, and a thimble!