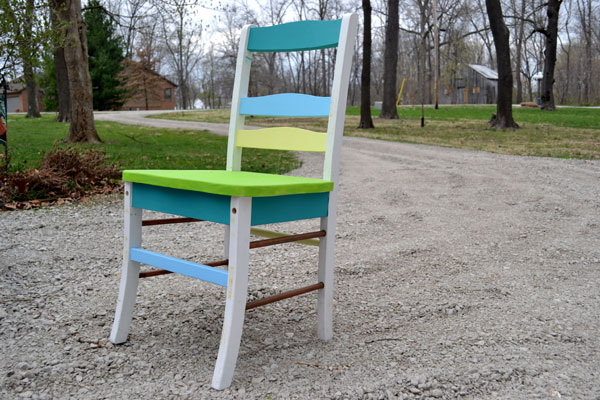
On a recent trip to my parents’ house, I retrieved this old chair that was in need of some love.
Before
It was suffering from a half-finished, decorative paint job I attempted years ago after finding the chair in a dumpster.
Before
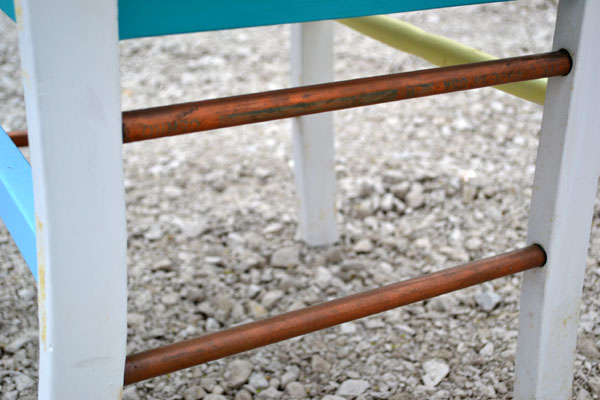
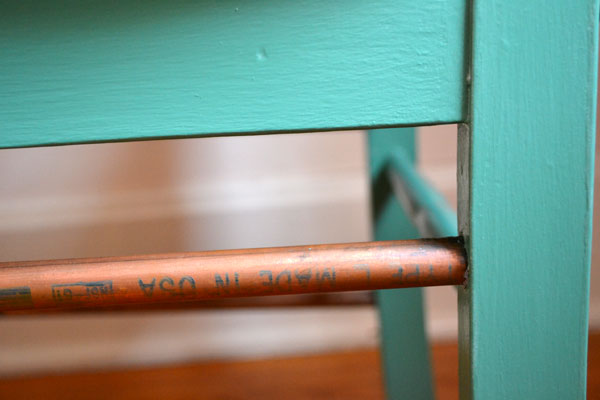
In pieces when I found it, it was missing a few spindles at the bottom. I replaced the missing pieces with lengths of copper pipe. I still like the pipes, but I am not sure what I was thinking with that crazy color scheme. Don’t judge!
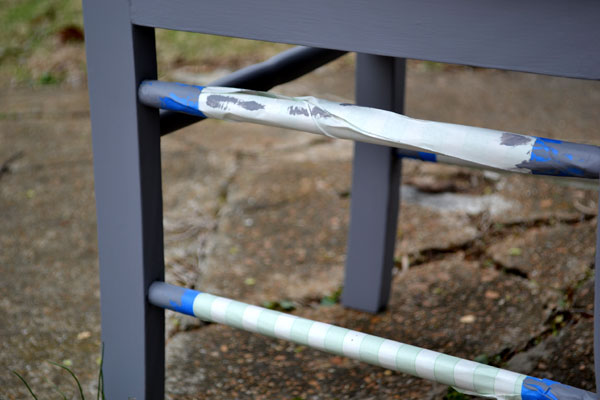
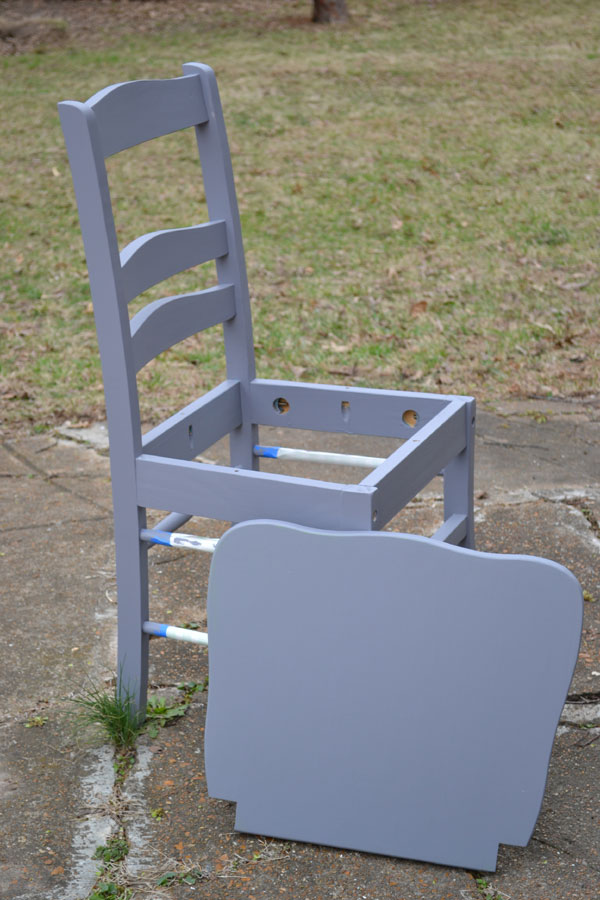
I sanded the whole thing to take off some of the basement grime. Then I masked off the pipes with some painters tape and paper.
Because I planned on painting a deeper color, I did an undercoat with some flat gray paint I had on hand, minimizing the number of top coats I would need.
You might be wondering, “hey, where’s the primer?”
In my experience, primer is only necessary when you’re painting over a smooth finish. Like painting over semi-gloss with something a little less shiny like eggshell. You’ve got to give the paint something to stick to. The only other times you might need primer are: 1) when you have completely bare wood, and that’s just because it’s so porous, the wood is going to soak up the paint like a sponge. Primer is cheaper than paint, so let the wood soak up primer instead of your paint. And 2) when you’re painting over stain, just so that the color doesn’t bleed through.
In this case, the paint already on the chair had a flat finish and I knew additional coats would have no trouble sticking.
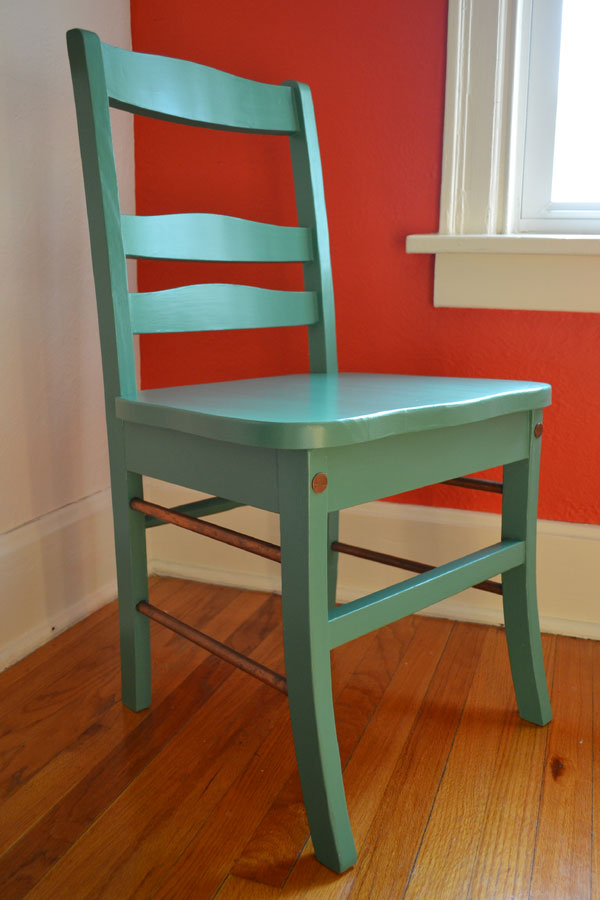
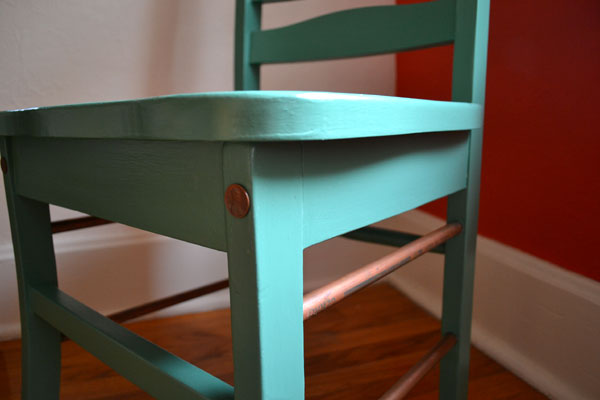
I bought a little sample pot (8 oz.) of paint and that was more than enough to do the job. There’s not a lot of surface area on a chair like this, so you can get away with a teeny bit of paint. I chose a green sort of similar to the green patina copper gets when it oxidizes, “Sheffield” by Olympic (the low VOC brand from Lowe’s).
Because of the gray undercoat, I only had to do two coats of the green, using about half of the sample.
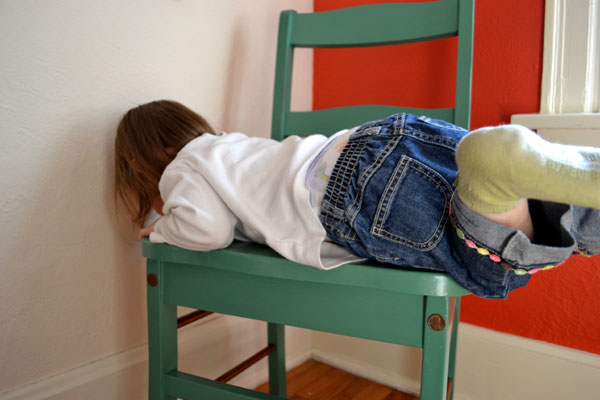
After the paint was dry, I did two coats of polyurethane. The finish is a little more “layered” than on other pieces I’ve done, with visible brush strokes, but I think it coordinates with the casual shape of the piece. Gives it character.
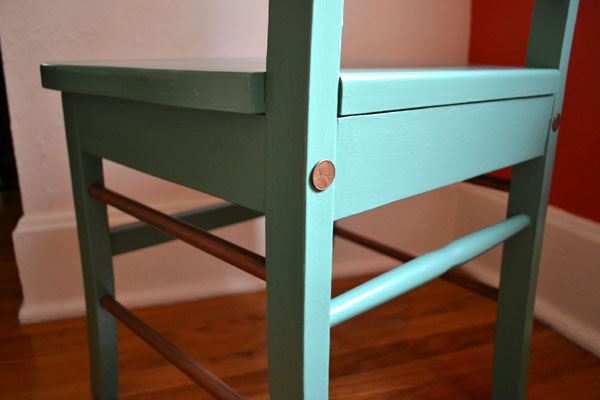
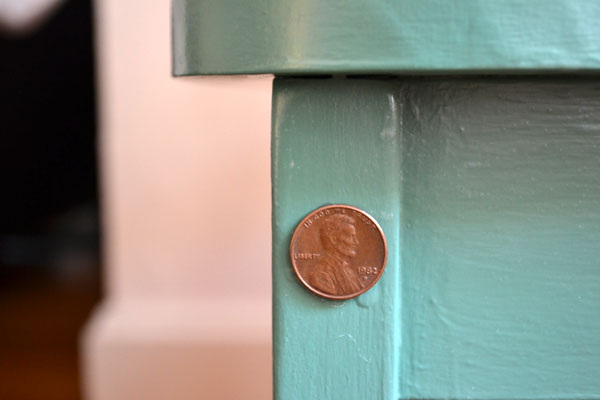
I bought some of those wood plugs to fill the screw holes, but they didn’t fit correctly despite being the “right” size. In a moment of impulse, I decided to cover the holes with pennies. I sifted through my wallet for some older coins that matched the finish on the copper pipe. The plugs were going to look conspicuous anyway, and I thought the pennies were a whimsical touch.
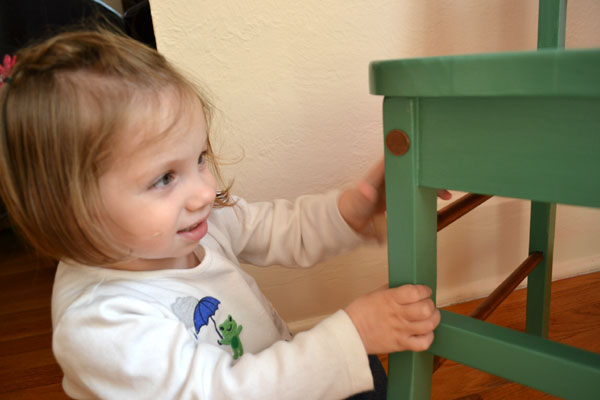
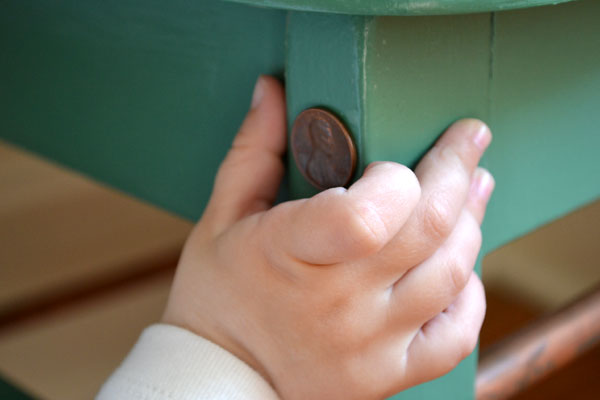
Elise likes them too. Don’t worry, they are hot glued on. I couldn’t pry them off with my fingers, so I don’t think she will be able to.
I’m not exactly sure where it is going to live in our house, but I’m of the opinion that an extra chair is always a good thing.



What a great post.Very creative idea.Keep it up
Dumpster Rental