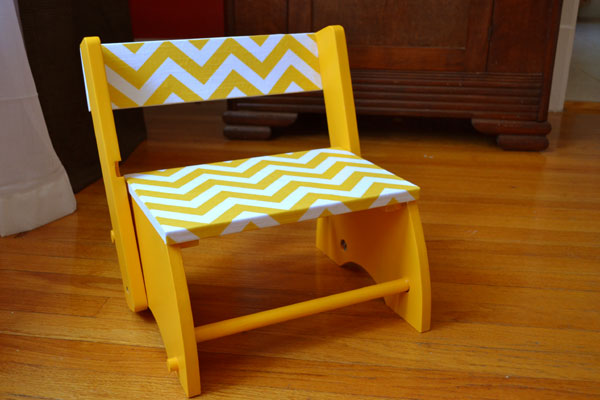
I found this kid’s chair on clearance at Home Goods a few months ago for five bucks.
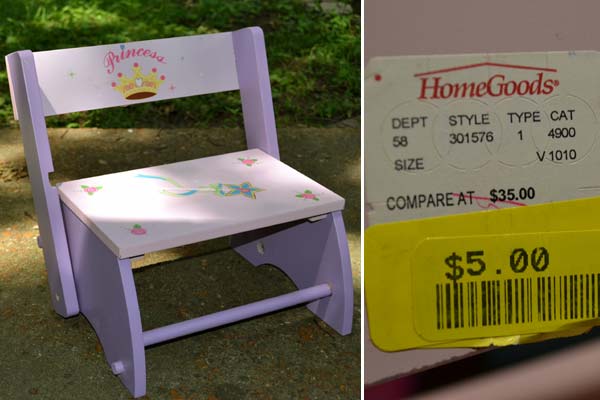
Before
There wasn’t anything wrong with it… except that it was ugly. (Seriously ugly.) And I do my best not to encourage the “princess” stuff too much.
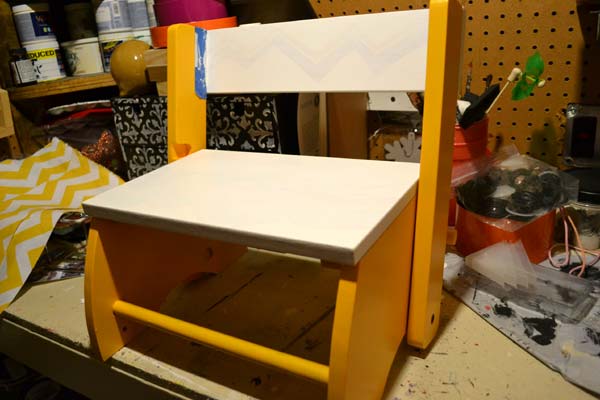
I painted the body of the chair and started to do something decorative on the seat and the back, but I didn’t like how that was turning out, so I primed over it. I thought about decoupaging it, but the seat is about 13 inches wide. Too wide to use a piece of card stock like I did on this step stool makeover. So it sat for a couple of months until I figured out what to do.
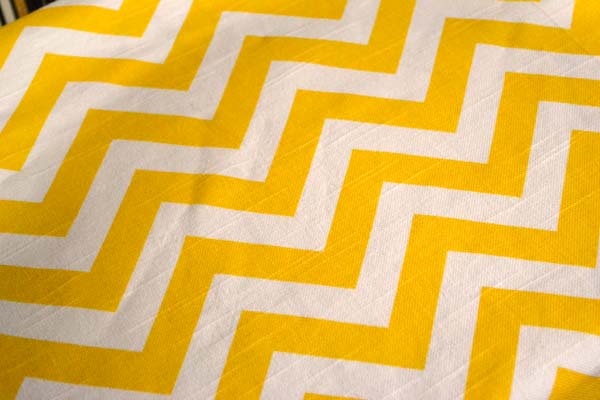
Then I found this awesome yellow chevron patterned fabric remnant for $3. It wasn’t quite a full yard, and I didn’t know what I was going to do with it, but it was so pretty, I snapped it up immediately. It wasn’t until I got it home that I realized it would be perfect for my chair.
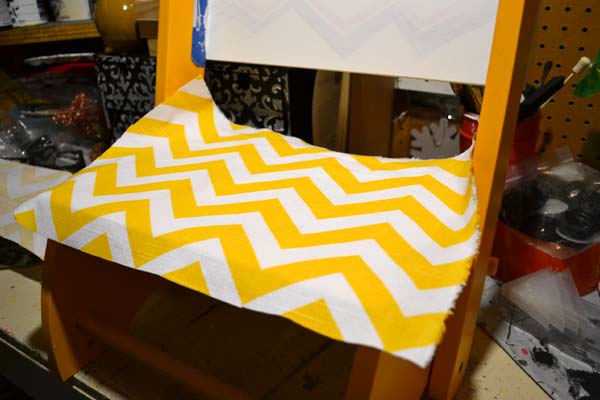
I cut two pieces of fabric, each slightly larger than the surfaces I wanted to cover: one for the back and one for the seat.
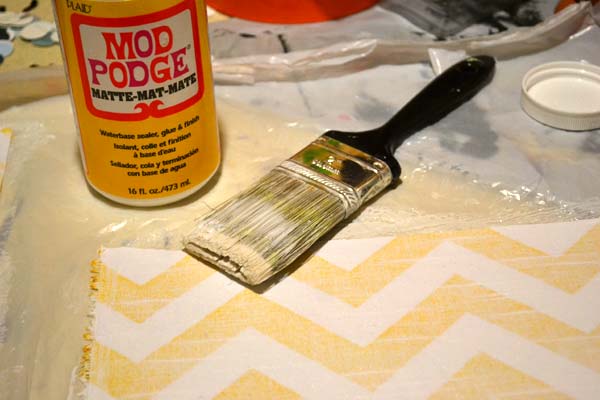
I flipped the fabric over print side down and spread Mod Podge all over the back of the fabric with a large paintbrush. The brush forced the Mod Podge into the fibers in a way that a foam brush probably would not. I just used regular Mod Podge and it worked fine, though they supposedly do make a version for fabric. (The Michael’s I go to didn’t carry it.)
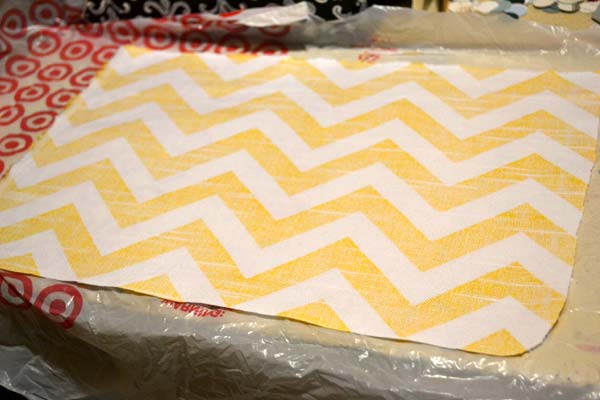
It’s important to note that I did this on top of a piece of plastic. You don’t want your fabric to stick to your work surface! I used a plastic bag I cut open and spread out, but you could also use plastic wrap or something like it.
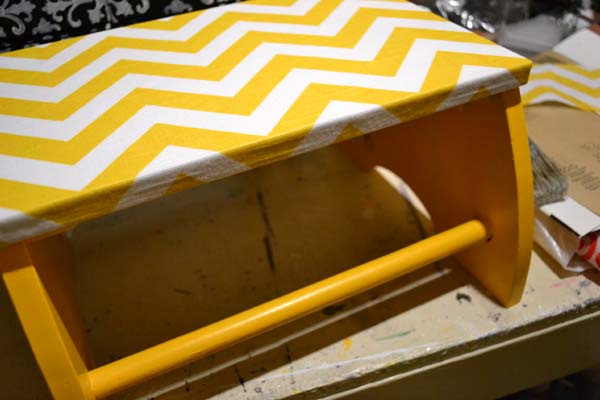
After the fabric had dried, it was still very pliable, but slightly stiff, sort of like oil cloth or vinyl. This made it very easy to apply to the surface of the chair. I covered the seat with a layer of Mod Podge and smoothed the fabric out. I wrapped it around the edges and trimmed where necessary. So much easier to work with than paper, actually! You can re-position the fabric and adjust as necessary without fear of peeling or tearing.
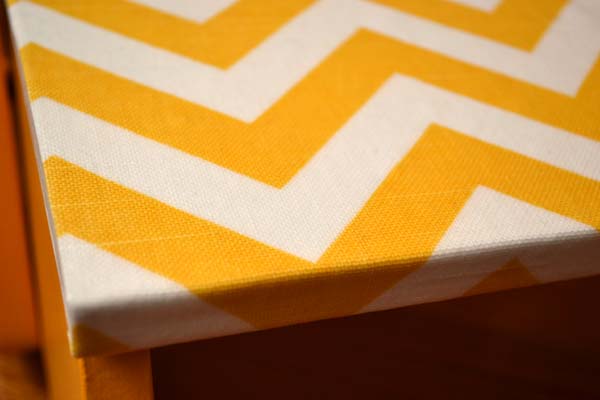
After that was dry, I top-coated with two more layers of Mod Podge and a layer of water-based polyurethane. The texture of the fabric is still there, but it’s sealed and smooth-ish.
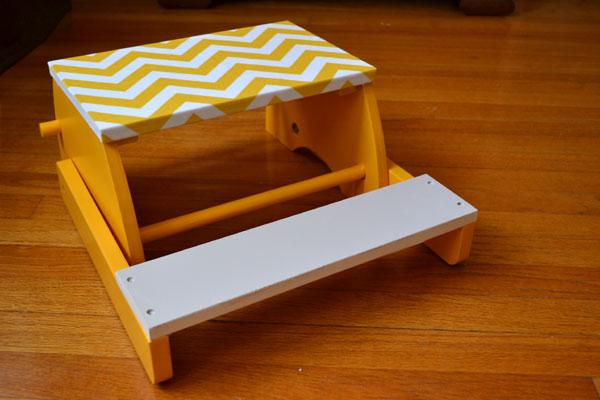
Don’t tell Elise, but her “chair” also flips down and becomes a step stool. She might get ideas about using it to get a leg up into my craft/office wardrobe.
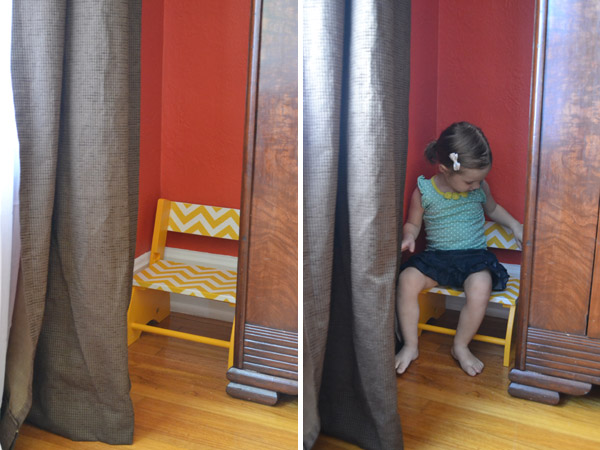
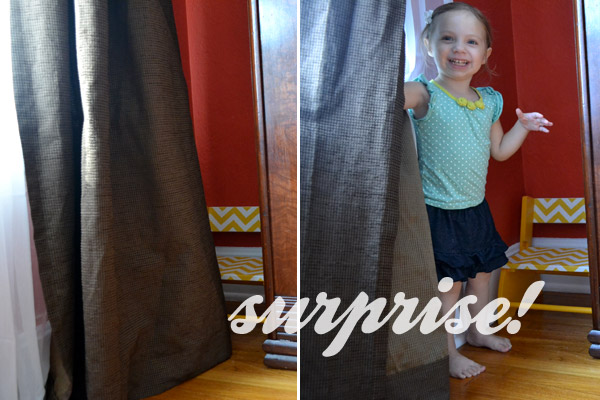
We have this tiny corner in our dining room behind the wardrobe where she likes to sit and hide behind the curtains, so I thought it was the perfect spot to tuck this tiny chair.
p.s. I had never Mod Podged with fabric before and this video tutorial at Mod Podge Rocks was really helpful.


Hey Erin! This is one of my favorite projects ever! It’s SO cute, I can hardly stand it. Plus I’m loving yellow lately, a lot.
Aww thanks, Amy!
I have started covering an old cabinet, (it was stuck in the corner of my bathroom), with fabric,and I am going to use it to hold my crafting items! Will post pics when done! Mod-Podge ROCKS!!!
Fabric really is so much easier to use on larger surfaces. And Mod Podge is quite addicting! Good luck!