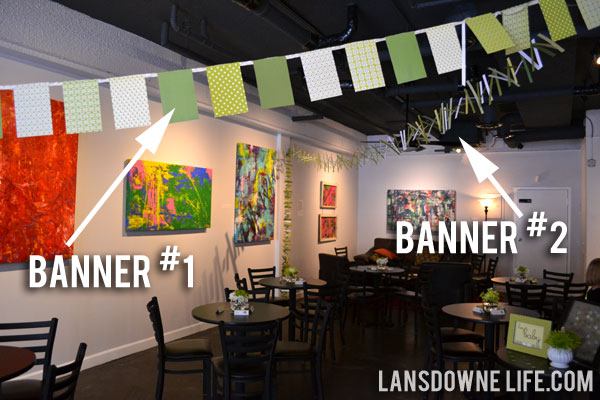
I love love making paper banners for parties. They make a space look festive and although they are inexpensive and easy to make, they don’t look cheap. I made two different banners for the baby shower I featured last week… here’s how I made them!
Banner #1 – Patterned paper pennant banner
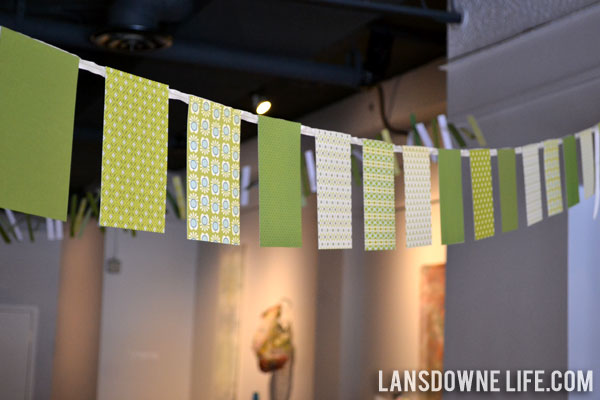
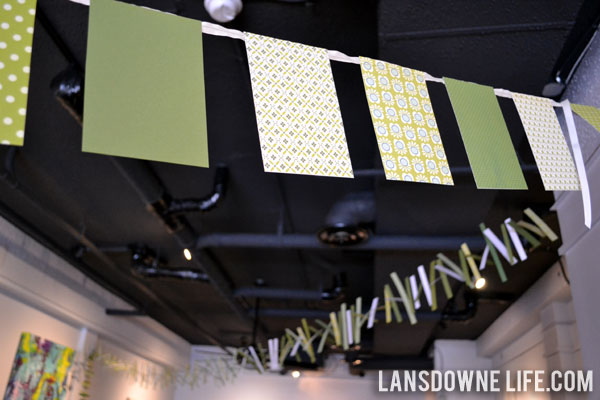
I wanted this banner to be durable enough to re-use in the baby’s nursery, so I made it with thick patterned card stock, sewing it to a length of grossgrain ribbon.
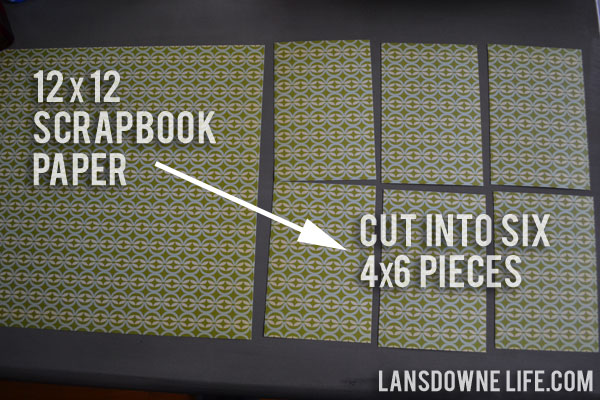
I cut 12″ x 12″ sheets of patterned scrapbook card stock into six equal 4″ x 6″ pieces. I used double-sided card stock so the banner would be pretty both from the front and the back. This also doubles the number of prints in the mix! (Just make sure you like both sides, if you’re aiming for a two-sided banner.)
After all the pieces were cut, I took the length of ribbon, lined the top of the papers along the edge of the ribbon and sewed as straight as possible down the center of the ribbon. This is a lot like this other paper garland I made, but the cards are flat and not folded.
It’s a good idea to leave a long (1-2 foot) leader of ribbon at each end so that you’ll be able to tie the banner onto something. You can always cut it off if you don’t need it, but it’s good to have the flexibility.
Banner #2 – Paper scrap strip garland
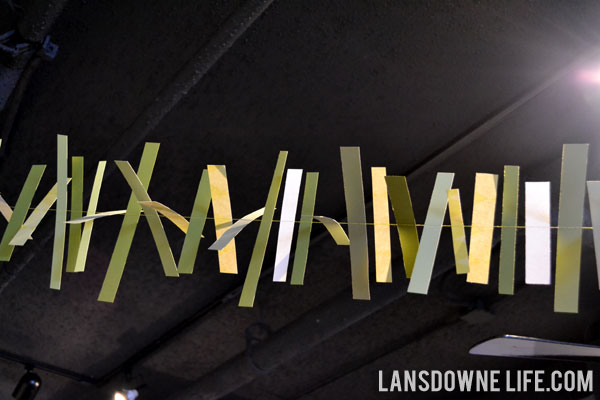
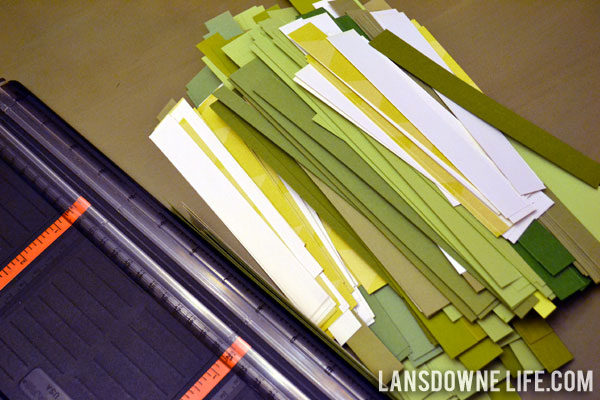
Unlike banner #1 above, I didn’t expect this one to be reused in any way, so I used a ton of scraps and supplemented with a few whole sheets of card stock. This is a great way to use up all those long skinny pieces.
I combined many different shades of green (mostly yellowy greens), but I think they all look great together.
I cut a large amount of strips of all sizes, though I think the longest strips here were about 8.5″ long. You could certainly do this with a uniform size, but having everything random and varied gives the banner a more interesting look. Plus you don’t need to be worried about being precise at all.
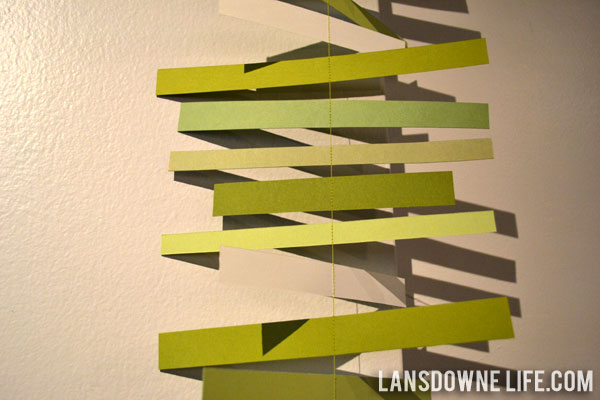
After all the strips were cut, I put them through the sewing machine, one by one, sewing more or less down the centers, leaving a small gap in between each piece. The thread is strong enough to hold it together and because it’s just a thin thread, the strips fall side to side and create a wonderful messy effect. I will warn you that I ended up having to hang this from a nail in the wall, rather than tacked up with tape. I guess it was just a little too heavy for tape.
This banner took about two hours to make from start to finish, but I made it way way too long. I probably could have made it half the length it was, so a shorter length would definitely take less time to complete.
Check out my Party Ideas section for more paper banners and other party decorations!
