
Remember the collection of ugly, embarrassing things I showed you last fall? This small leak above our fireplace was probably the most embarrassing for me. Maybe because you could see it as soon as you walked through our front door. Maybe because it nagged at me everyday.
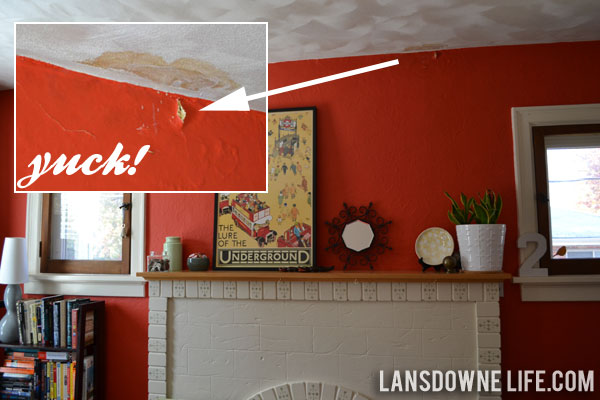
It never gushed water or anything. I’m guessing there was a tiny crack letting in a drop at a time and, over many months, that led to bulging plaster.
But now that we replaced the roof (and all the other stuff) in December, I’m going to assume the leak is now fixed. And after letting everything dry out for over a month, I decided it was time to take care of the cosmetics.
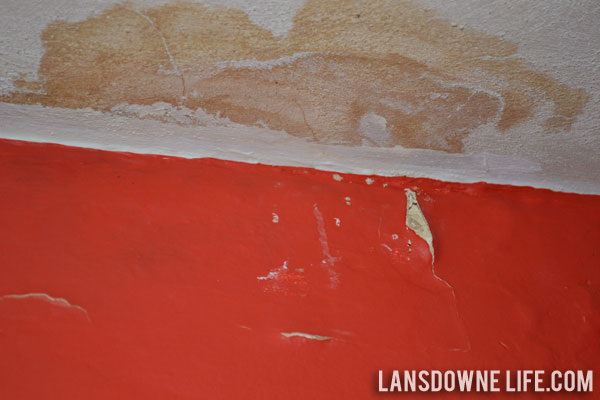
Let’s get one last close look at that grossness. Eww.
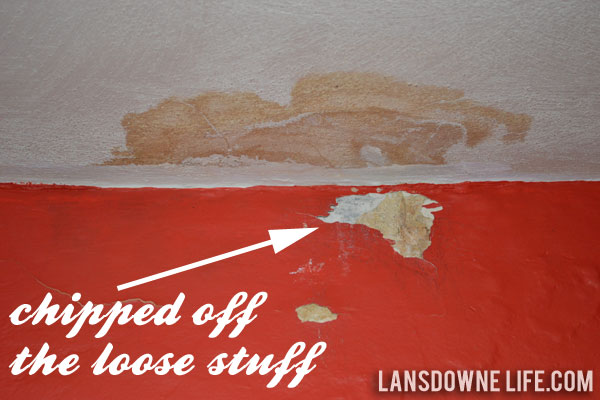
First, I needed to chip off all of the loose plaster on the wall. It didn’t take much for it to start crumbling. I actually just used the end of the vacuum hose to scrape it gently until the area was flat-ish. Easy clean up!
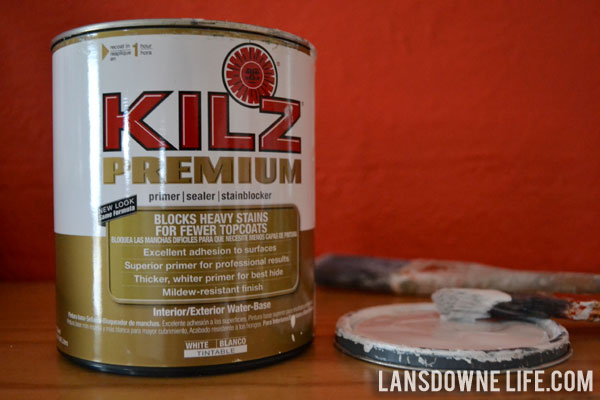
And then I violated my own rule of having all the materials present before starting a project. I hadn’t yet bought the patching plaster to repair the wall, but I did have the stainblocking primer to fix the ceiling stain. So onto the ceiling!
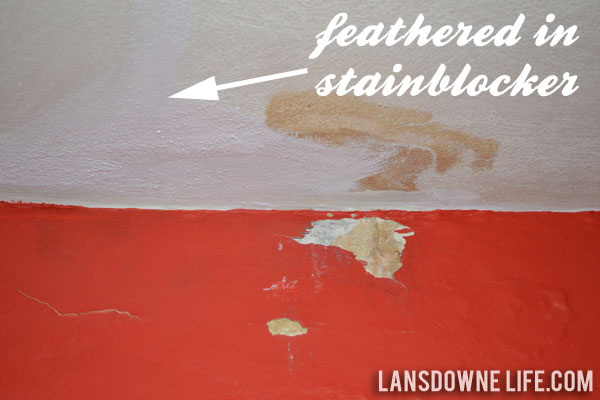
Our unpainted plaster ceiling has a texture to it, which made it a little daunting to paint just a portion of it. (You can sort of see the texture in the second photo above.) I wasn’t interested in repainting the entire ceiling, especially just to cover up this one little spot, so it was important not to just glop on some paint. I painted over the stain with a light touch, feathering out the edges so they blended in with the texture of the plaster.
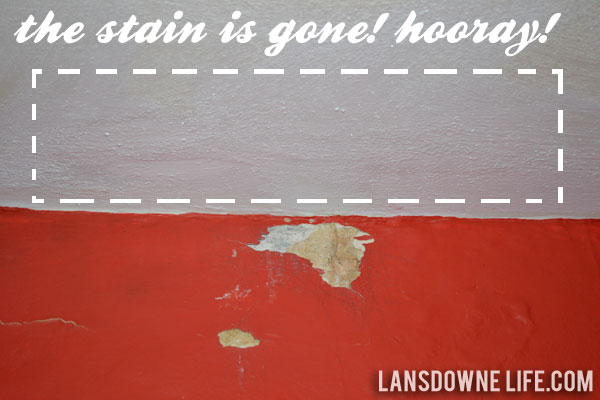
That latex Kilz stuff is pretty amazing. One thin layer and the stain was completely undetectable. It looked pretty good just like that, so I didn’t paint over the primer. Ceiling done!
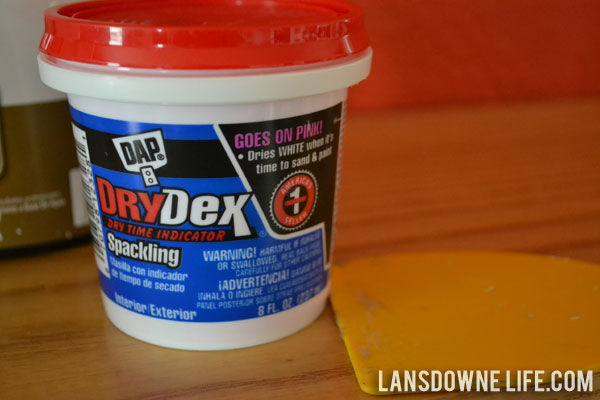
With patching plaster in hand, it was onto the wall. Well, I guess this is not really plaster but spackling. Anyhow, this stuff looks like pink cake frosting and spreads like it too.

I used a putty knife to spread it on the wall and then used my non-traditional finger-smoothing method to try and match the wall’s texture.
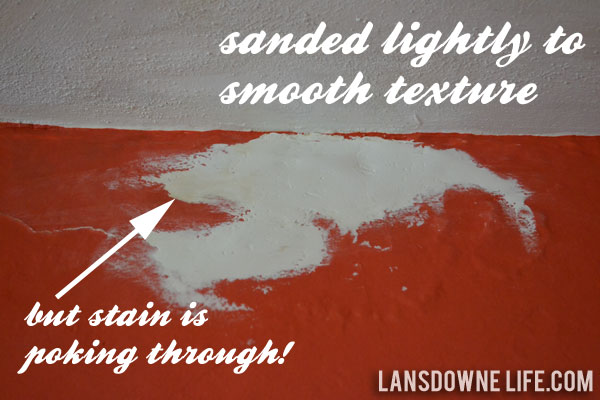
After everything was dry, I sanded the area lightly with some 100 grit sandpaper. It’s nearly impossible to match the look of the old plaster, but I think I made it look OK. As long as it doesn’t draw attention to itself, right?
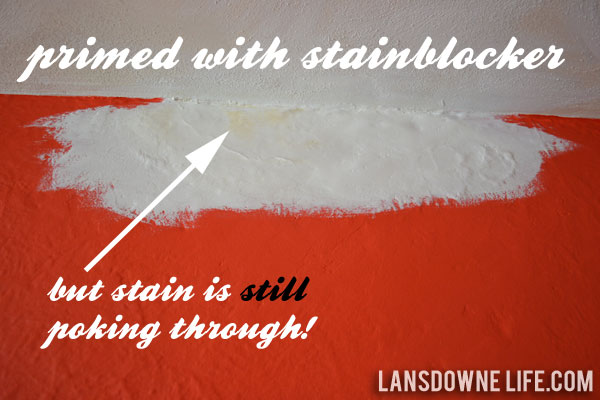
Some of the stain had started to peek through the plaster, so I gave it a coat of the Kilz stainblocker. But the stain just wouldn’t die. I knew from a similar situation with painting our basement windows that the primer would block the stain despite being stained itself. Still, I gave it a couple of additional coats to be safe.
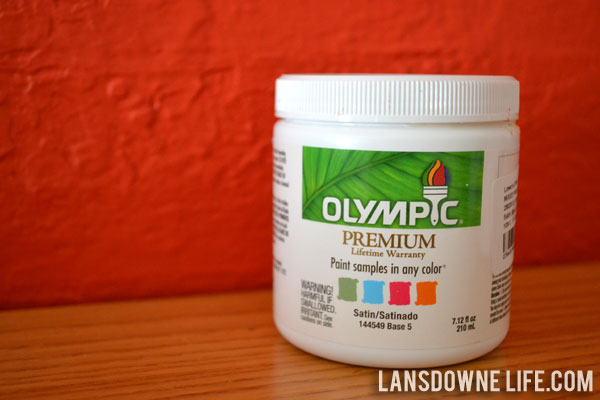
Time for paint! Unfortunately, I didn’t have any more of the paint I used on this wall. At all. Not one drop. So I bought a little $3 sample in the same color and gave it about four coats. The existing paint is an eggshell finish and the sample is satin, but up near the ceiling, you really don’t notice a difference.
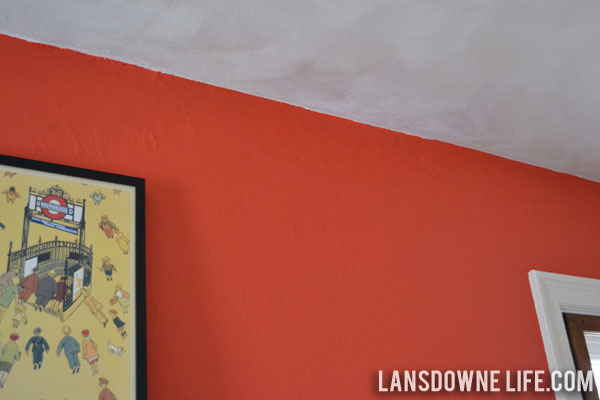
What’s that? You can’t tell where the stain was? Can I get a yip yip?
p.s. The color of my living room and dining room (Wet Coral by Olympic) is pretty much Pantone’s 2012 color of the year. I’m four years ahead of the curve! haha.




Thanks for posting! I’m dealing with some stained plaster too today, and noticed that after I put on the patching plaster, the stain started “poking through” the patch. Going to pick up some of that Kilz primer this afternoon!
That latex Kilz primer really is great stuff. Hope it works for you!
The Kilz premium is working so far! I also wanted to comment that our walls and ceilings have that gritty/sandy texture like your ceiling. To help the smoothly sanded plaster patch jobs blend in, I’ll use some “orange peel” spray texture from the hardware store before painting. I found medium and large cans in the plastering/patching section of the hardware store. The cans can be adjusted to fine, medium, and heavy textures.
Interesting! I’ve never used that stuff. Luckily, I didn’t have to patch my ceiling, but I imagine there may be a situation where I will in the future. Thanks for the tip!