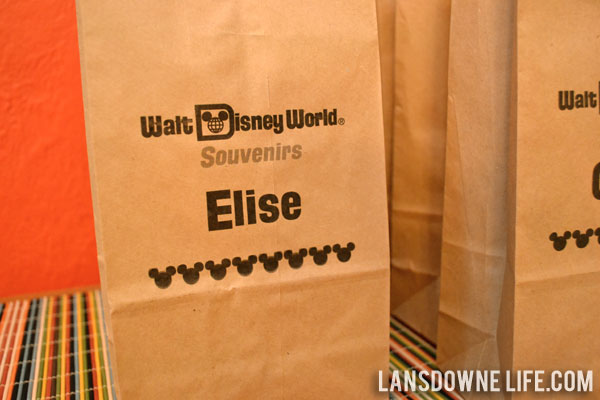
I love party favors. I know some people think they don’t matter, but I love being able to send everyone home with a little something.
Kid’s favors have a reputation of being junk, so I wanted to create something non-disposable. And when I ran across this coin purse tutorial, I knew it was what I wanted to do.
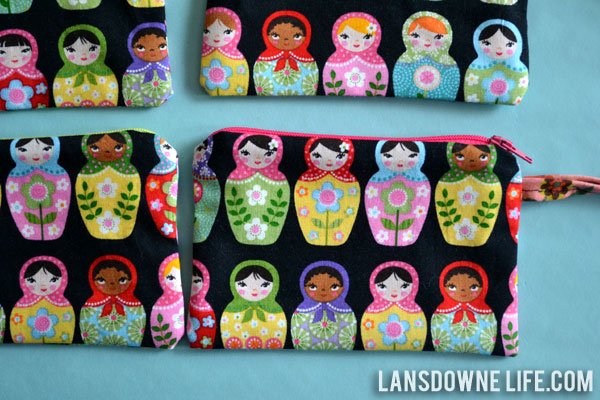
I’m telling you these are not hard to make. I know some of you won’t believe me, and you’ll be freaked out by the zipper. It’s a lot of steps and a little bit of thinking inside-out, but they are easy. I think each one probably took about 20-30 minutes.
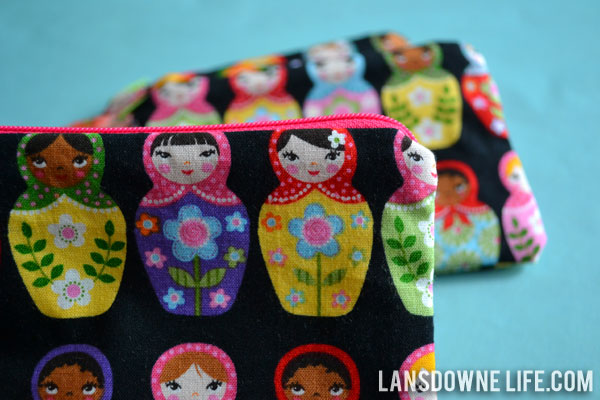
I thought this nesting doll fabric from Jo-Ann was vaguely “it’s a small world”-ish, yes? No? Either way, it’s super cute. But it required some extra thought to figure out how to cut the print. No headless nesting dolls, please.
I fudged the dimensions a little from the tutorial linked above and used two pieces of fabric at 6.5″x9″ each.
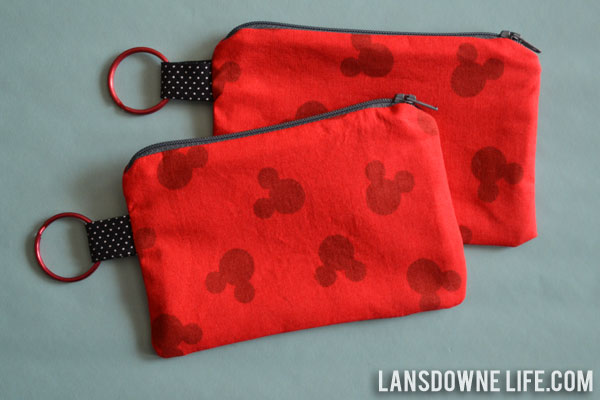
For the boys, I was initially going to use a train fabric to represent the Disney World Railroad, but everything I located was either too ugly, too themed (Thomas/Dinosaur Train/Chuggington — man, there are a lot of train shows), or more than I wanted to spend ($16/yd.). Don’t tell those train-loving little boys!
I finally ran across this Mickey Mouse fabric at Hobby Lobby. I was sort of surprised it was so simple and understated given that most licensed character fabrics are so gaudy.
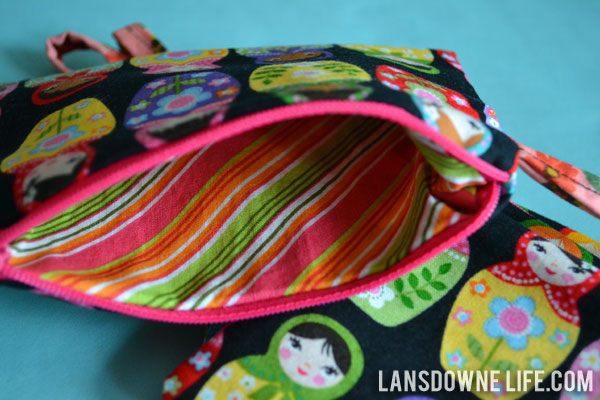
I used all stash/scrap fabrics for the linings and the straps, and the fabric for the outside layer cost something like 60 cents per pouch. (And the Mickey fabric was more like 40 cents per pouch!) It’s such a very small amount of fabric that is required.
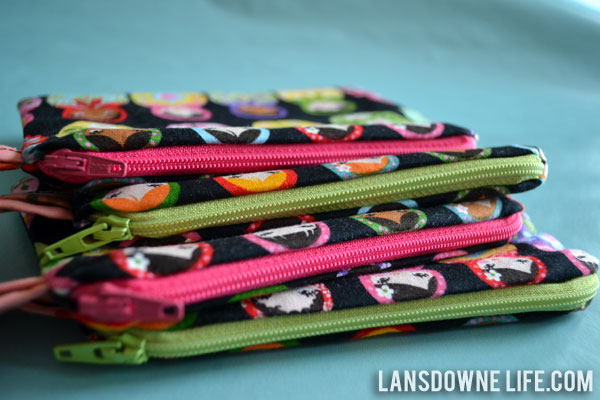
I bought the zippers from zipit on Etsy and would definitely order from them again. I think they cost something like 60 cents each shipped! And they come in a zillion colors.
But what would a goody bag be without some requisite junk trinkets? I was proud to stay relatively on-theme without getting too caught up in the Mickey Mouse Clubhouse machine.
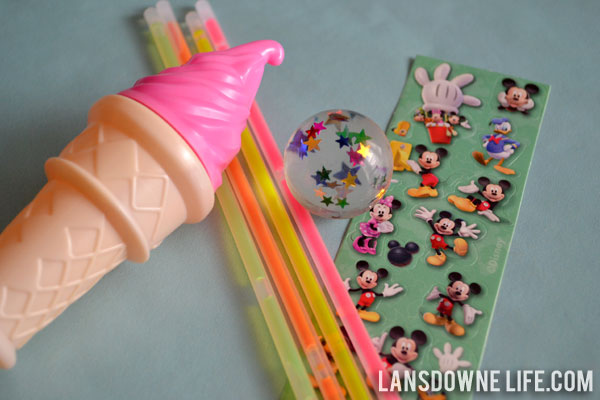
The ice cream cone shaped bubbles were 3 for $1 from Dollar Tree. The glow bracelets were 15 for $1 from Michael’s. The star glitter bouncy balls were 25 cents each from Party City. (They are also available at Target for the same price, 8 for $2.) And the Mickey Mouse stickers were 8 sheets for 99 cents at Party City.
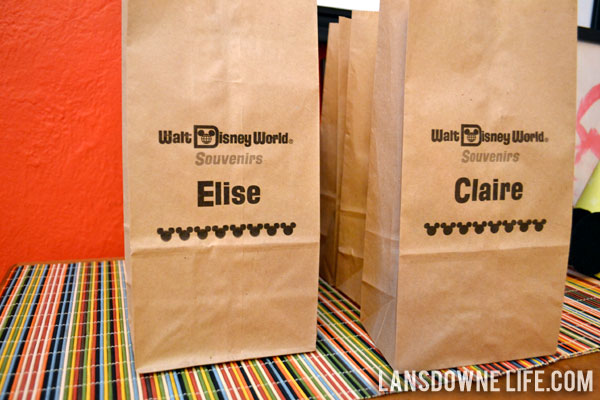
For the favor bags, I wanted to use some plain brown paper lunch bags I had instead of buying new ones. I thought I would dress them up by printing directly on the bags.
I wish I could say that this was a great idea, but in actuality, it was pretty frustrating. Thank goodness I only wanted to print six bags; more and I would have completely abandoned the idea altogether.
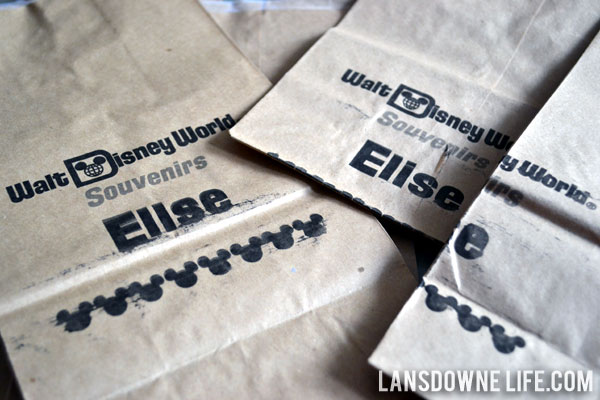
After experimenting on my own, I finally decided to look for help and found this tutorial (Sorry, that blog no longer exists!) explaining how to tape down the edges. That helped, but I still had some problems. For every one bag that printed (more or less) correctly, two misprinted or got jammed up in the printer.
And the “good” ones still have some smears on them. I think it sort of added to the look. (At least that’s what I’m telling myself. My non-designy husband agreed.)
I have an HP printer that sucks the paper in from the front and flips it around inside the printer (those with HPs know what I’m talking about), and that probably didn’t help. Maybe if you have a printer that feeds paper in straight through, you might have a better success rate.
———————————————-
09/02/2013: By request, I’ve made the “souvenir” favor bag into a free printable template. The name field can be personalized or deleted and left blank. Customize a few for your Disney party guests! Template is designed to print on plain lunchbags (5 1/8″ x 10 5/8″ size).
Download Walt Disney World Souvenirs Party Favor Bag Template >>
Click on the link above, then save the file to your computer by selecting File > Download.
(You won’t be able to customize the form within your web browser.)
See more Magic Kingdom party details! >>


Amelia is determined to start a “nesting doll” collection since the party. Jason bought her a nesting doll from Prague and with the pouch now, she has committed.
We are also reusing her paper bag next week on her field trip to the zoo. She’s pumped.
Oh, and Henry found an “acceptable” way to chew on the ball. He puts it in the pouch, zips it and then chews on the ball through the pouch. Second kids!
Your kids certainly are creative, Jodi! Good luck with that nesting doll collection. Ha ha. But seriously, glad they are enjoying the favors!
Could you post a copy of the file you used to print on the brown bags? I think that is such a cool idea 🙂
Hi Jessica,
I’d be happy to share the file. I will try to get it together in the next few days and post here.
I will reiterate that printing on the bags wasn’t exactly a smooth process. Hopefully, you won’t have the same sorts of issues, but that will probably depend on what type of printer you have.
Jessica! I’ve added the file! See above!