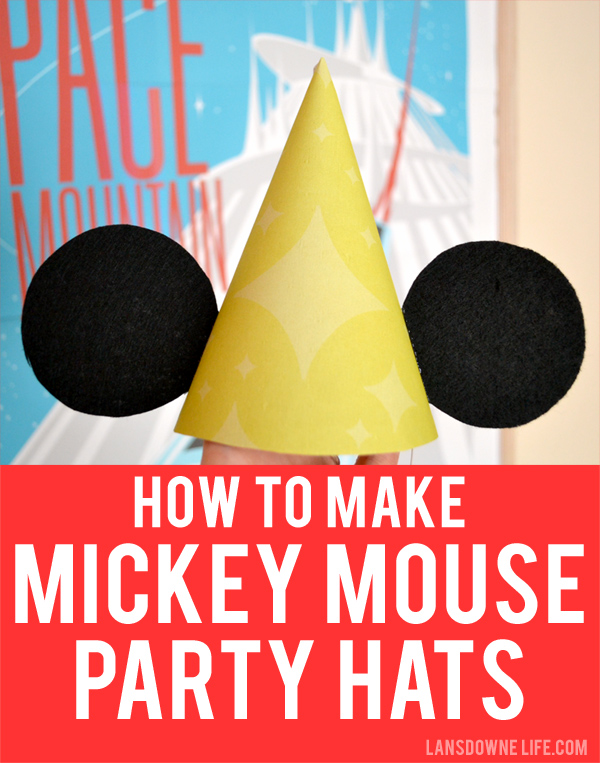
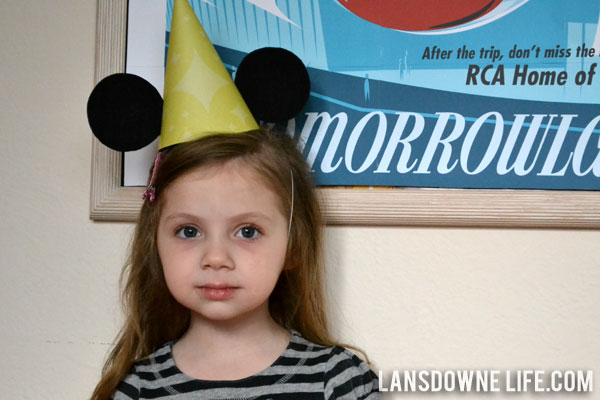
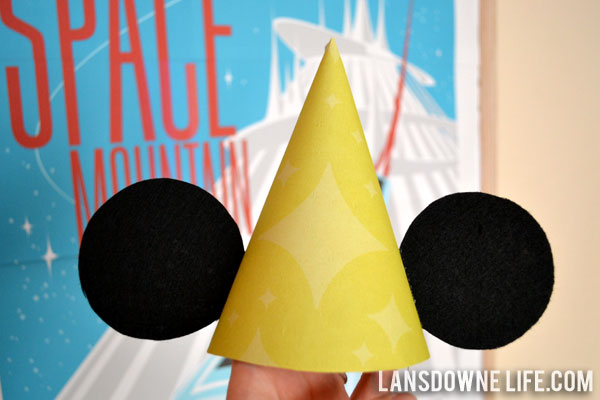
As I mentioned previously, my daughter requested party hats for her birthday party. She’s got a very specific prescription about what belongs at a birthday party: cake, ice cream, party hats. Lucky for me, that gave me a reason to make these cute Mickey ear hats.
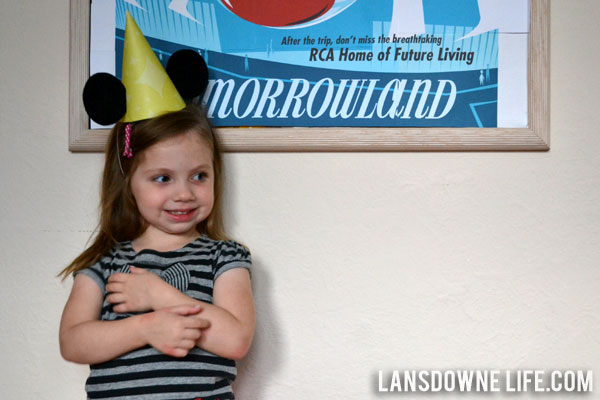
These are really easy to make (I promise!), but there are a lot of steps. I put everything together assembly line style, but I estimate it took about seven minutes for each hat. You can make a whole party’s worth of hats in under an hour!
And if you’re not a Disney nerd, you don’t have to add the Mickey ears! You can follow just the first part of this tutorial to make pretty party hats. Let’s go!
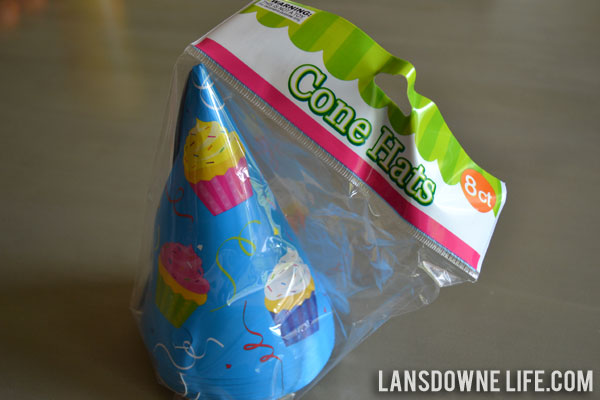
It all starts with a pack of paper party hats from the dollar store. Sure, you could probably make your own from card stock, but this saves a bunch of time.
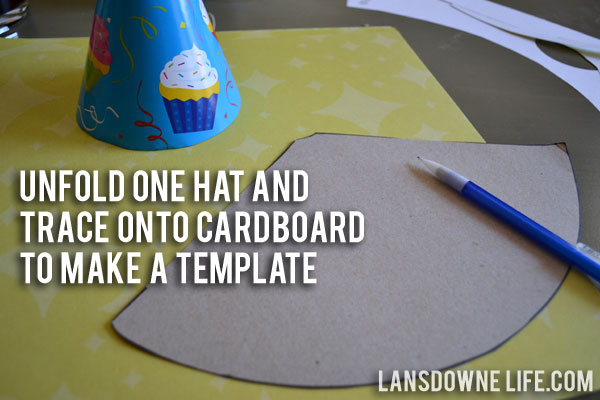
First, unfold one of the party hats and trace it onto some cardboard to create a template. I used cardboard from a cereal box. This step might seem unnecessary; why not just trace the unfolded hat? Well, the unfolded hat is going to curl up on you over and over again. The template will lay flat and make your life easier.
(Remember to re-fold the hat you unfolded. We’re going to cover the hats just as they came out of the package.)
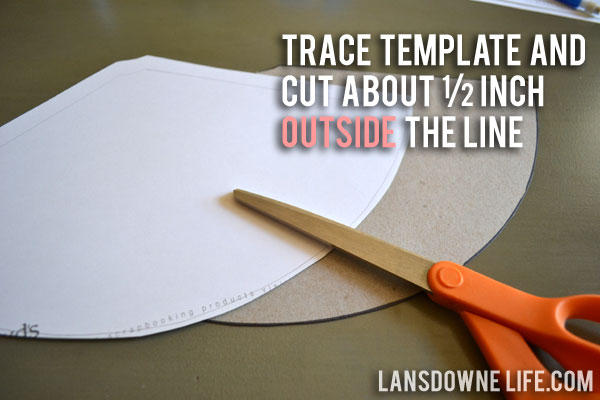
Trace the template onto the back of pretty scrapbook paper, or even wrapping paper. Just to be safe, you want your paper to be a bit larger than the hat, so cut the paper leaving yourself about a 1/2 inch margin outside of the traced line.
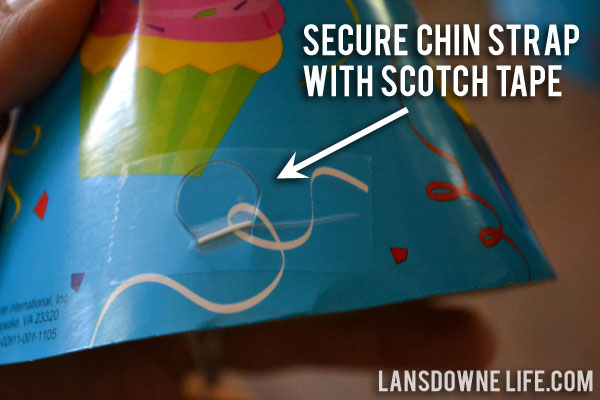
Put a piece of scotch tape over where the chin strap pokes through on the outside of the hat to secure it. This might be overkill, but once the paper is on the hat, you won’t be able to fix a strap that has slipped out.

Now it’s time to glue the paper to the hat. I used hot glue because it dries instantaneously. Line up the paper on the hat, then hot glue one edge along the seam of the hat and around the base of the cone. Run a final stripe of glue along the last edge and press it over the seam of the hat. There should be a bit of overlap.
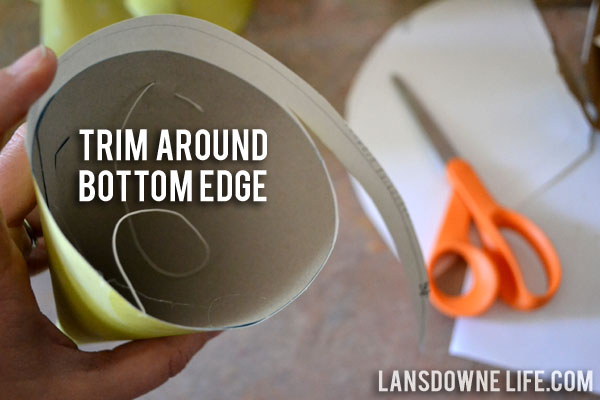
You will probably have some excess paper hanging off the bottom edge. Use a scissors to trim this away.
Your party hat is done! Stop here, or keep going to make it a Mickey ears party hat.
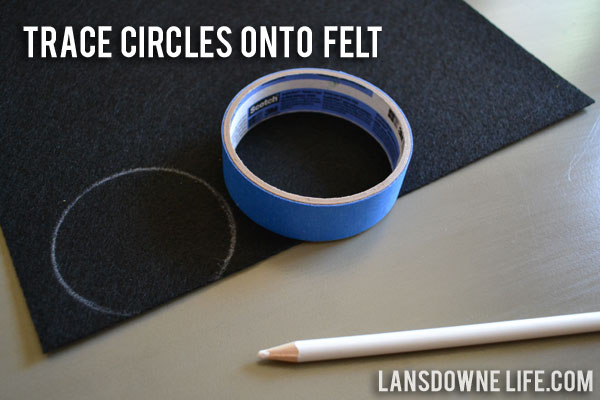
I found this stiffened felt at Michaels for 99 cents a sheet. It’s… well, stiff. It doesn’t flop over like regular felt would. You could also probably use black foam core or poster board instead if you wanted to.
Find something to trace circles onto the felt. I traced the inside of a roll of painters tape, which is about three inches in diameter. (I used a white pencil so it would show up on the photos, but a regular pencil should work OK too.) You can see in the photo above how I used the straight edge of the felt to lop off the bottom part of the circle. This flat edge is where the “ear” is going to attach to the hat.
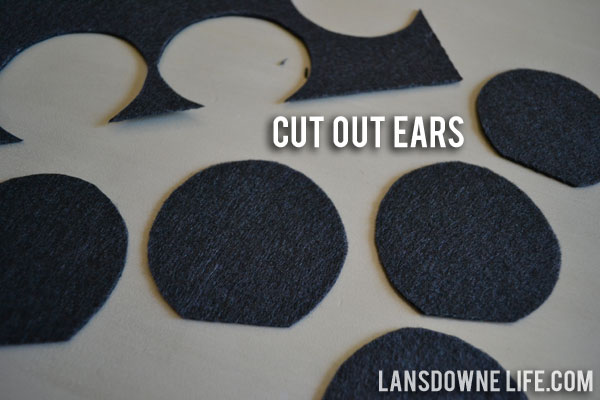
I was able to get eight ears of this size from each 9″x12″ sheet of felt. Cut them out with a sharp fabric scissors.
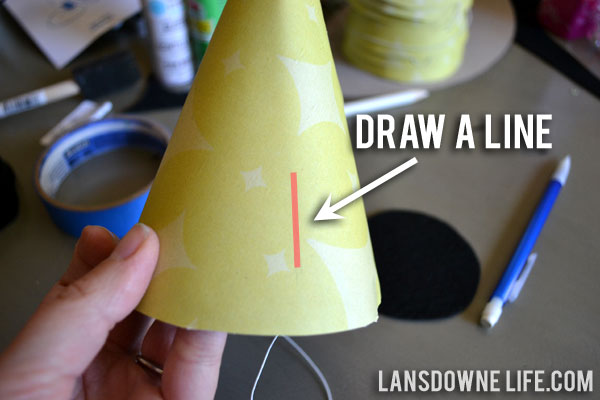
Making sure to note the orientation of the chin strap, draw a small pencil line on one side of the hat where you’ll attach the first ear.
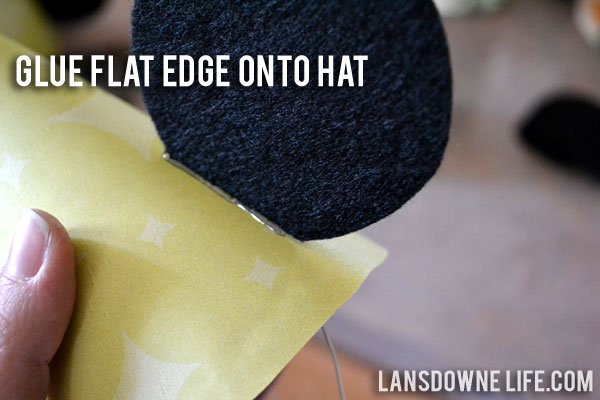
Use a tiny bit of hot glue to attach the first ear along the pencil line. Glue the second ear on the opposite side of the hat. (It’s easier to eyeball where to put the second ear than to eyeball where to draw a second line.)
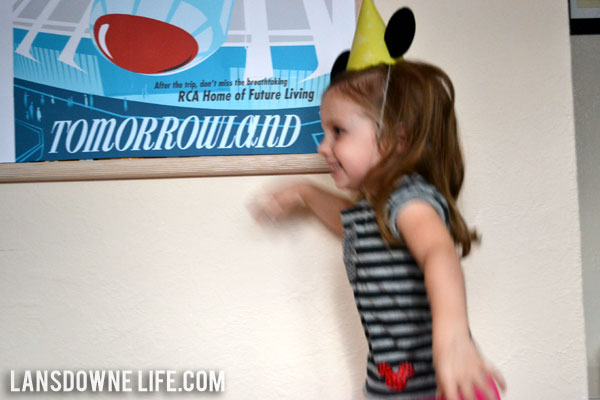
Hooray! You’re done! Feel free to dance around.
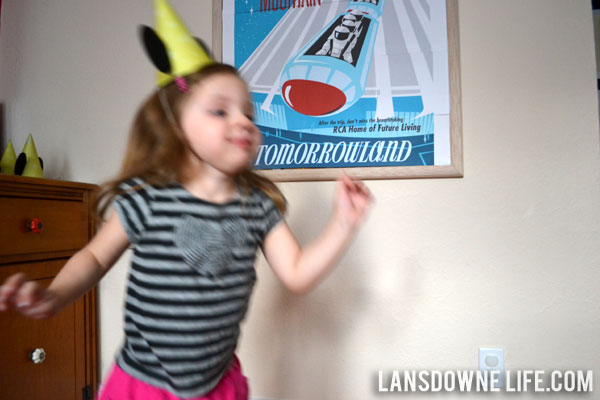
p.s. Who IS this girl? Where’d my baby go?!




Thank you! I was having trouble finding Mickey party hats and this will solve my problem. You have made it simple with detailed directions and photos.
Awesome! Glad to be of help!
Love this!
putting paper over dollar store hats has just saved me tons of time and some sanity. Thanks for the great idea.
You’re welcome! It’s a big time saver!