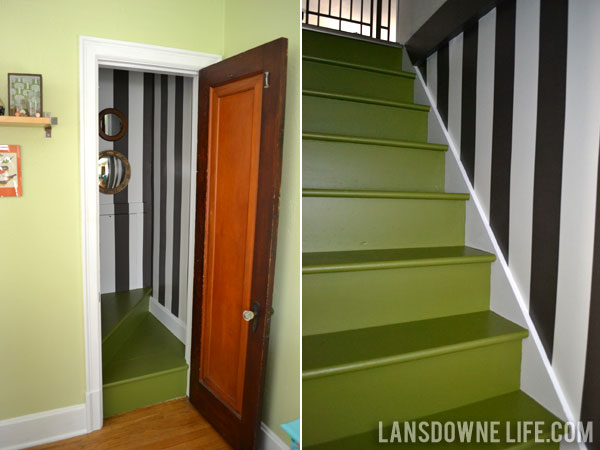
My stairway makeover is finally complete. It only took three months, including some procrastination. (I’m really good at working on a project until it reaches about 95% completion, then the fire goes out.)
This project involved stripping ugly and peeling wallpaper, drywalling, painting stripes on the walls, painting the stairs and addressing a couple of egregious design dilemmas. But all is done now, and I couldn’t be happier with the way it turned out!
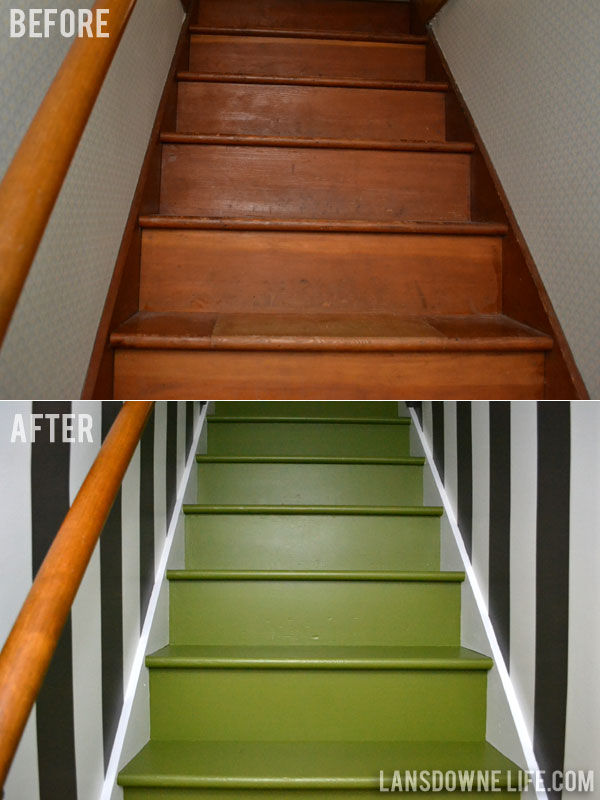
This space is very tight and narrow. The door to the stairwell (shown in the first photo above) is a scant 23 inches wide and the stairs themselves are only three feet wide. Not a big deal if it’s open on one side, but enclosed like this, it feels so much smaller than that. (Plus it makes it nearly impossible to take good photographs. Sorry, I tried.)
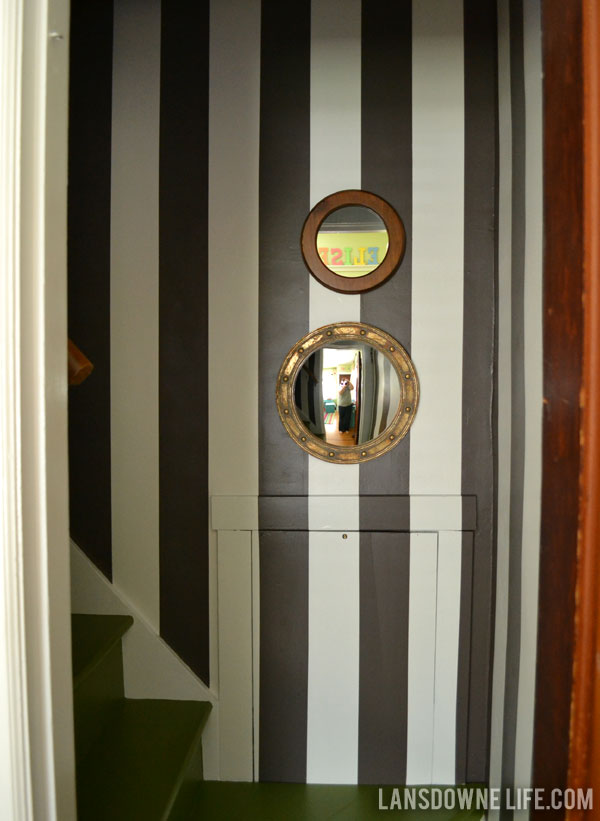
Despite the limitations, I did manage to squeak in a few decorative touches. I hung these two round mirrors in probably the only spot they wouldn’t be in danger of getting knocked off the wall. Like I’ve mentioned before, I find it nearly impossible to go up the stairs without touching the walls. I’m sure everyone else does too.
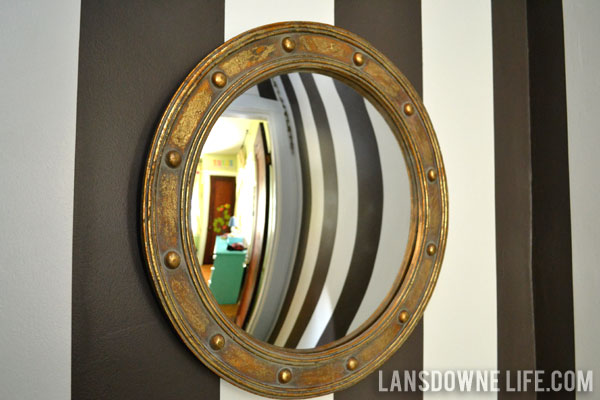
I found this convex porthole mirror at an antique mall for $16. I’m not sure if it’s old (probably not), but I thought that was a pretty great price. It’s about 14 inches in diameter. The small mirror above it I pieced together from a round frame I found at the Goodwill Outlet and a mirror from the craft store. A little bit of E-6000 adhesive and all is good. I like how the wood tone corresponds to the banister and the door.
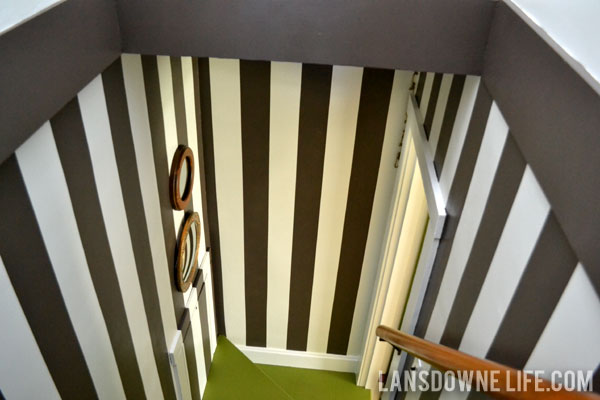
Speaking of the banister, it was the only existing piece that made it back into the space. It was in good condition. I liked the brass hardware. So I didn’t see the need to replace it.
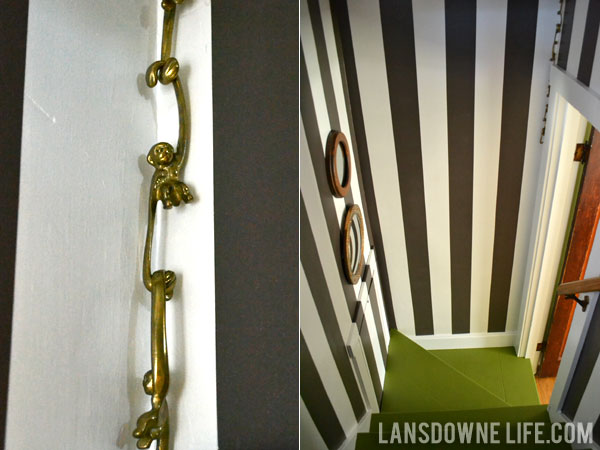
I also found a spot for these hanging brass monkeys I picked up a few months ago. I tucked them back in the corner behind the door frame as an extra touch. I kind of like how they are half hidden.
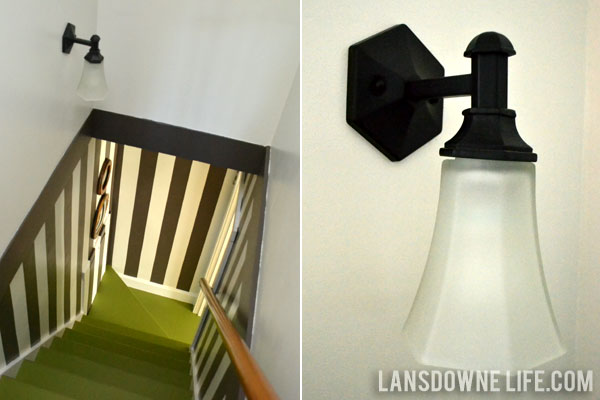
One major change was the lighting. The old sconce was pretty hideous and didn’t adequately light the space. We actually installed two sconces replacing just the one, though I’m noticing now I don’t have a photo of them both. (One is at the top of the stairs and the other about half way down.)
I scoured the entire internet for affordable (less than $100) sconces that would fit the space. I found this one for $57. There was one I liked slightly better, but at $99, the price difference was just too great, especially when multiplied by two.
Before I ordered, I did a final search on the name of this sconce and found it for $22 plus free shipping at a no-name online shop. The shop had good reviews and let me use Google checkout, so I took a chance. And they were at my house within four days. Two sconces for $44! Bargain accomplished! Lesson: Before you click “buy,” always Google for a cheaper price.
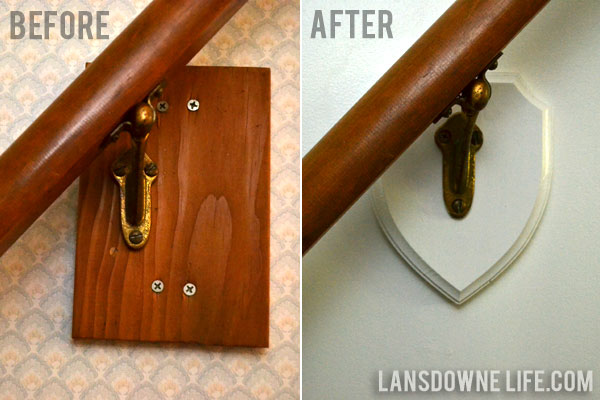
The top of the banister used to be mounted to the wall with an unfinished piece of lumber. How chic! I decided that had to go and replaced it with this shield-shaped plaque I bought at Jo-Ann and painted the same color as the wall. (I’m kind of into shields for some reason.) I paid less than $1 after coupon. Cheap and better.
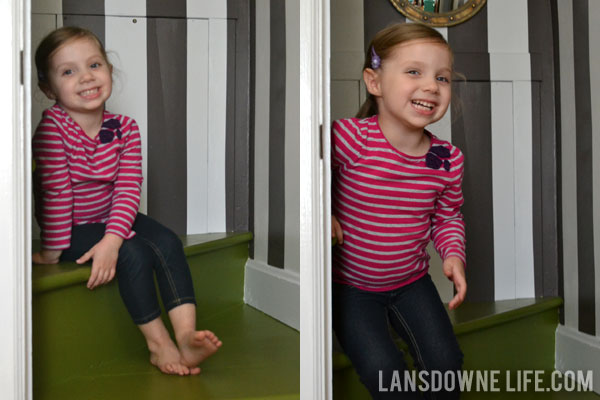
Elise talks about this space like she’s annexed it as a part of her bedroom. Hopefully, I won’t find her sleeping in there. I’m just glad she loves it as much as I do. It looks like it belongs with the rest of our house now, and it isn’t the abrupt transition between her bedroom and the upstairs playroom it used to be.
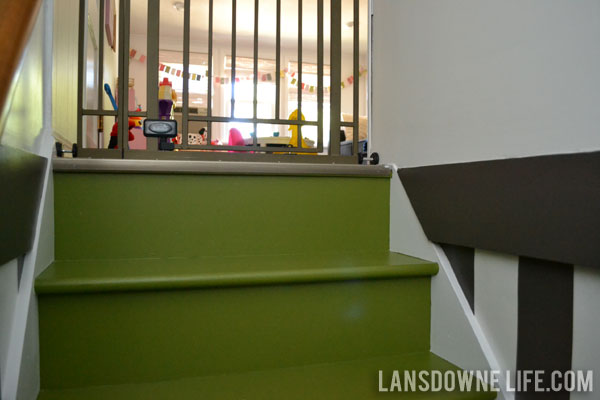
See all the stairway updates >>



I’m a sucker for black & white stripes! Love the new look.
Thanks, I am a sucker for them too!