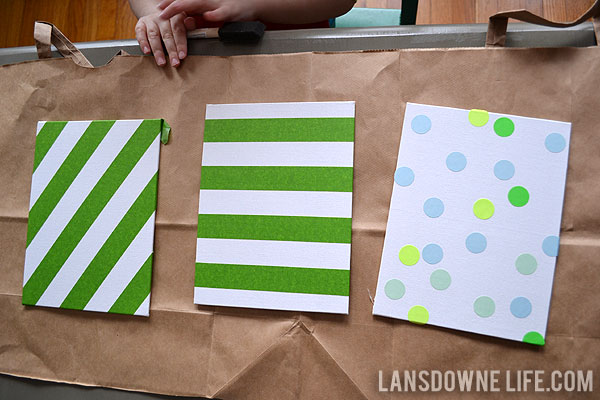
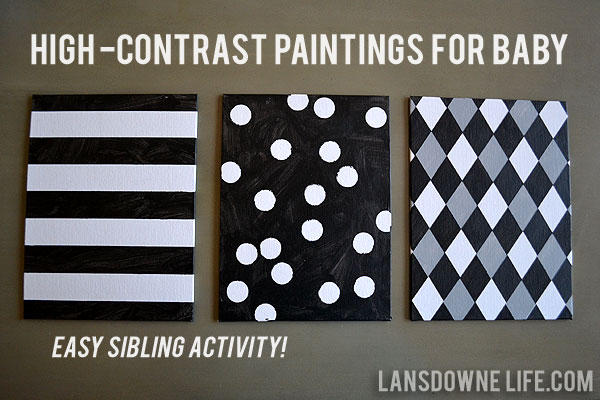
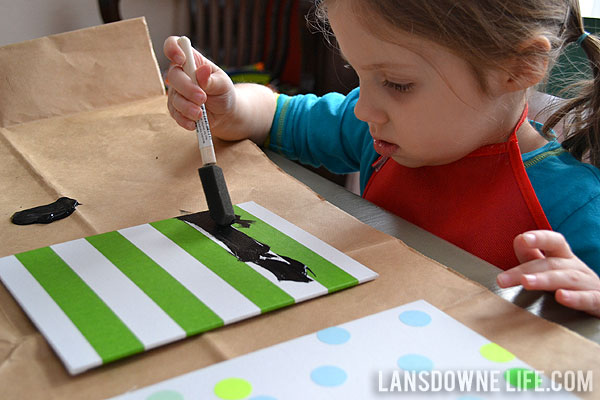
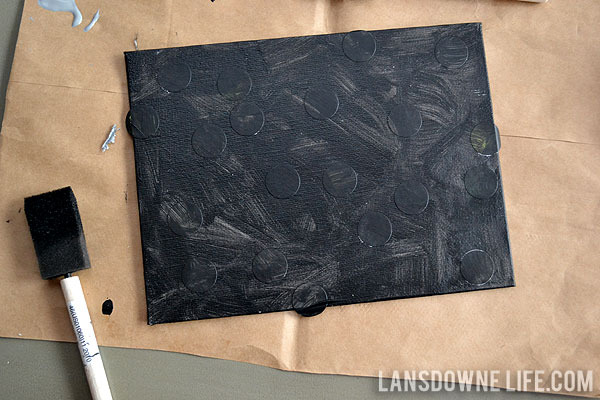
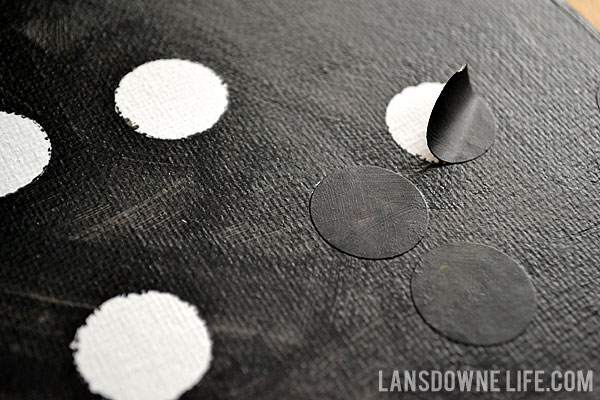
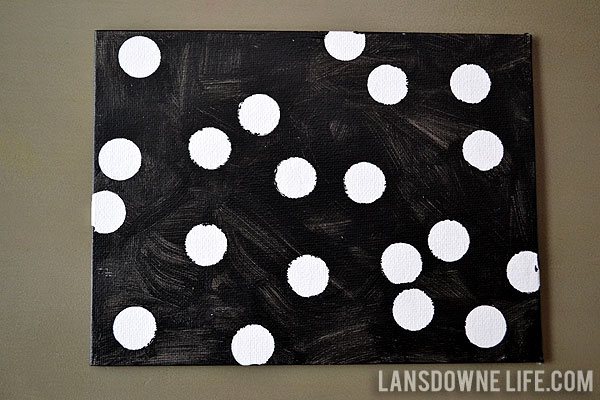
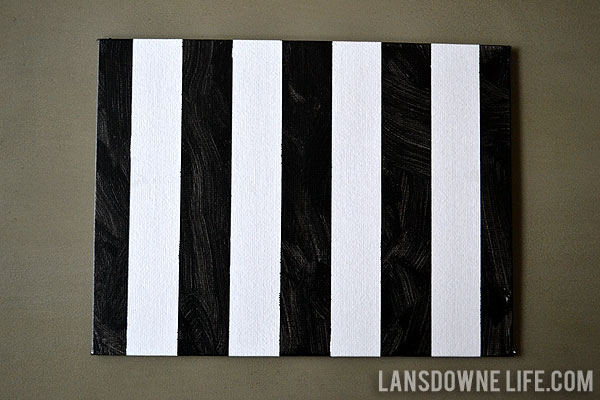
For the polka dot and striped paintings, that’s all we did. Easy peasy.
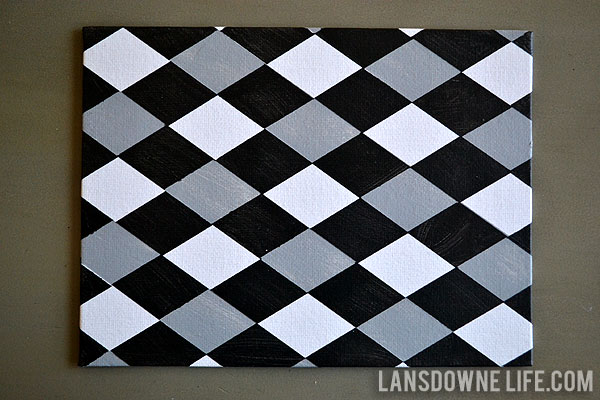
The diamond pattern was a bit more complicated. Initially, I thought it would only take a couple of layers, but I took over and ended up doing multiple multiple layers of tape and paint. Honestly, I stopped taking progress photos, and I’m not sure it would be worth explaining in detail. Sorry. If anyone is super interested, leave a comment and I will write up an explanation. See below for a photo explanation of how I did it!
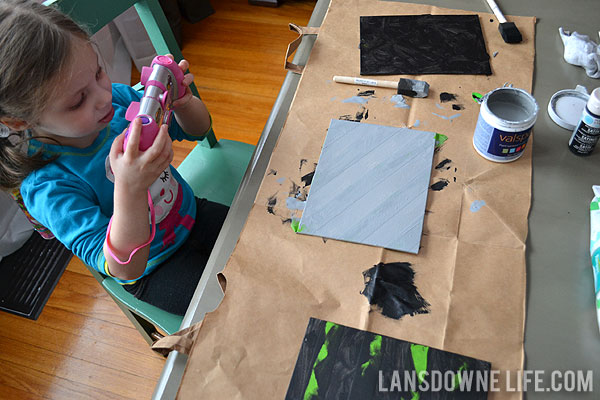
p.s. Of course, Elise had to take some project photos with her own camera. My little blogger without a blog.
——————————
Update 03/25/2013: Baby Etta is fascinated by the paintings! Even at only two days old!
——————————
Added 02/24/2013:
A brief explanation of how to complete the diamond pattern, in photos.
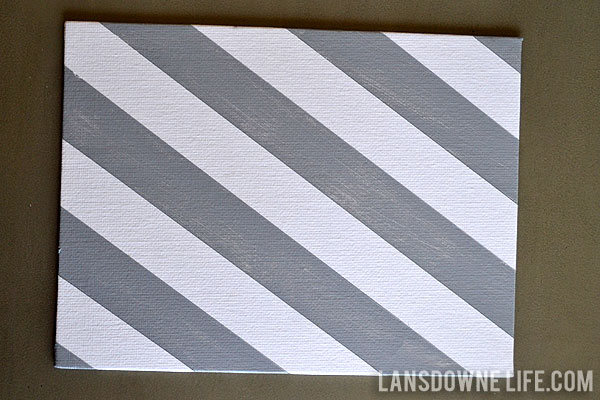
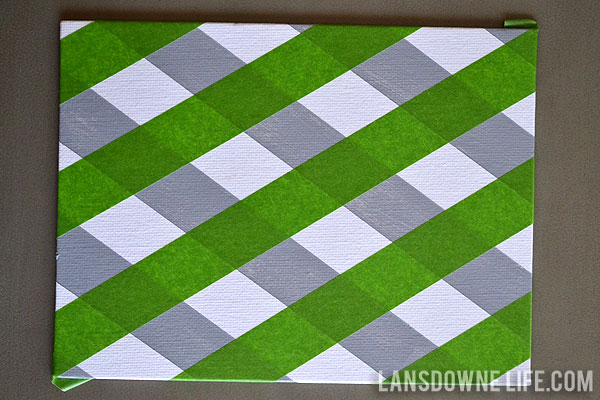
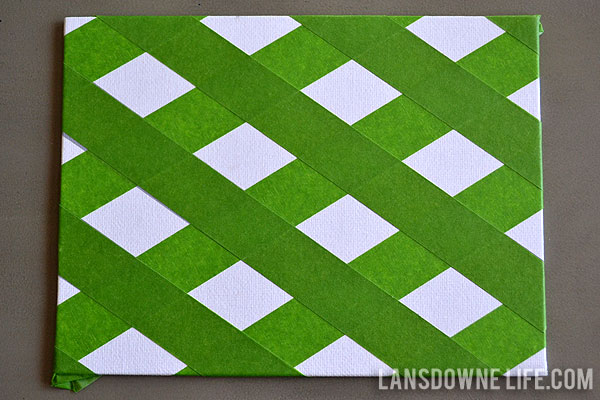
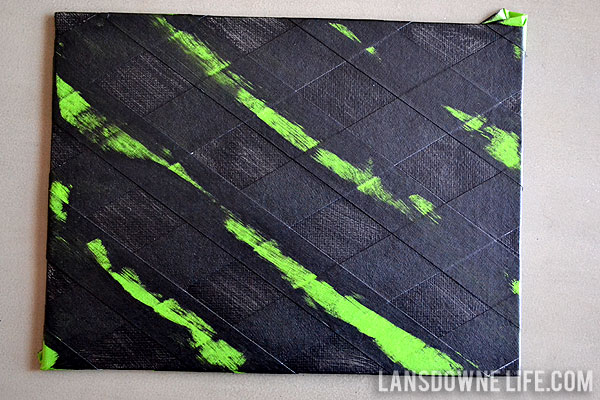
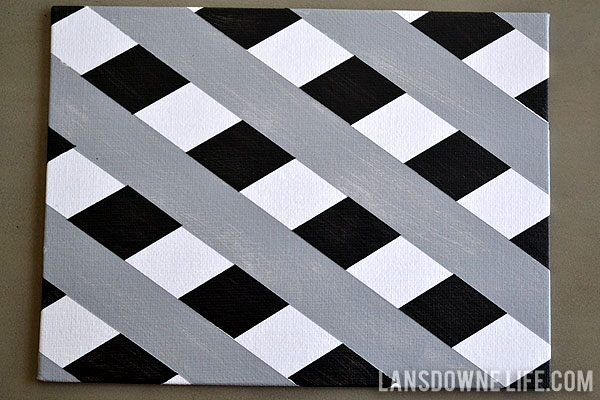
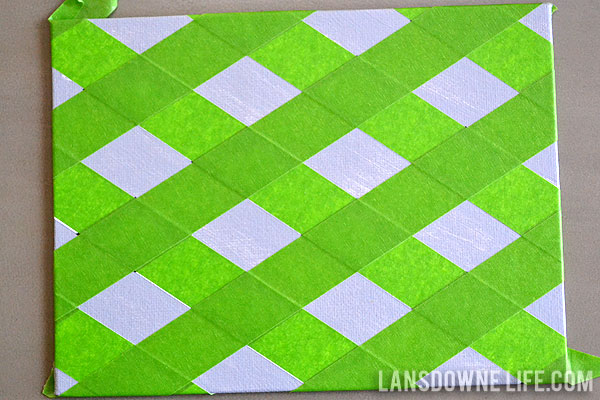
[I don’t have a photo of this, but paint the exposed gray diamonds in black, then peel off the tape.]



I love this idea! 🙂 This project is definitely something I would like to explore with my daughter sometime. We have a blank canvas of an apartment to fill. =D Thank you for sharing!
Yes! It’s a great technique to make all sorts of wall art!
Hi Erin . Im an Art student and Im working on an exam about contrast . Im really interested in your diamond pattern painting . Can you explain for me how you did that cause is will help me so much in my supporting work .
http://www.facebook.com/bearduc
Hi, I added some photos above to explain how I did the diamond pattern.
Hope that helps. And hope I am not doing your homework for you!
Thanks Erin . Im rreally appriciate your help. I will experience with your techniques and i will try to upload those picture . thanks for your support . 🙂