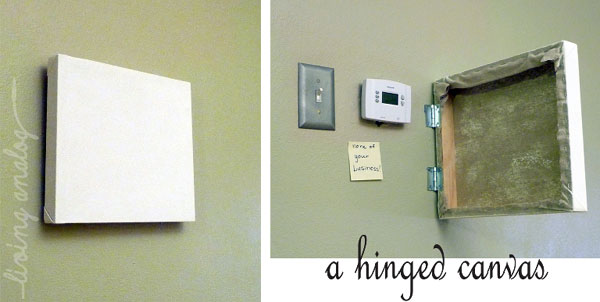
Hi everyone, CT from the blog Living Analog here. I live near to Lansdowne Life in St. Louis, MO and chronicle my design and DIY adventures along with whatever else is going on at my house. My husband, JT, occasionally hops on the blog with a guitar update or two. Today, I’m here to share an inexpensive D.I.Y. hinged canvas idea we recently put together.
A few weeks ago, JT and I made a few picture ledges for an art wall we are putting up in our dining room. We ended up with some extra lumber and an idea was born — hanging a hinged canvas on the art wall to hide a light switch and thermostat from view (while still allowing access to these controls). Luckily I also had some grey canvas dropcloth on hand as well but all of these items are easily picked up at your local hardware store.
To start JT simply used wood glue and some clamps along with the help of a square to create the frame outline. We were using up extra lumber so we were okay with the canvas being rectangular. If you want a square canvas, be sure to cut two of your pieces of wood shorter (by the thickness of the lumber) to ensure a square. That way no mitering or anything fancy is involved. Once the glue was dry, JT drove a few nails into the frame to hold it together. You could also use screws if you wanted more stability but once the canvas is stretched and stapled around the frame, it becomes pretty rigid anyways.
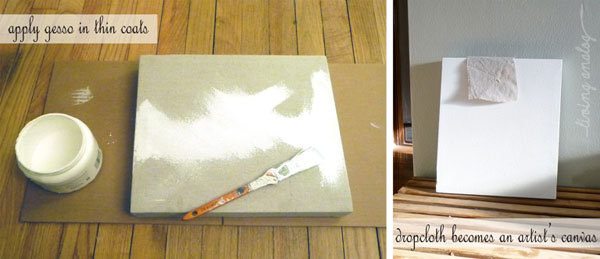
Now on to making this square o’ wood look like an artist’s canvas. With the help of a staple gun and two sets of hands, we simply tacked the canvas around the backside of the wood frame. I like to put a few staples in the middle of each side before cycling back around and finishing off each side. For the corners, I picked a side for the top and bottom and put simple creases in to gather up the extra fabric. Play around with it a little to find a look you like. Once the dropcloth was all stapled on, I trimmed the excess fabric to align with the frame.
The next step was gesso and this is where the artist’s canvas really begins to emerge. You can find gesso with the painting supplies at a craft or hobby store. I simply brushed on a few coats, allowing it to dry between each layer. The gesso stiffens and hardens in the fabric, pulling the canvas a bit tauter and making it look finished. Make sure to gesso all the sides as well. Once it’s all dry — voila! — you have a canvas.
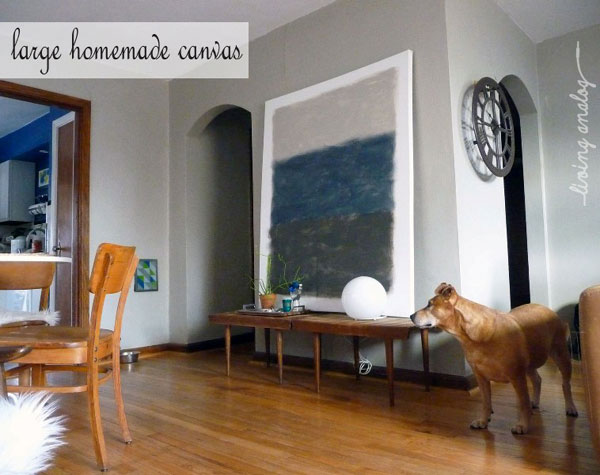
Get out the paint colors and have a party on your new canvas for a custom piece of artwork. We made a large canvas a while back (4′-0″ by 5′-0″) and it’s a great way to inexpensively fill a wall. Plus if you decide to change up your room or bring in some new colors, you can simply re-gesso and repaint your canvas for a new look.
The extra step we did to this small canvas was to attached a simple set of hinges to the back of the frame so it could swing open when mounted on the wall.
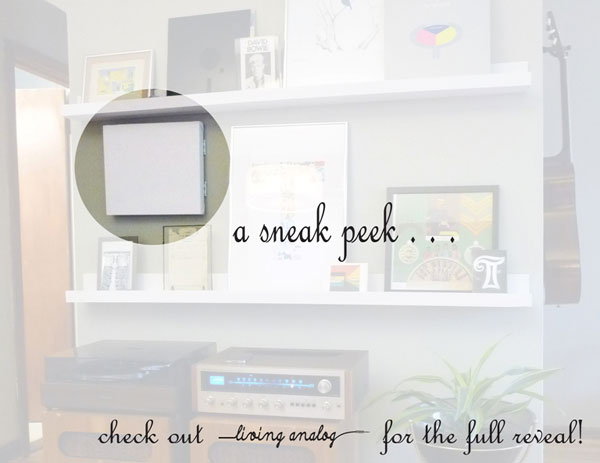
Here’s a sneak peek of the (almost) finished project — the canvas installed in an art wall.
I wanted to fill up the ledges and live with the installation for a little bit while I decide what to paint on it. Check in on Living Analog to see what ends up happening to it! Have you ever made your own canvas or do you prefer to pick them up at the store? Do you ever paint over bizarre paintings you find at thrift stores like Goodwill? I’ve been known to do that a time or two…
Thanks Erin for having me over! Cheers – CT


