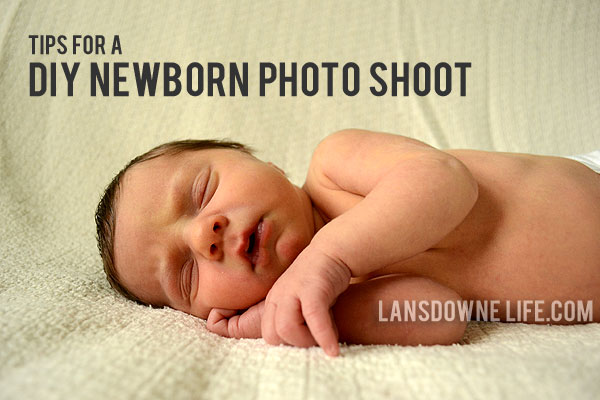
Baby and I collaborated on a couple of newborn photo sessions a few weeks ago and I thought I’d pass along some tips I picked up along the way.
Now, if you’re a frazzled new mom, don’t trust your photography skills or you have a fussy baby, you may want to opt for a pro. But if you’re like me and are comfortable with your DSLR, kind of a cheapskate (ahem… raises hand) and your baby is (somewhat) cooperative, give it a go! Nothing to lose, right?
Get the timing right
-
- I’ve read that the best age to take newborn photos is in the first 14 days, while the baby is still very sleepy. I took these photos at 7 days and 9 days. I wanted to sneak them in before her skin started peeling or she got a weepy blocked tear duct or cradle cap or all that other ugly stuff. (My oldest had all of these at the same time, so I am well acquainted.) I don’t know if any of them will actually happen, but why procrastinate and miss my opportunity for good photos?
- Feed the baby prior to the photo shoot. You want them to fall into that deep sleep and a full belly will help with that.
- Start out with a clean diaper. Dress (or undress) the baby in whatever outfit you may want before they fall asleep. Changing diapers and clothes will only disturb them. Keep naked babies wrapped in a blanket. This should probably go without saying, but the goal is to keep the baby calm or asleep.
Setting up the photo shoot area
-
- Gather all your supplies ahead of time. Blankets, pillows, props, outfits, etc. (I used woven blankets with nubby textures.)
- Choose a spot in your house that gets good natural light, then open the blinds, curtains, etc. to let in as much of that light as possible. Aim for a time of day that gets soft, indirect light; avoid the harsh shadows of the late afternoon.I did two sessions. For the first, I had great light. The second day had pretty crummy weather, so I supplemented with a flash. I just use my on-camera flash (still very much an amateur here), but I use a product called a Light Scoop (*affiliate link). I love love love this attachment. I wouldn’t use my flash without it. It’s just a piece of plastic and a mirror, but it bounces the flash onto the ceiling allowing the light to diffuse over the whole room. If you’ve ever struggled to get well lit photos indoors, the Light Scoop will be nothing short of a revelation.
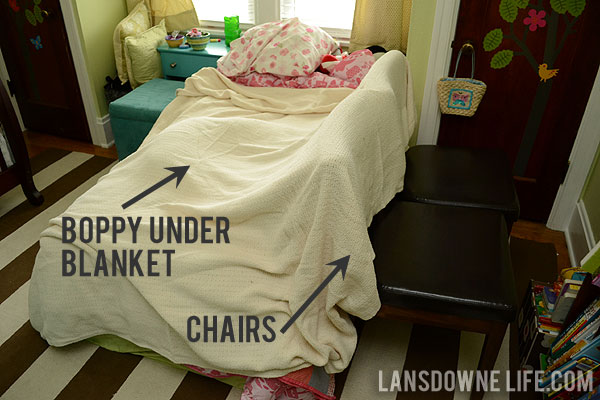
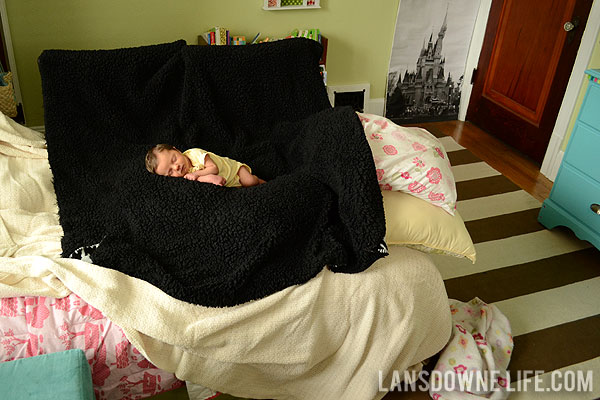
It just so happened that the spot with the best light in our house is the kid’s bedroom, which allowed me to work on top of my oldest’s twin bed. I put two of our dining room chairs on the side of the bed, with the backs of the chairs facing the side of the bed. This allowed me to create a sloped backdrop with a large blanket.
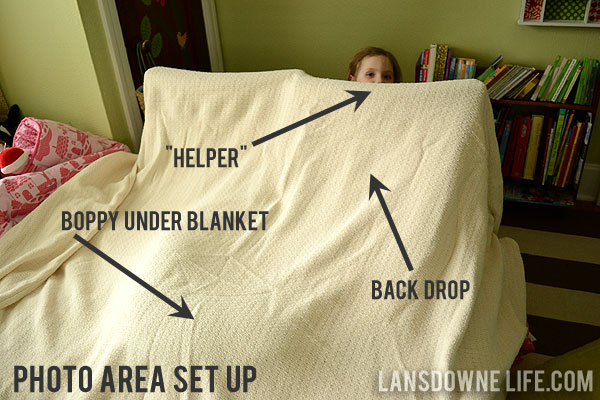
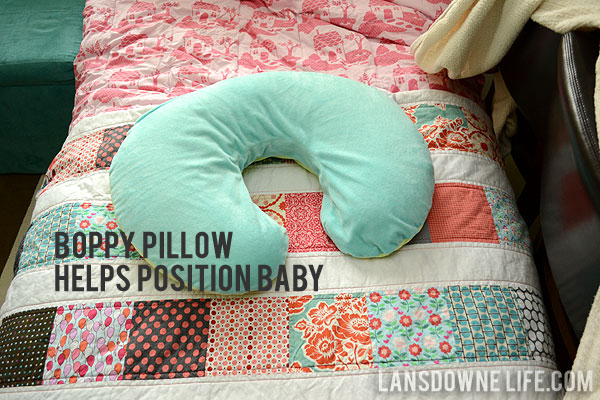
- For many of the shots, I used a Boppy pillow (*affiliate link) positioned underneath the blanket. If you don’t have a Boppy, try using another firm pillow. (Of course, be safe. Use common sense. Supervise. Keep baby’s face away from soft surfaces.)
- I also turned on the white noise machine we have in the bedroom to dampen the noise of the house and keep her calm.
Other tips
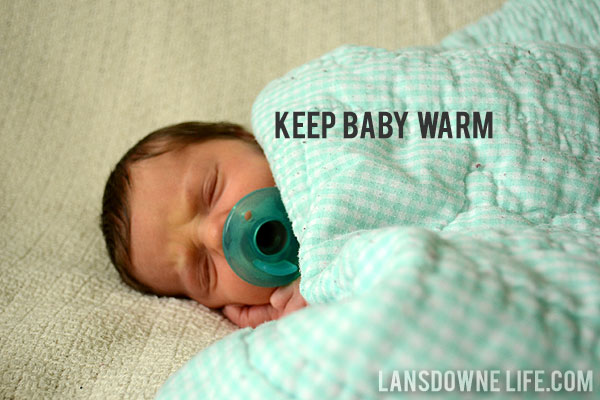
- Keep baby warm. Turn up the thermostat. (I’ve read other tips about using heating pads or space heaters, but I didn’t do that.) If you are doing a naked baby photo shoot, keep them covered with a blanket whenever you aren’t snapping photos.
- Use a pacifier. If they’ll take a paci, use it. I was able to pull it out, snap a photo and give it back without her getting upset. This may or may not work for you.
- Take a lot of photos. If you take hundreds, you are bound to get a few good ones.
- Get down to baby’s level. This means you’ll probably be sitting on the floor. Get close and avoid strange angles.
- Be patient. I spent about 90 minutes to two hours on each session. There’s a lot of time spent calming baby, shushing and slowly posing. If you wait until baby’s really asleep, you’ll be able to re-position them without much resistance.
Keep it simple
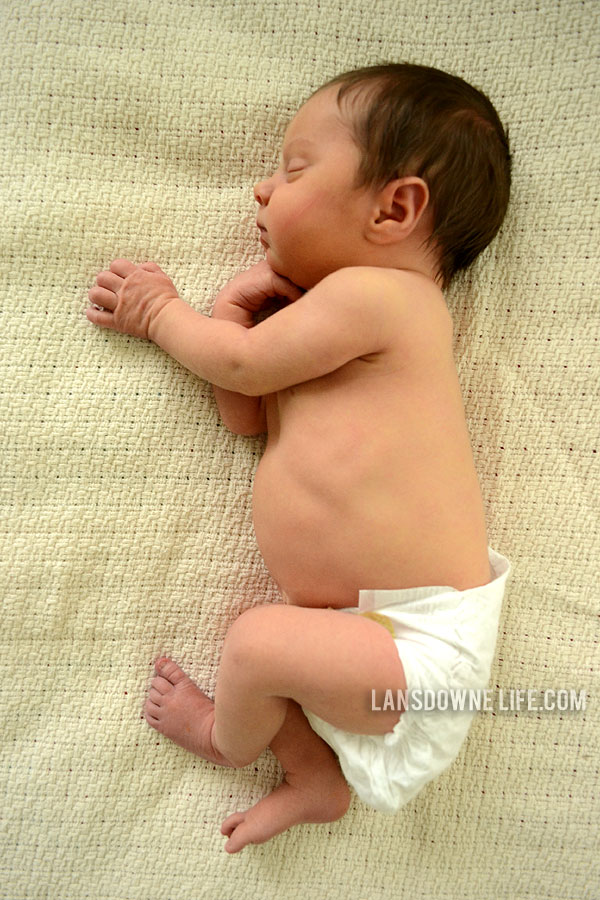
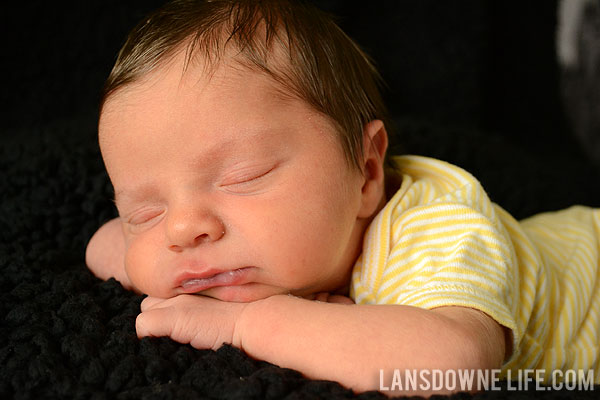
- This was my first time trying to photograph a newborn, so I kept it simple. Basic natural poses. No props. Nothing fancy. No baby hanging out of a bucket or a basket. Or propped on a stack of books. Those are cute and all, but perhaps too much of a challenge for a first timer.
This post contains affiliate links. If you make a purchase through those links, I may receive a small commission. See full disclosure.


Thanks! This was really helpful!
Awesome! Glad to be of help.
Erin, these turned out great! I love the photo with the big “E.” And the last one with her little face resting on her hand. So sweet!
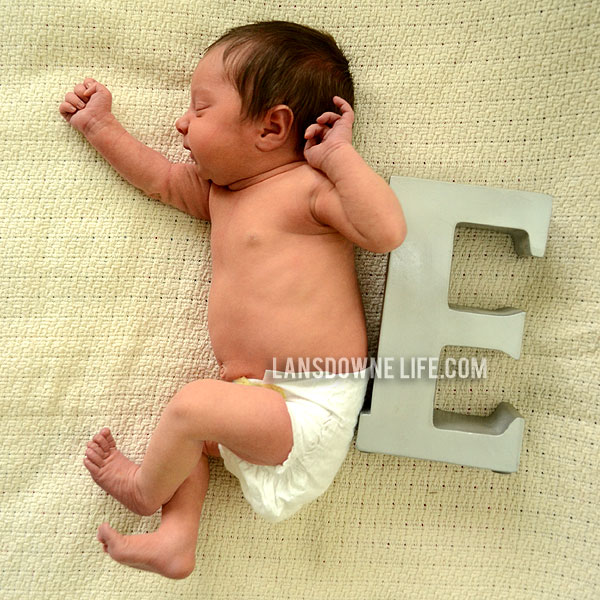
Thanks, Michele! I was kind of proud of myself. She was a cooperative baby, so that helped! I am using the E in monthly photos as a frame of reference to show her growth.
This was a wonderful and SAFE way to show how to take some pictures of your new baby! I am a newborn photographer and so often I see new moms try to take pictures like a studio session in a way that’s not the safest or the most effective! You laid it out perfectly and in a fun way that parents can empower themselves and feel good about taking pictures of their newest addition! It is SO important to take photos every day because they change so fast! Using the boppy and a bean bag is the best way to ensure baby will stay safe! Simple with no props are the best! Remember that the professionals spend a LOT of time creating those shots… meaning through composites! Safety of the baby is the number one priority and buckets and baskets take many hands and many different shots to create! 😉
Thank you for commenting! Yes, I think people don’t realize what goes on behind the scenes at professional photo shoots and how much effort and editing those perfectly posed photos must take!
Thank you for your post on posing newborns and how to get the best lighting. I recently became a young grandmother and I’m wanting to photo his every moment. Can you believe that? lol
My daughter can’t afford much on photography. So, I want to do this for her. I’ve always had a love for photography and I’m still very much an amateur. Your shots, lighting, baby and all is very beautiful!
Thank you again!
Christina
What a gift for your daughter! Have fun with the new baby!
So glad I stumbled across this! I have a newborn and was trying to take some pics of her on just a blanket on the floor the other day. It was awful! She was in a onesie, but she was just crying for most of it (I was the only one home, so no helpers). She’ll be out of that 2-week window tomorrow, but hoping day 15 or 16 is still okay over here. Also–any tips for if their cord stump hasn’t fallen off yet? No one really wants to see that in a pic.
Hi Cat,
Oh that doesn’t sound fun. I’m sure the next few days will work, and you certainly don’t have to stop taking photos at two weeks. That’s just when they are the sleepiest.
Just try to keep her sleeping. That’s the best trick I can tell you. And as for the cord stump? Maybe try laying her on her belly or get some closeups from the belly up. Or even a blanket wrapped around her bottom half loosely? Good luck and congrats!
Awesome advice! I was a first timer for my daughters newborn shots (with my other two we had professional shots). It definitely gives you a sense of pride doing it yourself, especially when people ask you what studio you got them done at. The natural lighting was best in our living room, so I used the couch to hold up the white sheet and used the boppy on the floor under it for positioning. Have fun with taking these shots and definitely get close ups of their features (eyes closed, nose, lips) it comes out soooo sweet in pictures.
It definitely does give you a sense of pride! I have one shot of my two daughters together (not shared here) that is among my most favorite photos of all time. And I was the one who took it!