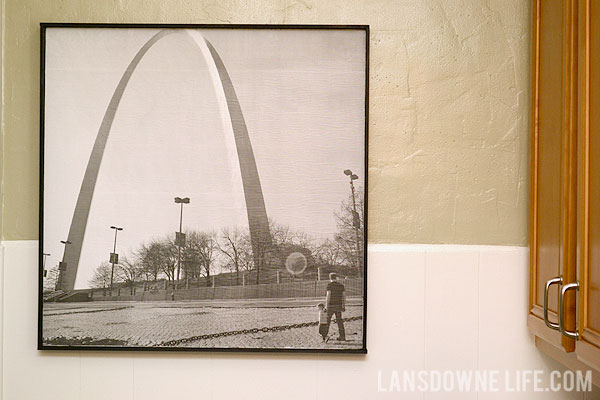
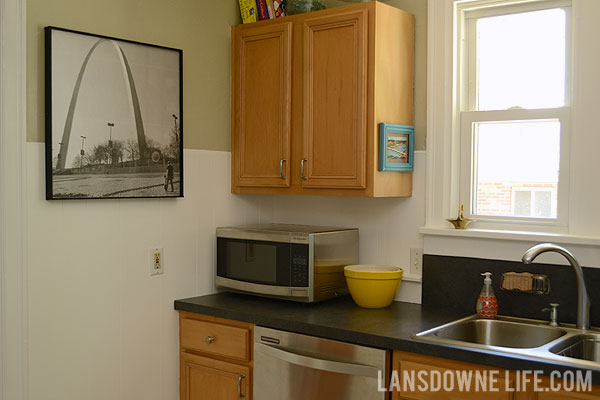
I wanted to make a large square piece of artwork for this wall in our kitchen, and immediately thought back to the oversize black and white poster prints you can get at the FedEx office (like I did for Elise’s birthday party last year). They are just printed on thin white officey paper, but it’s a great way to get a giant photo printed for less than $5.
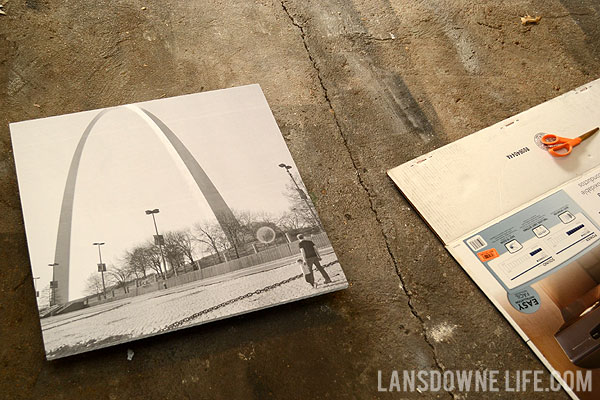
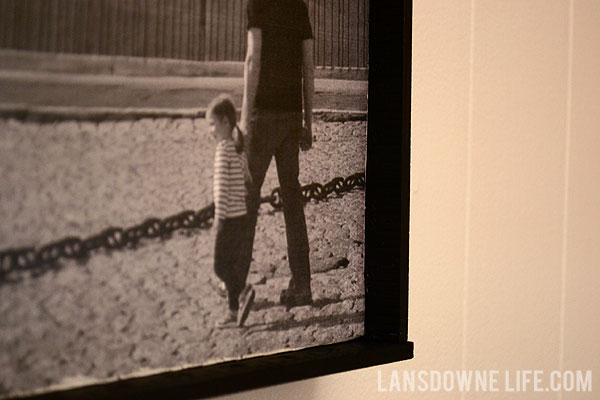
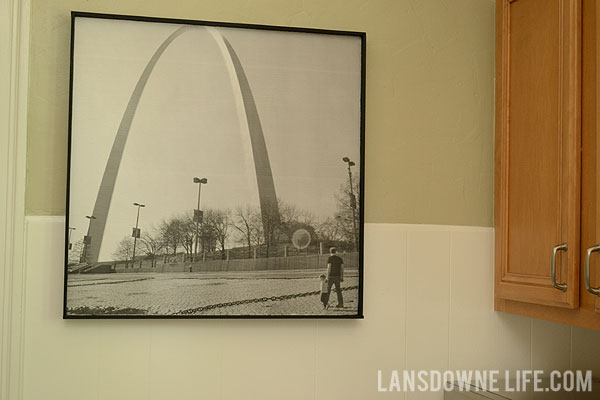
I dug through my files for the perfect photo and found this one I took earlier this year on Dan’s birthday. We went down to the Arch grounds for a walk, and the Mississippi River was so low at the time so we were able to walk on the cobblestones. Much of the time, this area is actually part of the river.
It’s often hard to get enough distance on the Arch to get a decent photo of the whole thing (go west and you have to shoot around buildings and trees, go east and you’d be in the river), so this photo makes me happy in more ways than one.
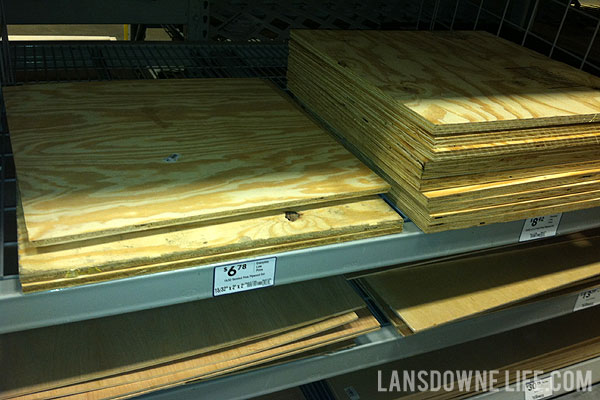
Before I got my photo printed, though, I had to know what I was mounting it to so I’d get the dimensions right. I went into Lowe’s thinking I was going to have them cut some smaller pieces of plywood for me, but it turns out they sell pre-cut 2 x 2 foot squares of plywood. Perfect!
Tip: Don’t bother buying the more expensive veneers like birch or oak. For a project like this, the surface is going to be completely covered, so the cheap stuff is fine. I opted for the 15/32 inch thick pine one for $6.78. It’s got some heft to it, and it is flatter than a lot of the thinner pieces. Plus I knew I wanted to add some trim later and needed a thicker profile to do that.
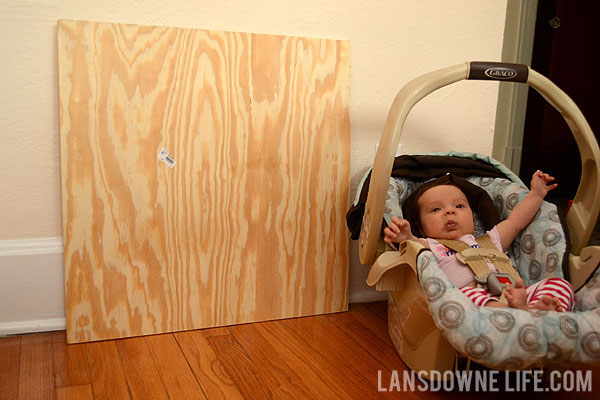
I know it’s sometimes difficult to gauge the size of things in photos, so here’s kissy-face Etta demonstrating the scale. 24 inches square = not small.
Then it was time to get my photo printed. A word of advice: if you are trying to meet a particular dimension like I was here, know that your photo will print with a margin, making the actual image about an inch smaller. I found this out the hard way. The first time I requested it be 24 inches high, but my actual image was closer to 23 inches. In hindsight, it was naïve to think it would actually be exactly the height I needed.
Anyway, I got it printed a second time and requested a height of 25 inches and my actual image turned out to be about 24 1/4 inches. Just be aware.
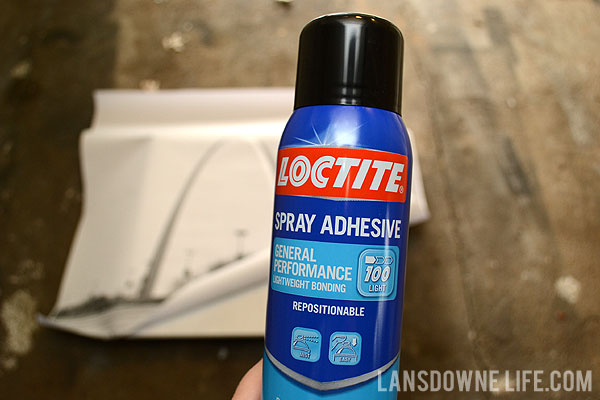
After priming my plywood, I used some spray adhesive to stick the paper down onto the board. I had already planned out how I was going to line it up, but in execution I was a little bit off. I only had one shot to stick down the paper. The adhesive is repositionable, but the oversize paper was unwieldy and I was afraid it would tear if I lifted the whole thing off.
After that, I trimmed off all the excess paper and smoothed the photo to make sure there were no air bubbles.
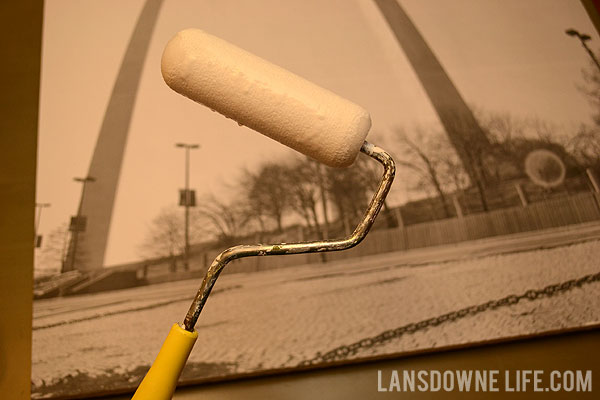
Because this was going in the kitchen where it would be subject to messes and spatters, I felt the need to seal it with some Mod Podge. Without sealing it, one splash of water or food and it’d be done for.
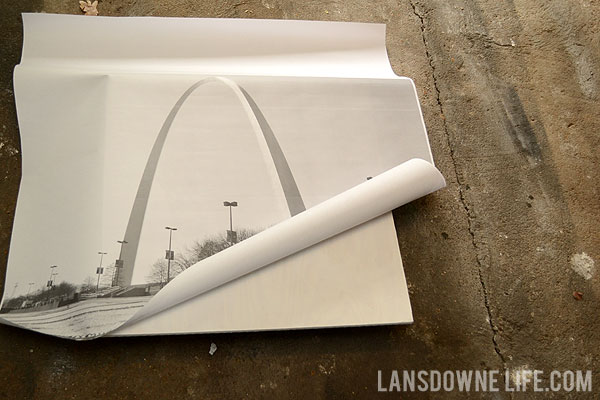
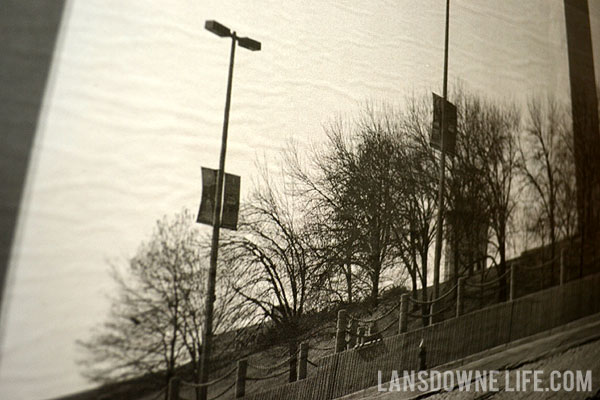
I knew this paper was pretty thin, so I wasn’t altogether sure how it would react with the Mod Podge, but I took a leap, rolled on a thin coat and then this happened:
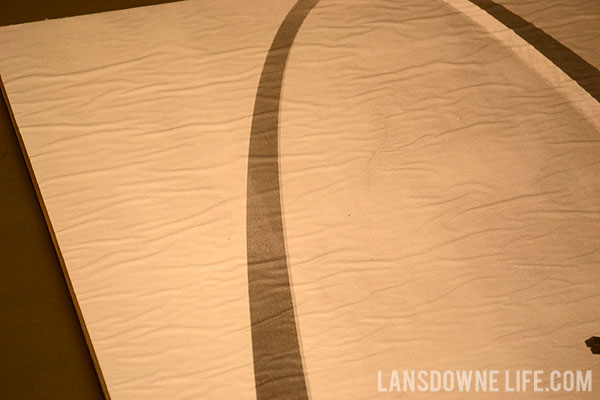
Wrinkles! Don’t be frightened. This photo was taken while the Mod Podge was still wet.
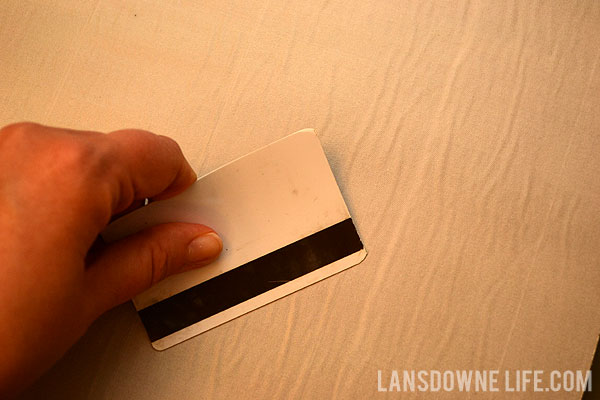
After it was dry, the wrinkles shrank significantly. I also attempted to smooth them with a plastic gift card, which helped some, but that technique didn’t get rid of them entirely.
I considered scrapping the project, but honestly, you only notice the wrinkles if you are inches away from the photo, and even then, they look less like a mistake and more like an intentional texture. It’s also hanging in a shadowy corner, so I’m sure that helps hide them.
But if you are re-creating this project and it isn’t going into a messy zone, I probably would just leave the paper as-is without sealing it.
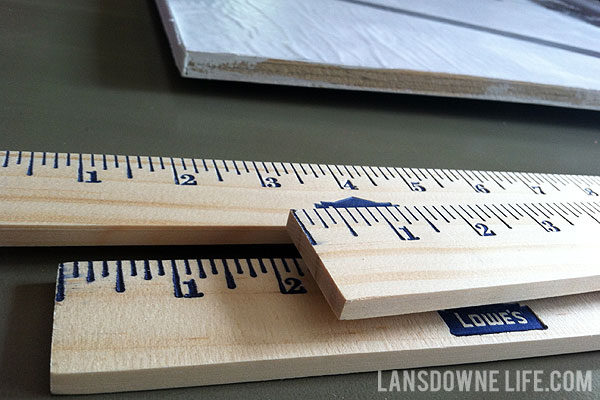
My next step was trimming out the piece. I was going to use some plain wood trim, but the lengths I needed added up to maybe another $6. Not crazy expensive, but I knew there had to be a cheaper option. And that’s when I remembered my yard stick trick. These fat yard sticks from Lowe’s were 69 cents each, so I picked up four for $2.76 + tax. They are the exact same width (1 1/2 inches) and depth (1/4 inch) as the trim pieces I was going to use, but less than half of the price. I used a hack saw to cut them; the wood is soft, so that was easy and quick.
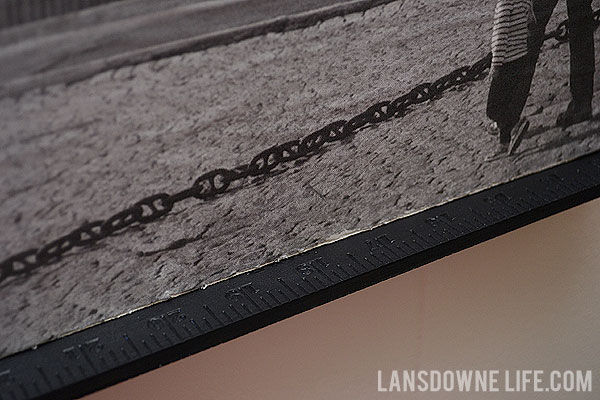
I painted them black and the graphics pretty much disappeared. The measurement marks are practically invisible. Even so, I like the look. I drilled some tiny pilot holes then tacked the pieces on the sides of the plywood with some small nails.
The combo of the black and white photo and the square shape gives it a modern look. I’m not usually a modern design sort of girl, but the contrast with the rest of the kitchen is nice.
Minus the paint, Mod Podge and the adhesive, the total for this project was just under $15! A total bargain if you’ve ever priced custom photo canvasses. Of course, this isn’t a canvas, but the similarity is there!
