By virtue that my last post has been sitting here four months with no follow up, you could probably assume that this project got the best of me, and that it still looks like we live in a crumbling tenement building. Not so!
I actually finished this project around the first of March. I am just woefully slow when it comes to updating this blog, and this room is objectively the darkest and worst room to photograph in the entire house.
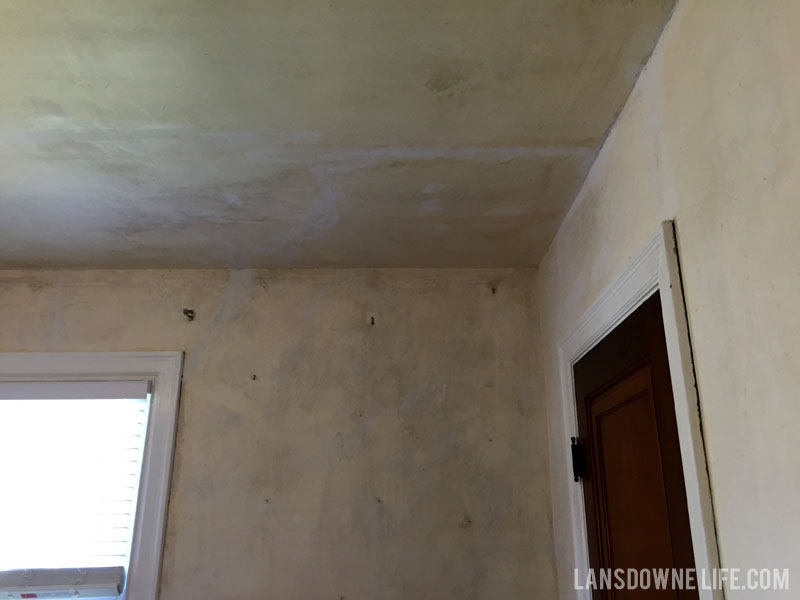
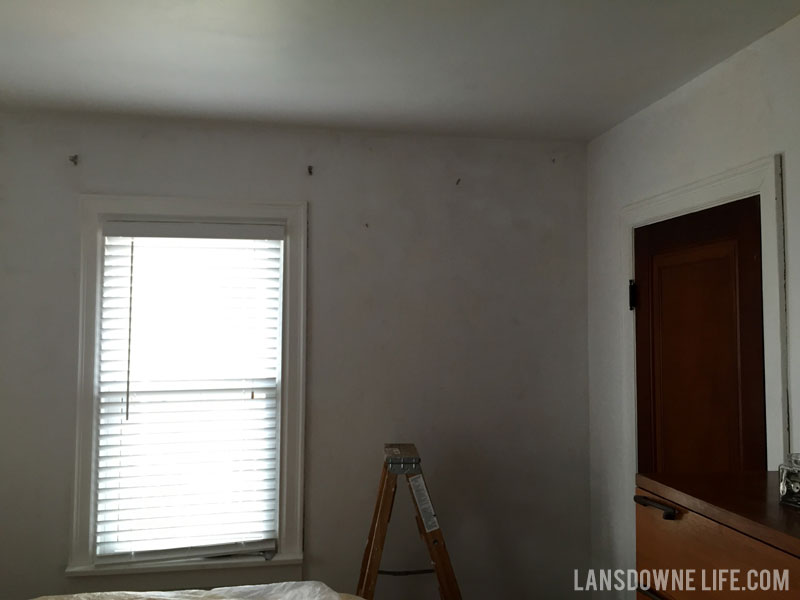
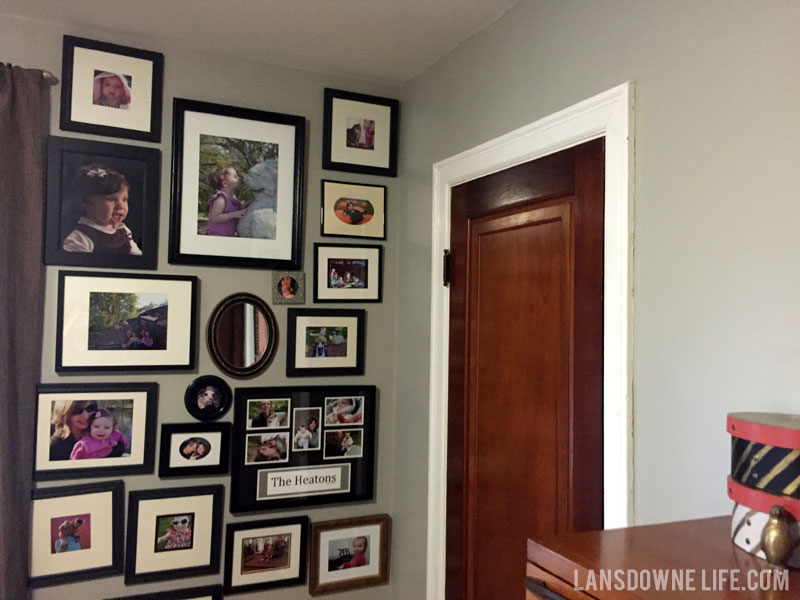
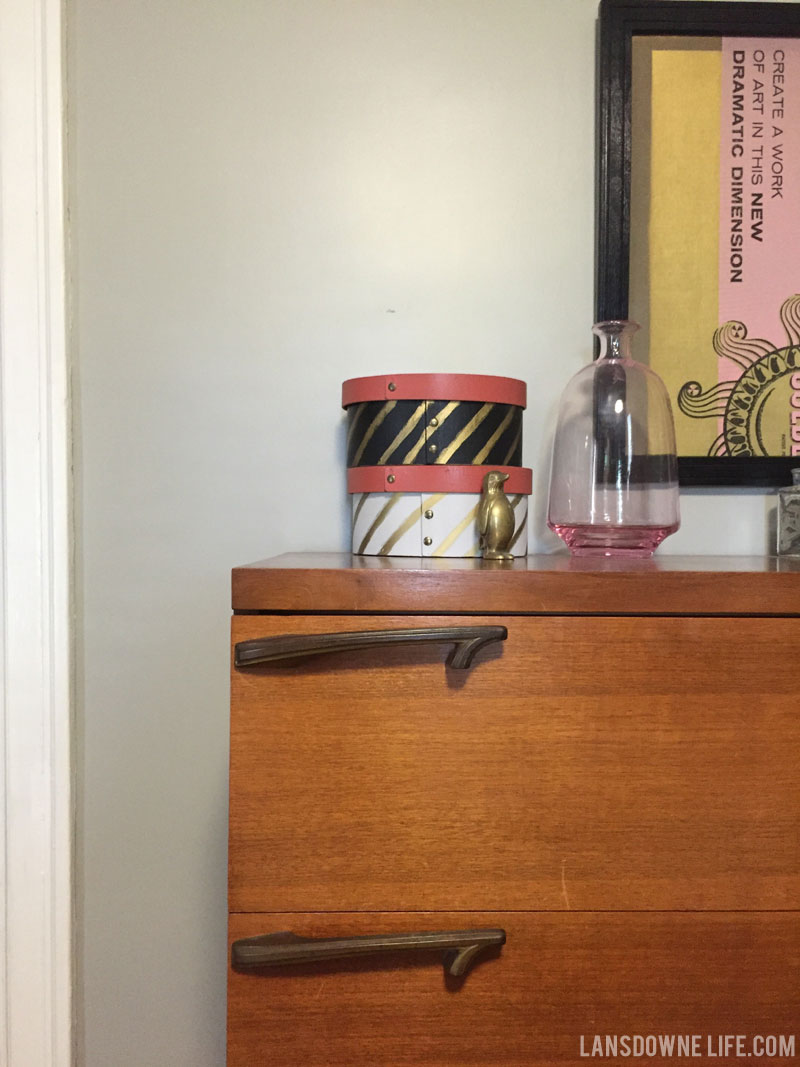
After hours upon hours of scraping and cleaning and repairing innumerable cracks in the plaster, it was finally time to prime and paint. I chose a very neutral light gray (Valspar’s Woodlawn Colonial Gray) because I’m reserving the right to shuffle bedrooms in the next couple of years, and I didn’t want to have to repaint. It’s definitely one of those presto-chango shades that looks greenish or bluish or gray or purpley depending on the light, and these phone photos aren’t the best representation.
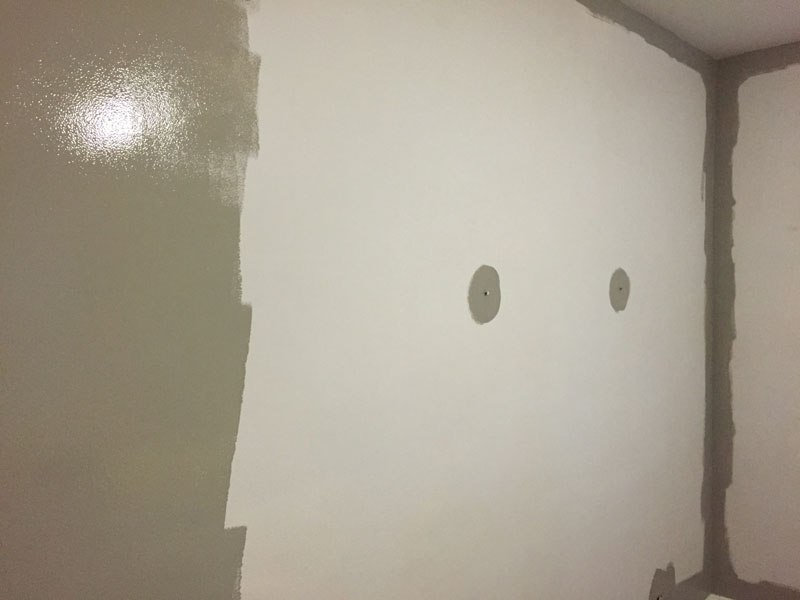
A while ago, I was talking about this project to someone and noted that this was the totally thankless kind of DIY project. Sure, I notice the walls are better, but my goodness, the end result is just clean walls, what should have been there in the first place. So to most eyes, the before/after change is not that big, and that’s sort of unsatisfying knowing how much work I put into this. Definitely a labor of love like most restoration work. But it feels like the walls can breathe now without all those layers of junk, and I know the house appreciates it.
