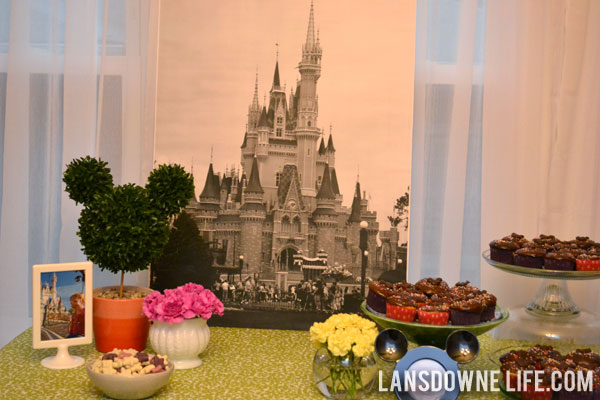
When I tasked myself with creating a Magic Kingdom party, I realized there were so many different ways I could tackle it. I decided to make it less about the attractions (though I did include references to some favorites) and more about the general feeling of the park. The greenery, the castle, the Mickey ears… with a dash of Fantasyland thrown in.
I’ve been working on all of these handmade details in secret, so I’m so glad to finally be able to share them with all of you! Let’s go!
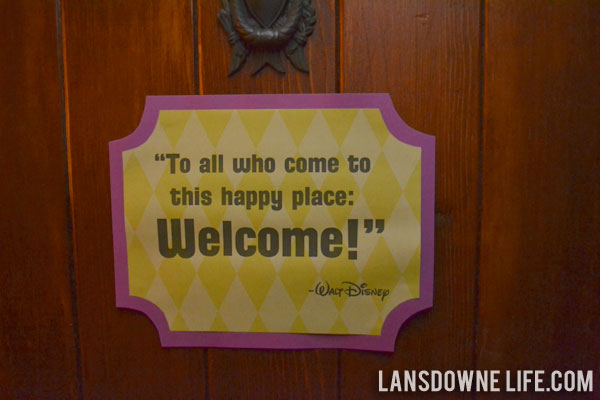
This is part of a quote from a longer speech Walt Disney gave at the dedication of Disneyland, and I thought it was a fitting way to welcome our guests at the door.
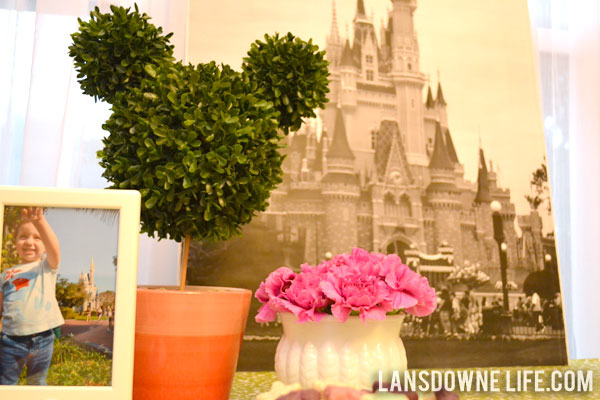
If you’ve ever been to Disney World, you know Disney has a thing for topiaries. Unquestionably, I needed one at my Magic Kingdom party. I made it from artificial boxwood balls I found at Jo-Ann in the floral department. They look super real! I guess they are typically used as a base for flower arrangements or something, but when I looked at them, I saw Mickey Mouse topiary. I used wooden chopsticks to connect the ears and the head. I didn’t use any glue because I wanted to be able to disassemble it, but you could certainly make a more permanent one with wire or glue.
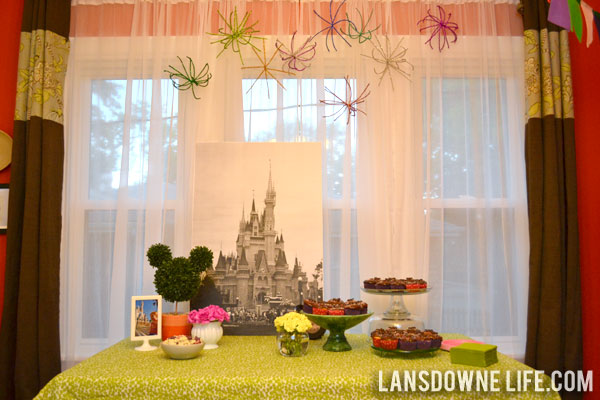
I took a photo of the castle to the Fedex office and had them make an oversize black and white print after seeing the idea on Little Green Notebook. It’s just on plain paper, but it only cost 75 cents a square foot. This two foot by three foot poster was $4.50! I mounted it on foam core from the dollar store.
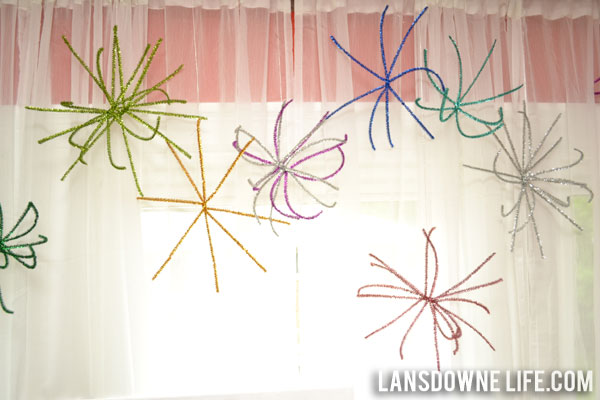
I made the fireworks by twisting metallic pipe cleaners (or “tinsel stems” as they are called on the package).
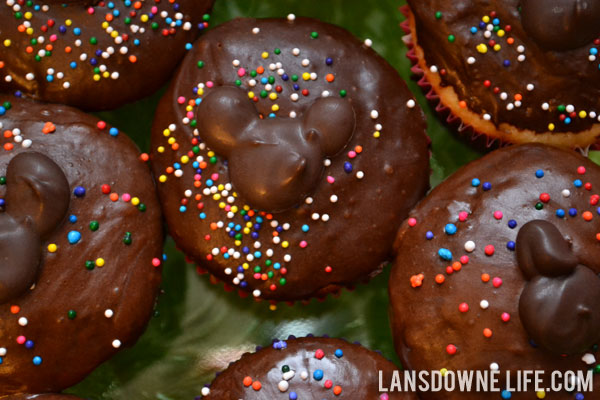
I cheated a bit and used cake mixes for the cupcakes. The last time I made cupcakes from scratch, no one even seemed to care, so I wasn’t going to put extra pressure on myself.
I doctored up some store-bought icing with this “recipe” because I wanted to dip the cupcakes. And I will never frost cupcakes with a knife again! So speedy!
For the chocolate Mickey ears, I piped melted chocolate onto parchment paper. It took some practice, but I figured it out and once the chocolates were dry, they slid right off the parchment.
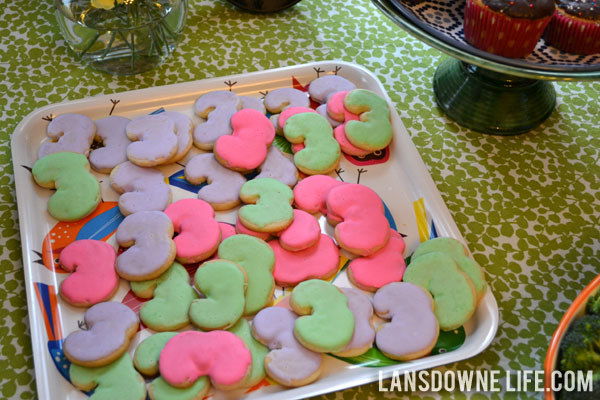
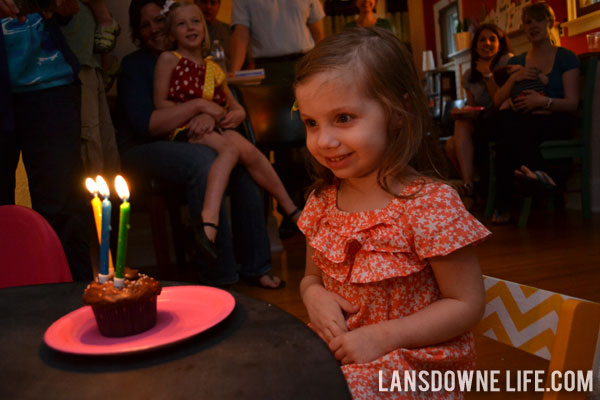
These aren’t Disney related, but they were a must. My mom continued the tradition we started last year with the 2 cookies and made 3s this year. Love these cookies!
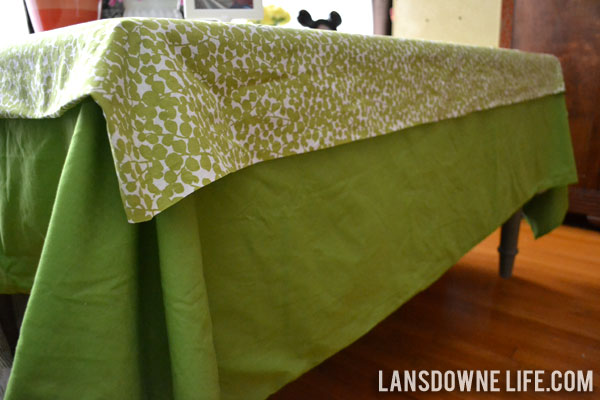
The “tablecloth” was actually a two-yard piece of fabric. I figured I would probably reuse it for some project before I’d use the same tablecloth again. I folded under and pressed the cut ends. No sewing necessary! Then I layered it on top of a duvet cover I picked up on clearance at Target. I bought it a few months ago with the intention of poaching the fabric for a future quilting project, but as long as I had it laying around, I was going to use it here first.
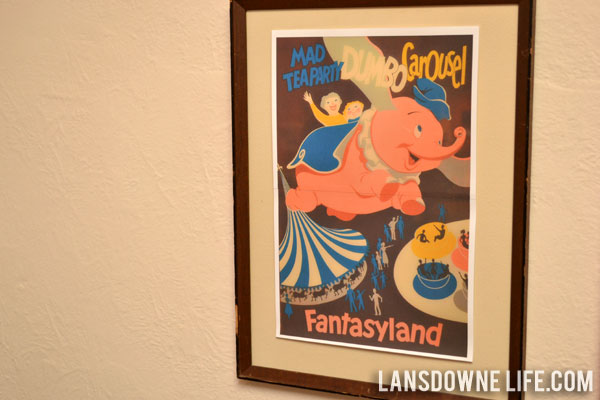
I printed some vintage (and faux-vintage) Disney posters and taped them on top of some of our existing artwork. The Fantasyland one above was actually from a straight-on photo I took at Disney World, if you can believe it.
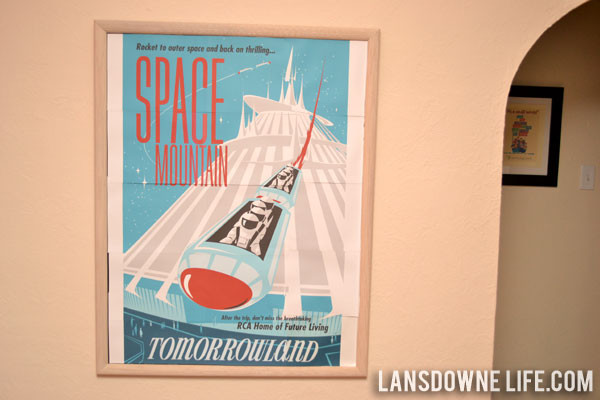
The vintage-inspired Space Mountain poster is from 2008, and a hi-res version is generously available from the designer for free! I printed it on 8.5″x11″ card stock and tiled the pages. You can sort of tell from the photo above, but from far away it wasn’t too noticeable.
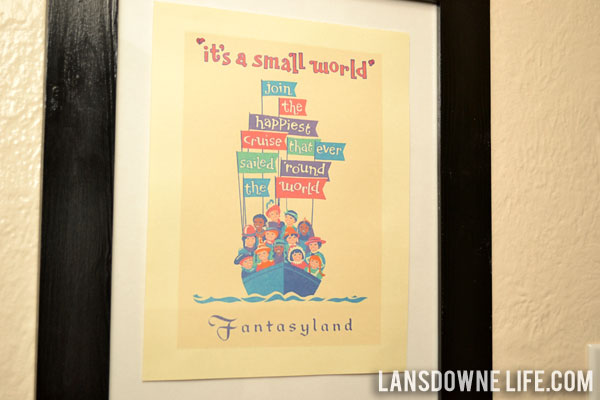
I found the “it’s a small world” poster via Google images. (It was posted on so many sites, I’m not sure what the true source is.)
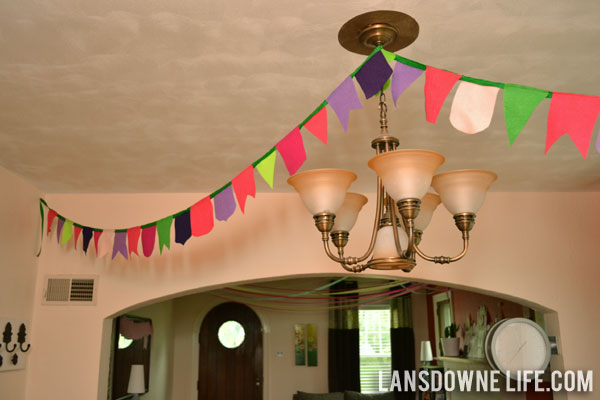
I made this Fantasyland-esque pennant banner from ribbon and sheets of eco-felt (made from recycled plastic bottles). It’s really inexpensive, around 30 cents for each 9″x12″ sheet and is as easy to work with as paper. No hemming and no fraying! It only took about two hours for the whole thing, start to finish. I sewed mine, but you could certainly use fabric glue or hot glue if you don’t have a sewing machine.
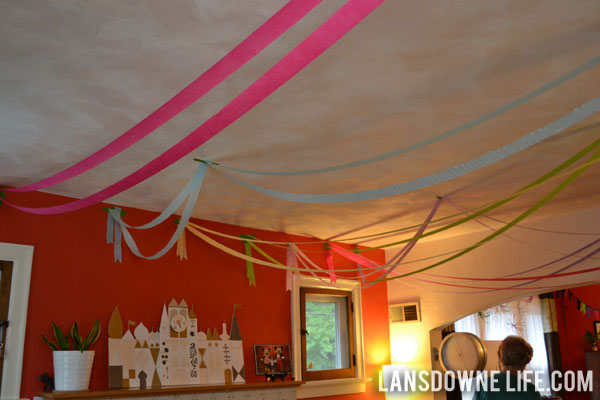
I had an idea to do scalloped crepe paper streamers, but it was complicated and I completely ran out of time to execute it. Instead, I hung up long lengths of crepe paper with painters tape, sort of creating a canopy effect.
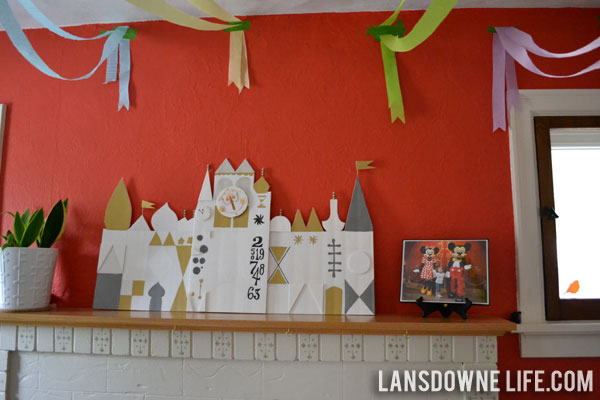
“it’s a small world” is one of Elise’s favorite Disney attractions. It’s my favorite too. I love almost everything about it, especially the exterior design. I knew I had to incorporate the ride into the party somehow. And re-creating the exterior was the simplest way I could think to do it.
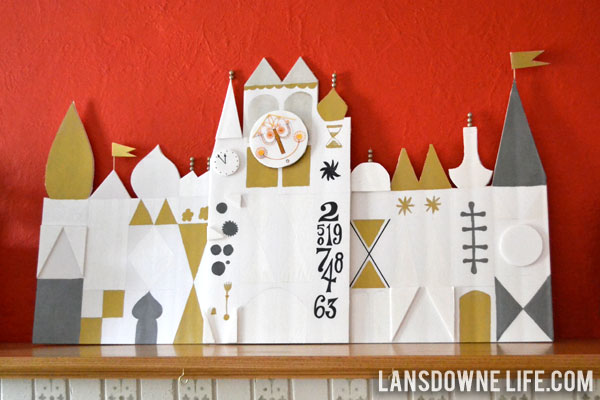
This foam core model took me longer to create than I care to admit, but it only cost me $2. So there’s that. I used gold, black and pearl craft paints I had on hand and a black Sharpie marker for some of the details. I cheated on the facial features; I printed a photo, cut them out and just glued them on. I tried my best to make an accurate representation (I’m lucky I’ve taken so many photos of it on our trips!), though I made a few changes here and there. Elise recognized it immediately without prompting, so I guess I pulled it off.
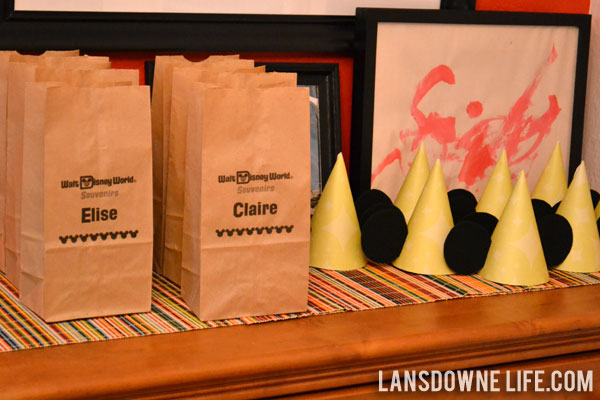
Here’s a separate post about the the party favors you see above, but this was the only photo I snagged of the Mickey Mouse ear party hats I made. I probably wouldn’t have made them at all, except there was a special request from the birthday girl for party hats. And how could I deny this girl?
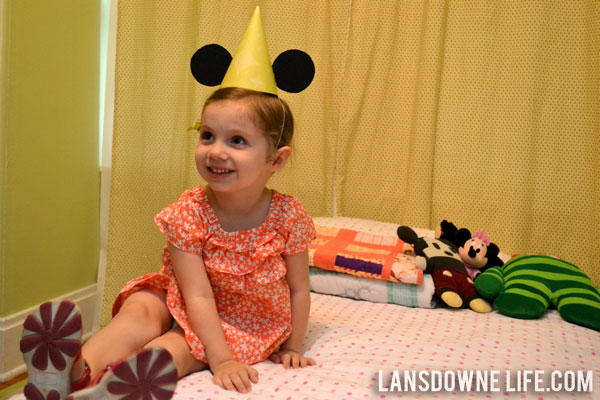
Here’s a separate post about how to create the Mickey ears party hats!
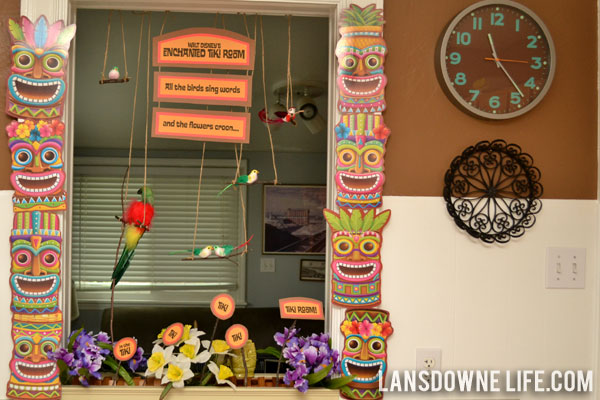
Elise’s other favorite attraction at the Magic Kingdom is the Tiki Room. It’s her favorite song and she asks my husband to sing it every night before bed. She’s obsessed. I had to make her a Tiki Room.
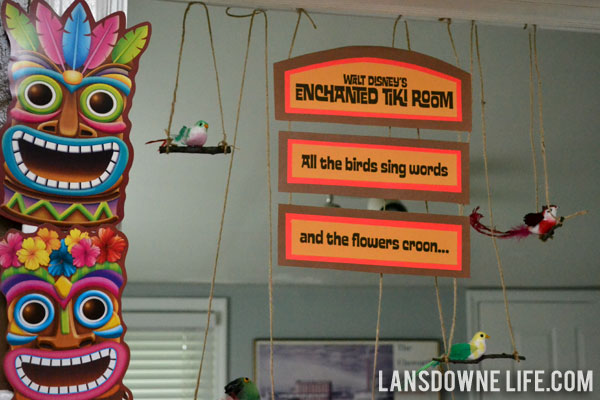
This isn’t at all an accurate replica, more like a creative interpretation. All of the birds are from craft stores or the dollar store, ranging in price from 50 cents to $3 for the parrot. I made swings for the fake birds with twigs from the backyard and some jute twine.
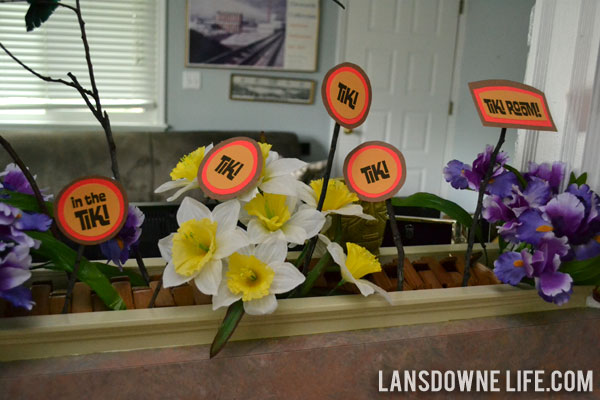
The font I used for the signage is called Ed Interlock and is free. It’s not the authentic Tiki Room font, but it’s similar enough to get the effect.
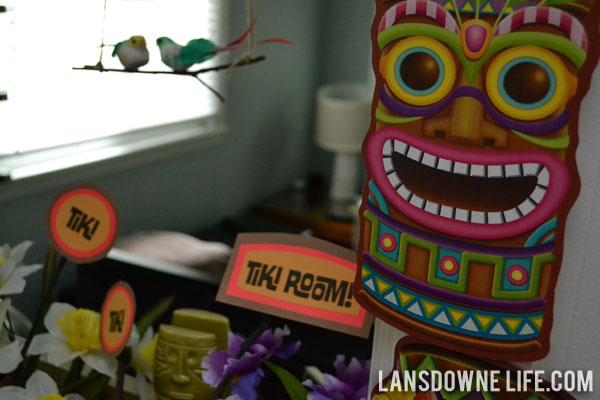
The tiki gods were from the Dollar Tree! I guess decorations for a Luau? They are super smiley, but they were 8 for $1. At that price, it wasn’t worth my time to make my own.
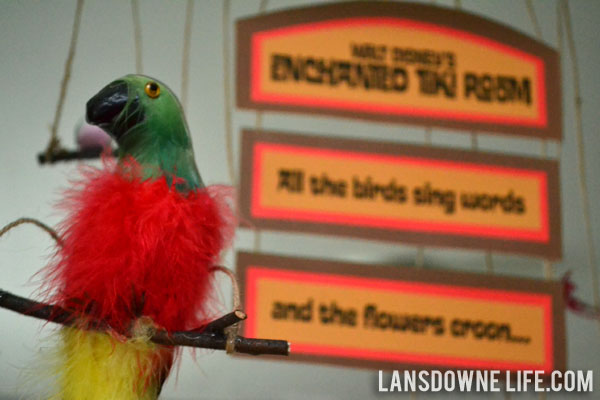
It’s only been a few days since the party, so we still have most of the decorations up. Elise keeps telling me that everything I made is “beautiful,” so it was worth all the effort.
See more Magic Kingdom party details! >>


That is awesome looking, great job! We did a Disney themed birthday party for our daughter this past year, she loved it. We’ll probably do another one in the future, some great ideas in this post. 🙂
Thanks! It was a lot of work, but a lot of fun!
Woww!!! That is one lucky 3 year old!! Beautiful job!
Thanks, she was so thrilled, so I was happy to do it!
This is unbelievably cool! I love every single thing, but the topiary and the fireworks are probably my favorite! Makes me want to go back right now! What a fantastic party! Lucky little girl!
Thanks, I really like the topiary too. People kept asking if it was real!
I am so excited I found your post! My soon-to-be 4 year old has requested a magic kingdom theme after our recent visit. I have 3 weeks to pull something like this off. I have seen lots of ideas but none as thrifty and fun as yours!
Aw, thanks! I pride myself on being thrifty!
AMAZING!!!! I am doing a Disneyland themed party in November and this is the best I have seen especially with all the hand made decorations. Great Job!!
Thank you! When I started I was kind of amazed that there aren’t too many Disneyland/Disney World themed parties out there! Lots of Mickey parties, obviously, but not the parks!
As a true Disney lover, I was completely wowed by this party!! Every detail was so perfect! I loved your Welcome sign. Excellent job on Small World facade. And, the Tiki Room was adorable! I’d love to do something this clever — or have someone do it for me, LOL. Congratulations on a truly magical event.
Thanks, it was a lot of fun to come up with all the ideas!
PS to my previous comment … I can’t believe you made fireworks hanging over the castle photo — talk about creativity! I’m truly amazed. Walt himself would be proud of you. 🙂
I stumbled upon this post while looking for inspiration for a Walt Disney World “Pre-vacation” party. Fantastic! I would truly love to feature you and your post on my blog, Mouse Ears Mom. I’m new to blogging and have never “featured” anyone on my blog before, so I don’t know the proper way to ask. Hopefully it’s not rude to ask you, but if you have the time, would you look at my blog and let me know if you would be ok with the feature post? My blog is http://www.mouseearsmom.com Thank you so much for your time. This party is simply fantastic! You’re so incredibly talented!
-Amy
Aw, thanks! You are more than welcome to snag two or three photos for your feature and link back!
Thank you Erin! When you state, “link back”, do you mean include in my post your web address to this Magic Kingdom Birthday post? I just want to make sure that I understand you correctly before I use your photos. Thank you again!
Yes, that’s right! As far as I can tell, the standard in the blogging world for a feature is to use just a couple of photos and then link to the source post.
If you have any other questions, feel free to send me an e-mail!
erin (at) lansdownelife.com
Hi Erin! Just wanted to let you know that I featured your party on the blog today. If you’d like to view it here’s the link. http://www.mouseearsmom.com/2013/09/23/a-magic-kingdom-party/
Thanks, Amy! Looks great!
Fantastic party, love the details! I’m doing a small world party for my daughter’s first bday…any tips on making the ride backdrop?
Hi, I constructed it out of white foam core poster boards. You can kind of see from the photos above that it’s three pieces. The middle and two sides attached behind it. I studied photos I had taken of the exterior and sketched it out freehand. I used craft paints and extra scraps of the foam core for the shapes on the face of it. The balls on top were beads stacked on toothpicks and inserted into the top of the foam core. And like I mentioned above, the face was just a printed photo.
Sorry, I don’t have any tips to make it easier! I remember I worked on it for a very long time. In lieu of creating something yourself, you could always get a big photo printed at a copy shop like I did for the castle. That would certainly be easier!
Oh, this is so fun!! How have I never come across this pin before now!? Wonder if I can talk the third grader into a Disney World themed party…
What kid wouldn’t want a Disney World party? 😉
Omg you are a magical genius. These capture the Disney essence so awesomely I cried. Literally I cried tears of love. Please come throw ME a party . Fantastic job. I always say the magic of Disney is in the details, you def covered those. Well done <3
Oh, what a nice comment! Thank you!